PBR means the material describes the surface, not the lighting
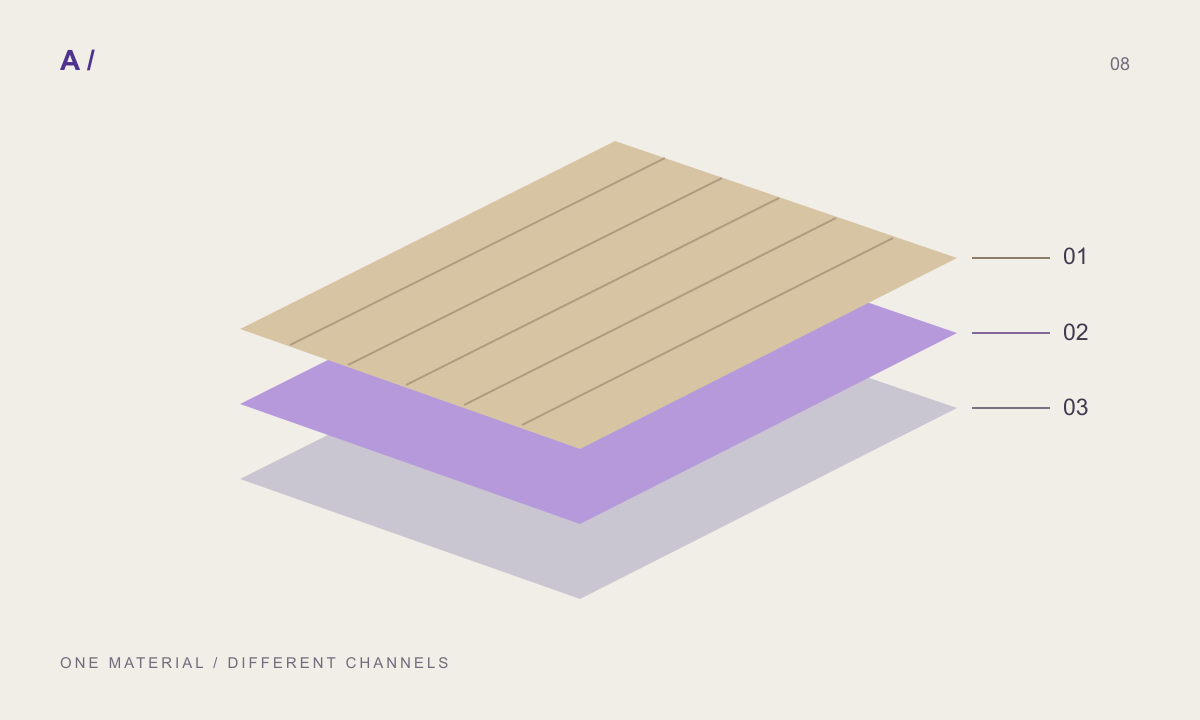
PBR stands for physically based rendering. A PBR texture is not one image but a set of images, each describing one property of the surface: its colour, how rough it is, whether it is metal, and how its small bumps catch light. The renderer combines them with the scene’s lights. Because the light is not painted into the images, the same material looks right in a sunny exterior and in a dim interior.
The common form today is the metallic-roughness workflow. It is the one glTF 2.0 defines, Blender’s Principled BSDF reads, and most real-time and offline renderers accept. An older specular-glossiness workflow also exists; it stores the same idea in other maps and can be converted, but when a download offers both, metallic-roughness is the safer choice.
Base colour (albedo): the colour without light
The base colour map holds what the surface looks like under perfectly even light, with no shadows or highlights baked in. A photograph of a wall taken in afternoon sun is not a good albedo: its shadows would appear on every face, even those facing away from the sun.
This is the only map SketchUp’s own viewport draws, and the one most people mean when they say “texture”. It is stored in sRGB, the colour space of ordinary images.
Normal, height and bump: the small relief
A normal map stores, for every pixel, which way the surface faces. The renderer uses it to shade joints, grain and pores as if they were modelled, without adding geometry. It looks purple-blue because the three directions are written into red, green and blue.
There are two conventions. OpenGL (used by Blender, glTF and many others) and DirectX (used by Unreal Engine and some 3ds Max workflows) differ only in the direction of the green channel. Using the wrong one makes joints look raised instead of recessed. If your relief looks inside out, use the other version or invert green.
A height (displacement) map stores real depth as brightness; a renderer can move geometry with it, which is heavier but changes the silhouette. A bump map is a simpler, single-channel version of the same relief for renderers that do not read normal maps.
Roughness, metallic and ambient occlusion
Roughness says how sharp reflections are: black is a mirror-like polished surface, white is fully matte. A polished marble and a honed one can share the same albedo and differ only here. Metallic is a mask: white where the surface is bare metal, black everywhere else. Stone, wood, concrete and paint are black.
Ambient occlusion stores how much ambient light reaches each point: joints and pores are darker. Many renderers compute this themselves, so the map is optional; if you use it, multiply it lightly into the colour rather than replacing the colour with it.
Colour space: the setting most often wrong
Only the base colour is a picture. Normal, roughness, metallic, height and ambient occlusion are data, and must be read without the sRGB curve. In Blender this is the Image Texture node’s colour space set to Non-Color; other programs call it linear, raw or “not colour”. Left on sRGB, roughness reads too glossy or too matte and normal maps bend light the wrong way.
A quick check: if a matte concrete looks wet, or joints look oddly flat, look at the colour space of the roughness and normal maps first.
A PBR texture also needs a size
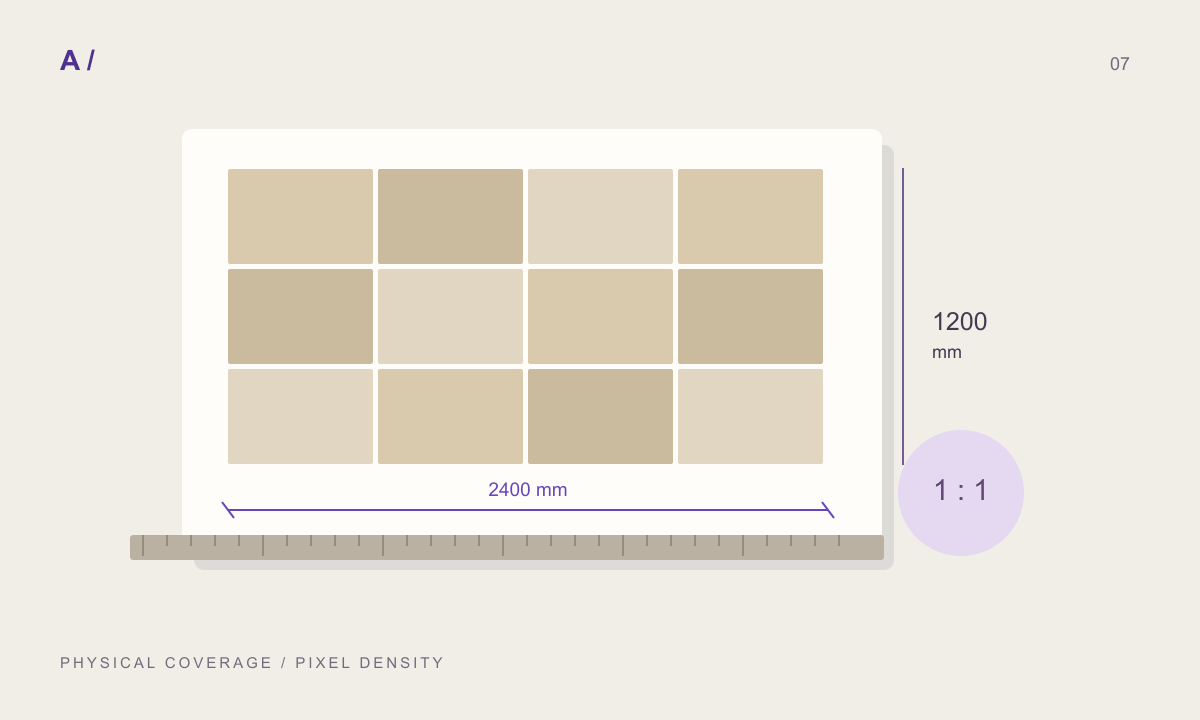
None of these maps says how many millimetres it covers. A 2048-pixel image of four 600 mm tiles is a 2.4 m repeat; mapped as 1 m, every tile shrinks to 250 mm. Resolution is detail per repeat, not size. The size has to come with the texture, and has to be typed into the material in your software.
MATERIALHAUS writes it down: every download carries a README with the size one repeat covers and the height range, and the plug-ins for SketchUp, Revit, 3ds Max and Blender apply it for you. A scan from Poly Haven brings its measured height, roughness and occlusion; otherwise the maps are derived from the colour, and the editor says which.
The maps in a PBR texture
| Map | What it stores | Colour space |
|---|---|---|
| Base colour (albedo) | Colour under even light, no shadows | sRGB |
| Normal | Direction the surface faces, per pixel (OpenGL or DirectX) | Non-colour / linear |
| Roughness | How sharp reflections are: black glossy, white matte | Non-colour / linear |
| Metallic | Mask: white for bare metal, black otherwise | Non-colour / linear |
| Height / displacement | Depth as brightness | Non-colour / linear |
| Ambient occlusion | How much ambient light reaches each point | Non-colour / linear |
Before you hand off
- Base colour has no baked shadows or highlights.
- Every map except base colour is read as non-colour.
- The normal map convention matches the renderer (OpenGL or DirectX).
- The material is mapped at the real size of one repeat.
- Relief was checked at a grazing angle, not only head-on.
Frequently asked questions
What are PBR textures?
A set of images that each describe one property of a surface — colour, normal, roughness, metallic, height, ambient occlusion — so a renderer can light the material correctly under any lighting.
Which normal map do I need, OpenGL or DirectX?
Blender, glTF and many renderers use OpenGL; Unreal Engine and some 3ds Max setups use DirectX. If joints look raised instead of recessed, switch to the other one.
Does SketchUp use PBR maps?
SketchUp’s own viewport draws the base colour. Renderers such as V-Ray, Enscape and D5 read the other maps from the material.
Are 4K PBR textures better?
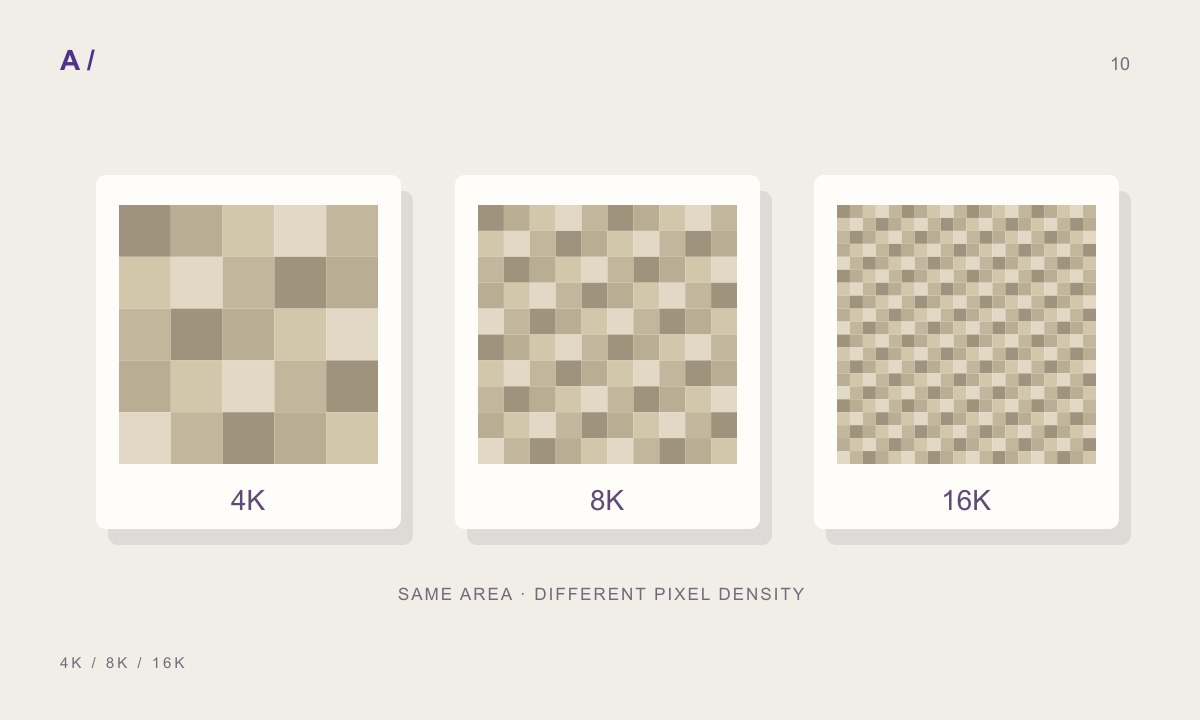
They hold more detail per repeat, which matters close up. They do not fix a wrong size: map the texture at the real size first.
References and further reading
Prepared by MATERIALHAUS with AI assistance. Worked dimensions are illustrative; verify construction details and technical product information for your own project.