MATERIALHAUS / HATCH PATTERNS
Free Revit and AutoCAD hatch patterns (.PAT)
Brick, paver, tile and floorboard patterns at real size. Each comes as Revit model and drafting patterns and as AutoCAD files in millimetres and inches, with the size in the file name. No account needed.
Brick
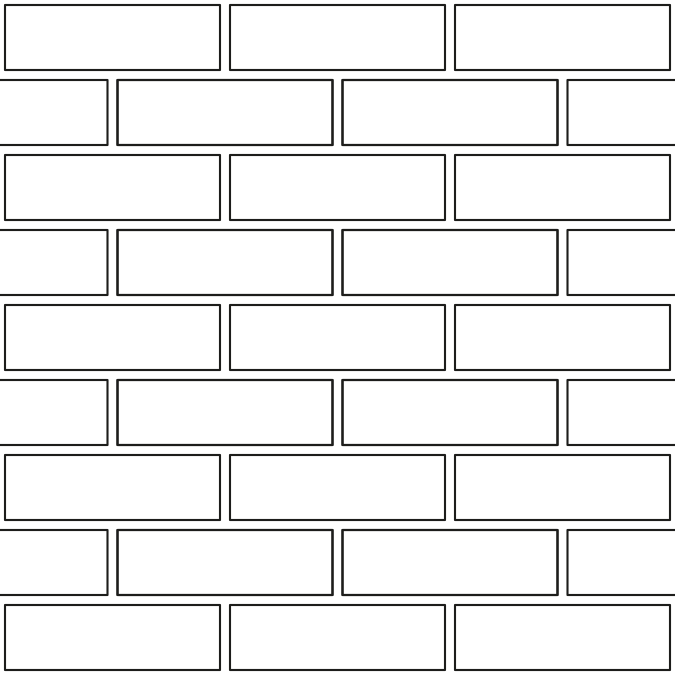 Running bond brick 215 × 65 mm10 mm joint
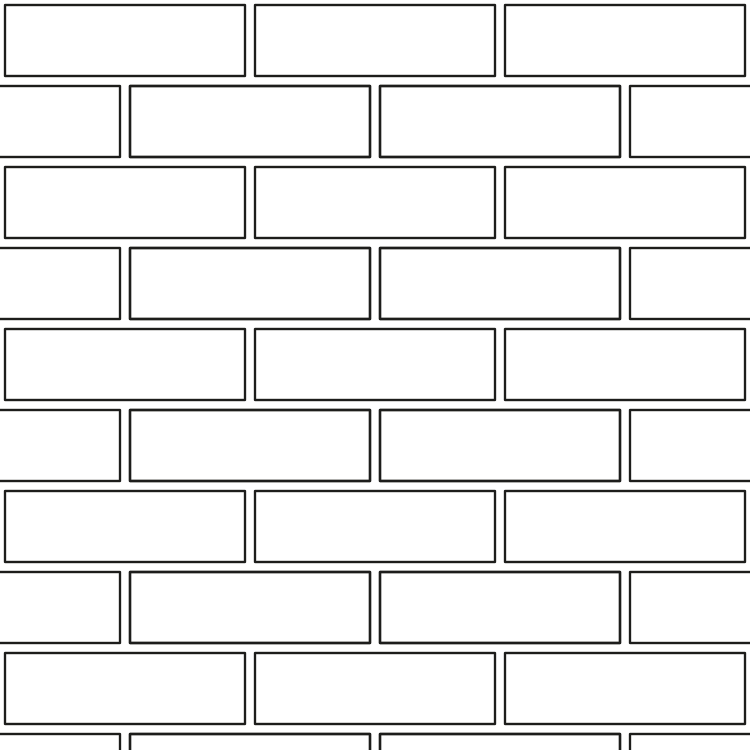 Running bond brick 240 × 71 mm10 mm joint
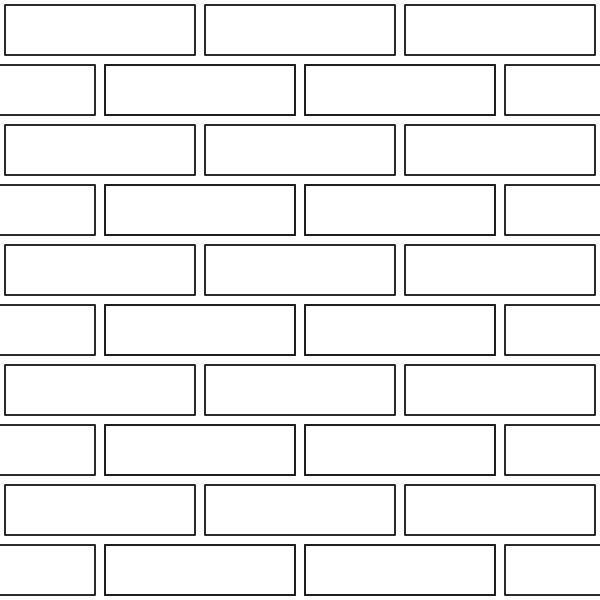 Running bond brick 190 × 50 mm10 mm joint
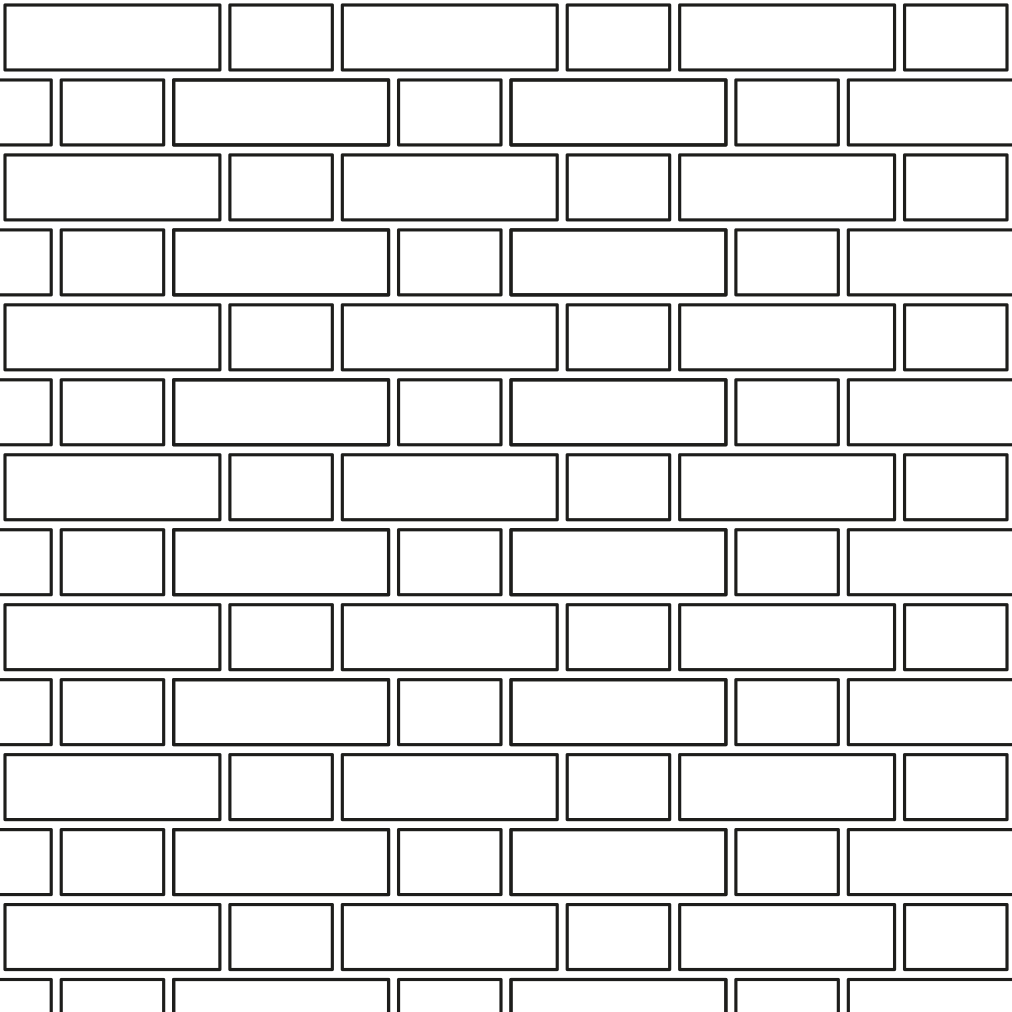 Flemish bond brick 215 × 65 mm10 mm joint
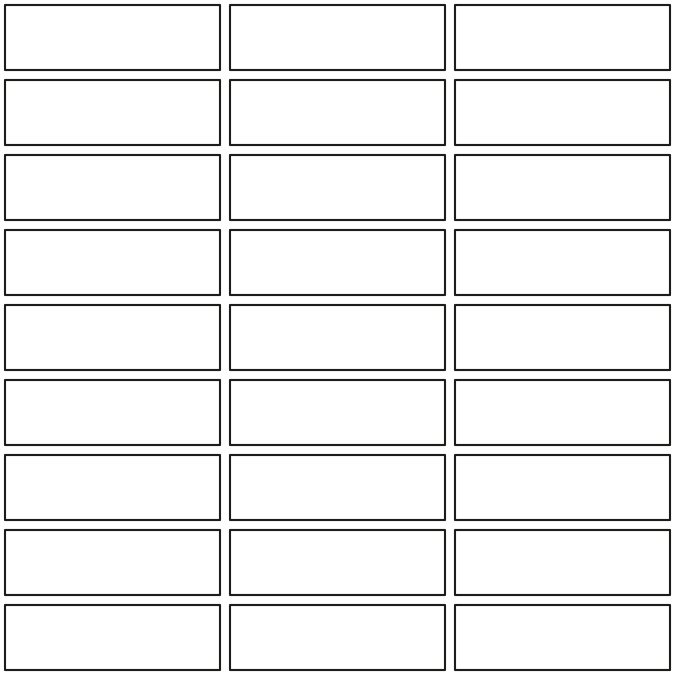 Stack bond brick 215 × 65 mm10 mm joint
Paver
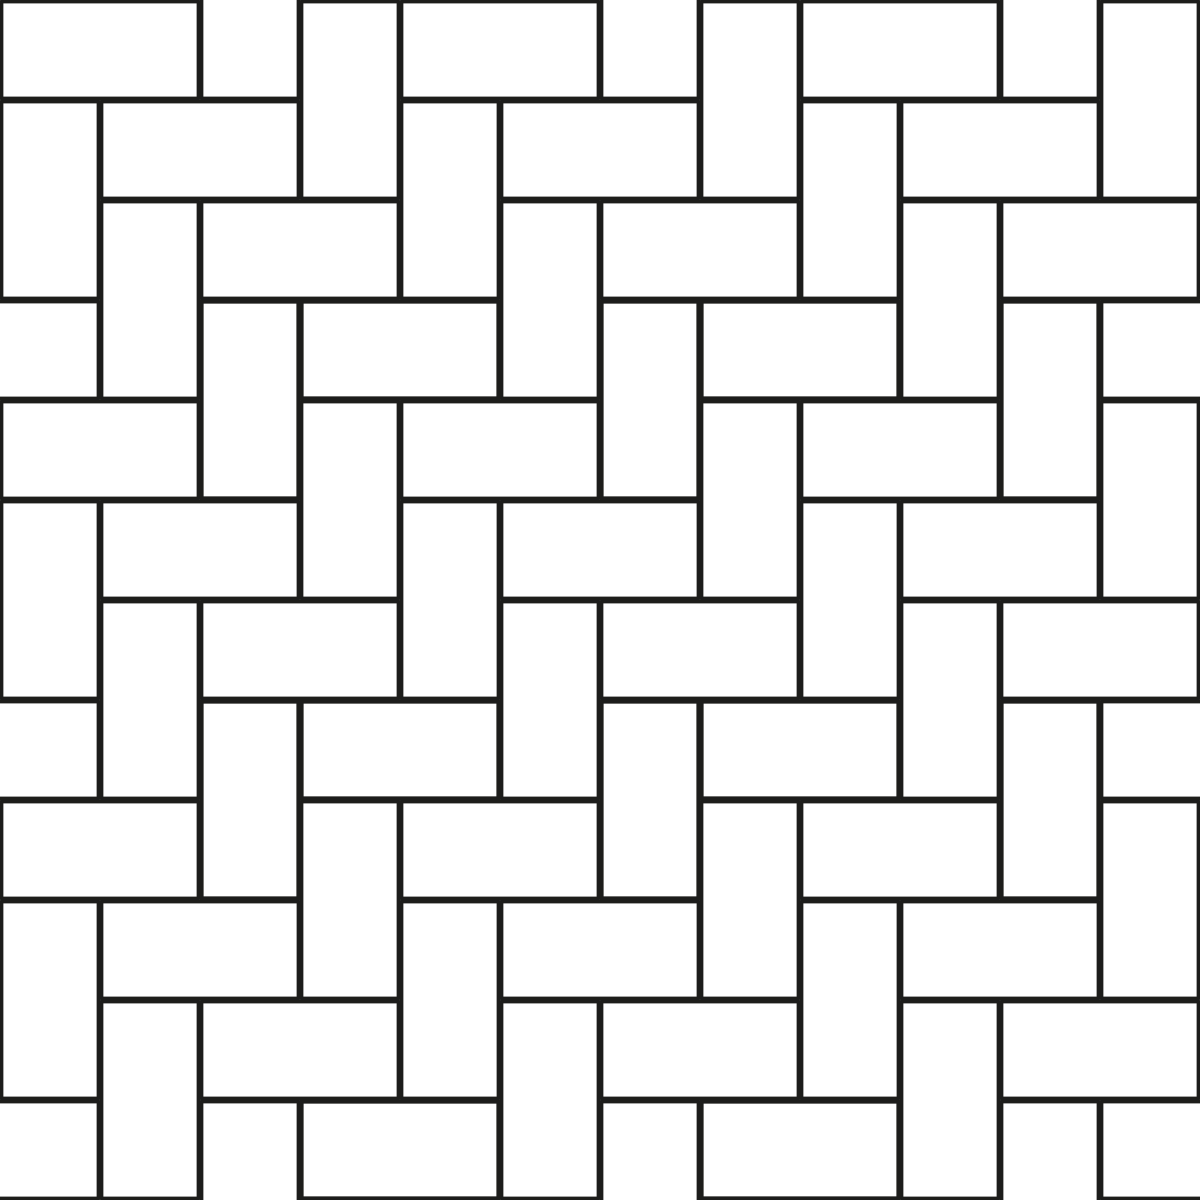 Herringbone paver 200 × 100 mm3 mm joint
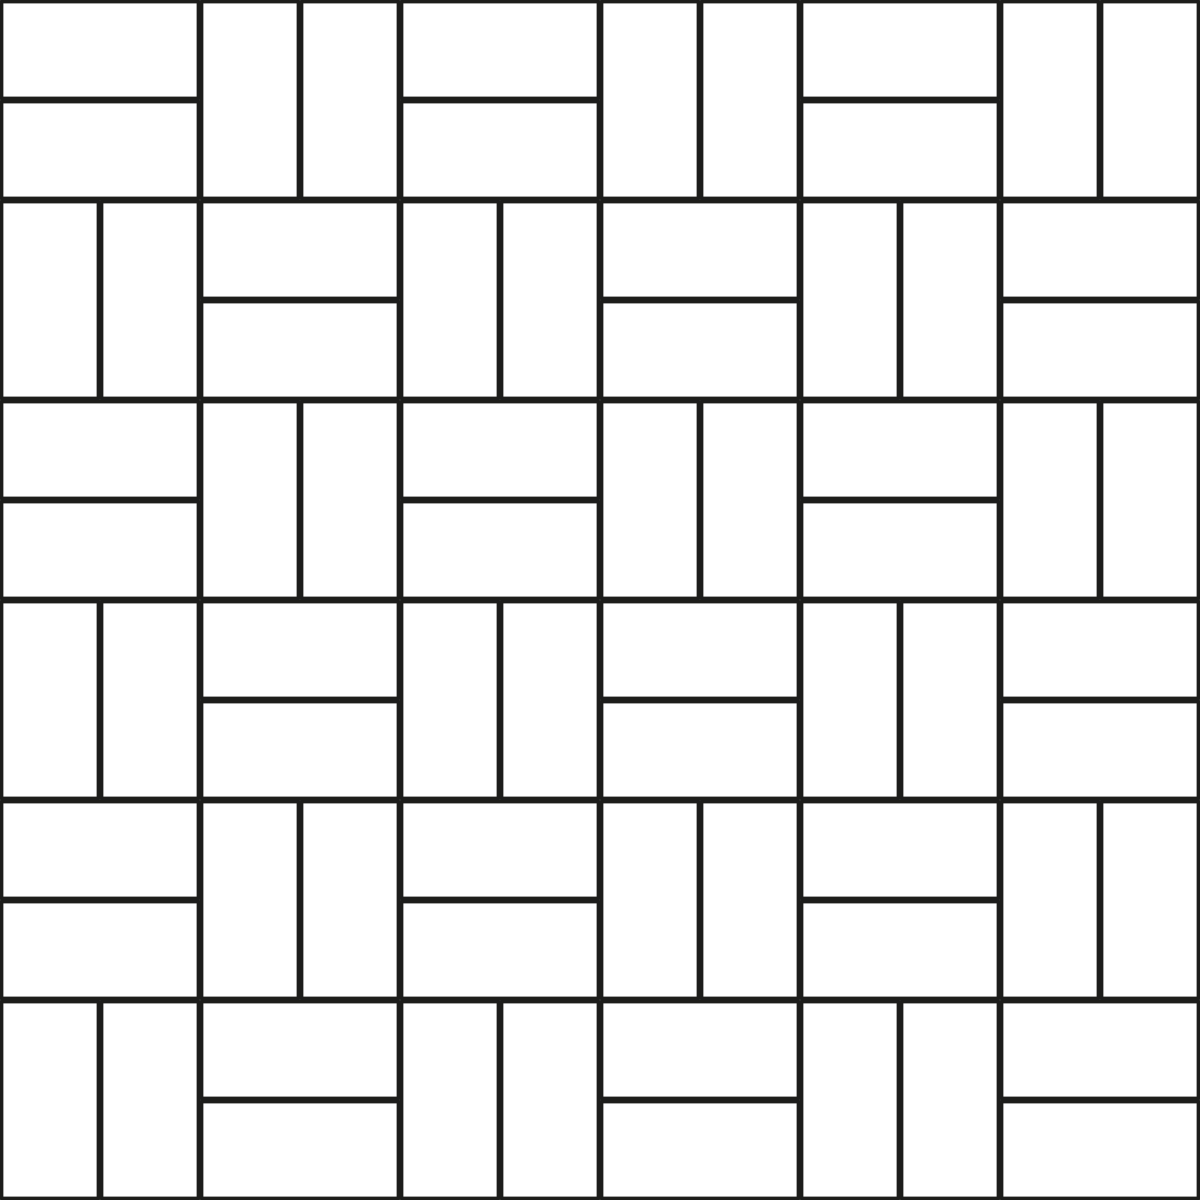 Basketweave paver 200 × 100 mm3 mm joint
Tile
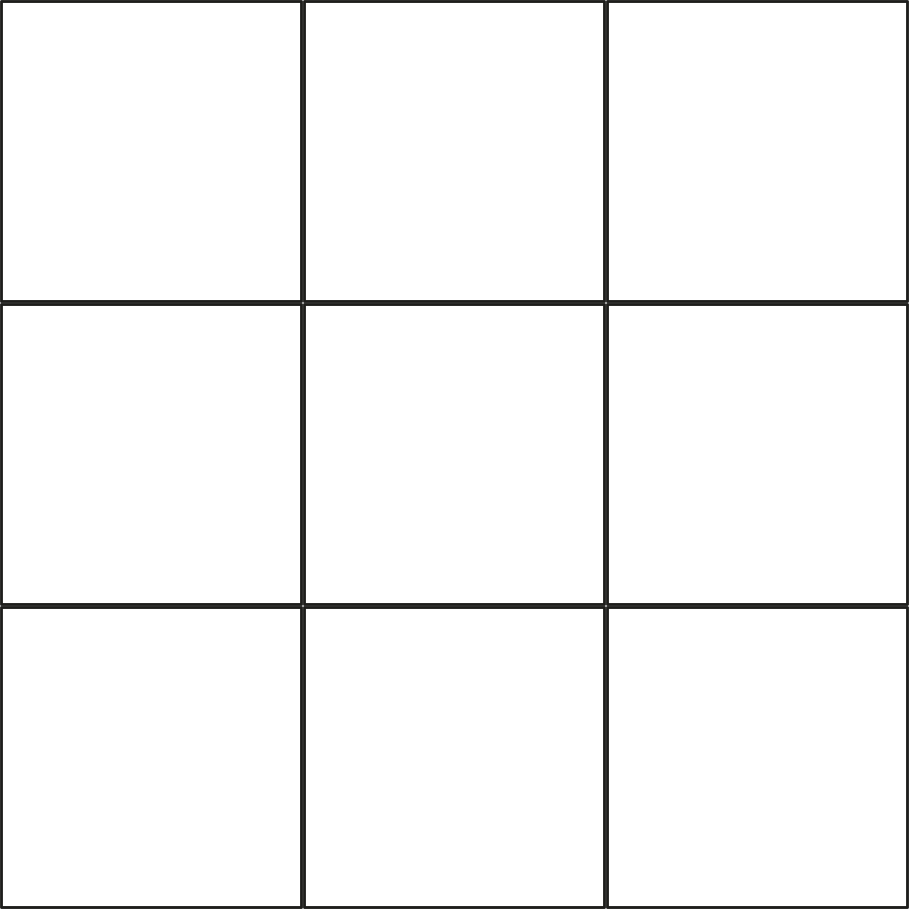 Stack bond tile 300 × 300 mm3 mm joint
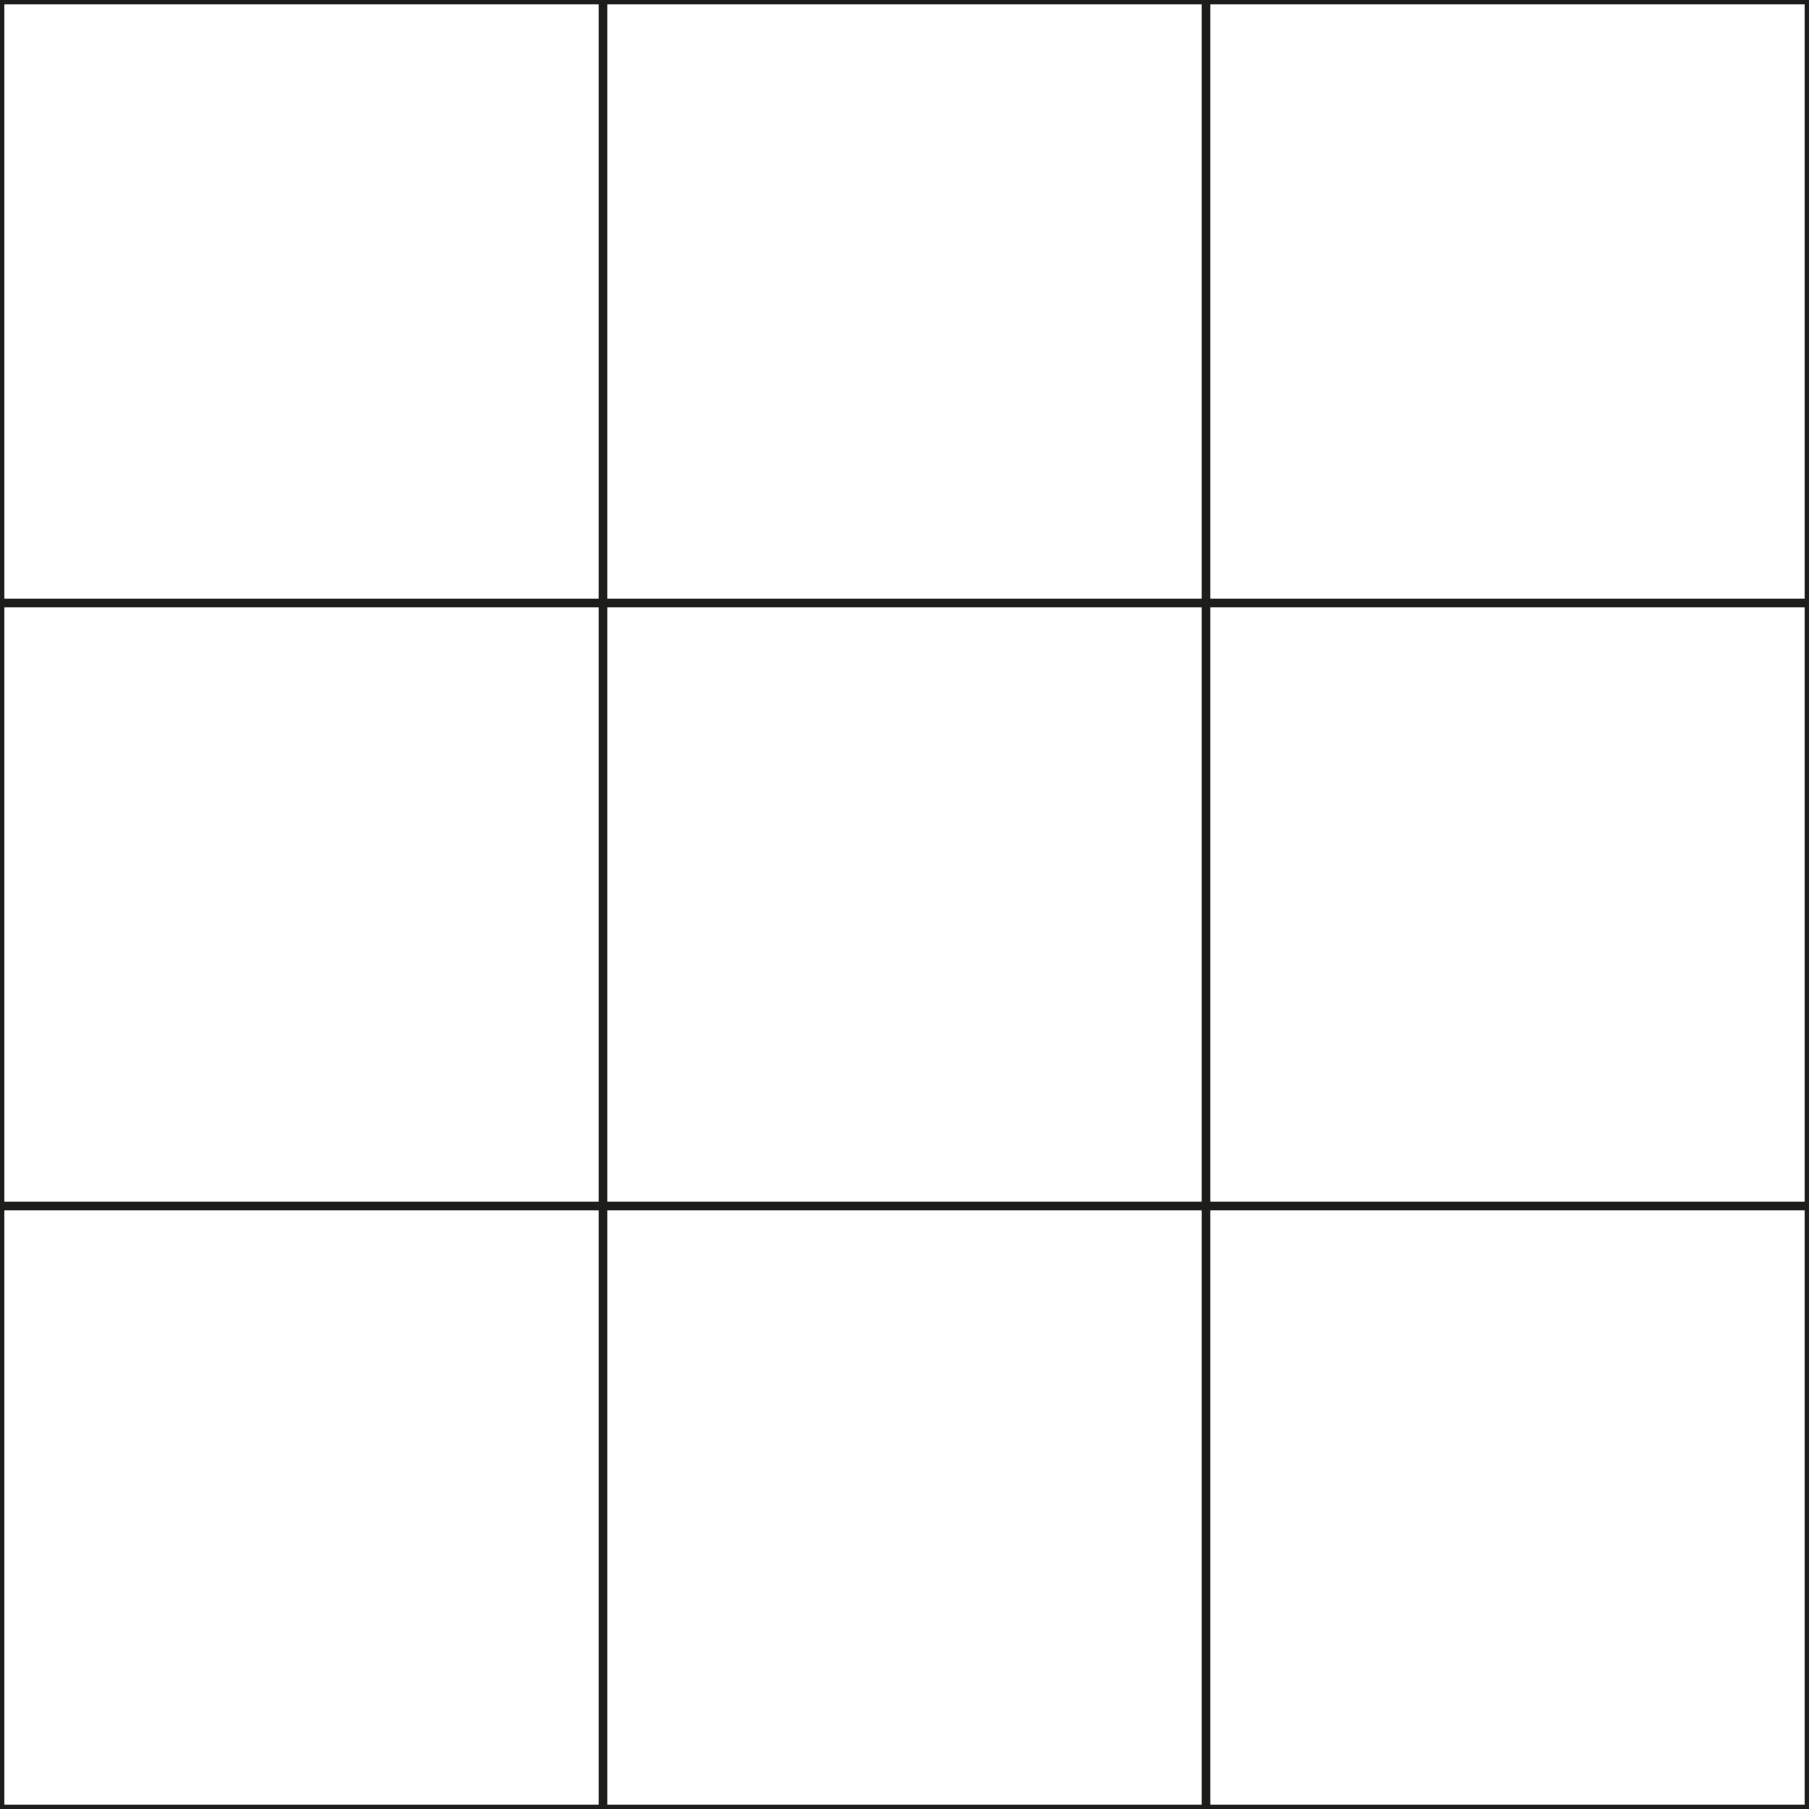 Stack bond tile 600 × 600 mm3 mm joint
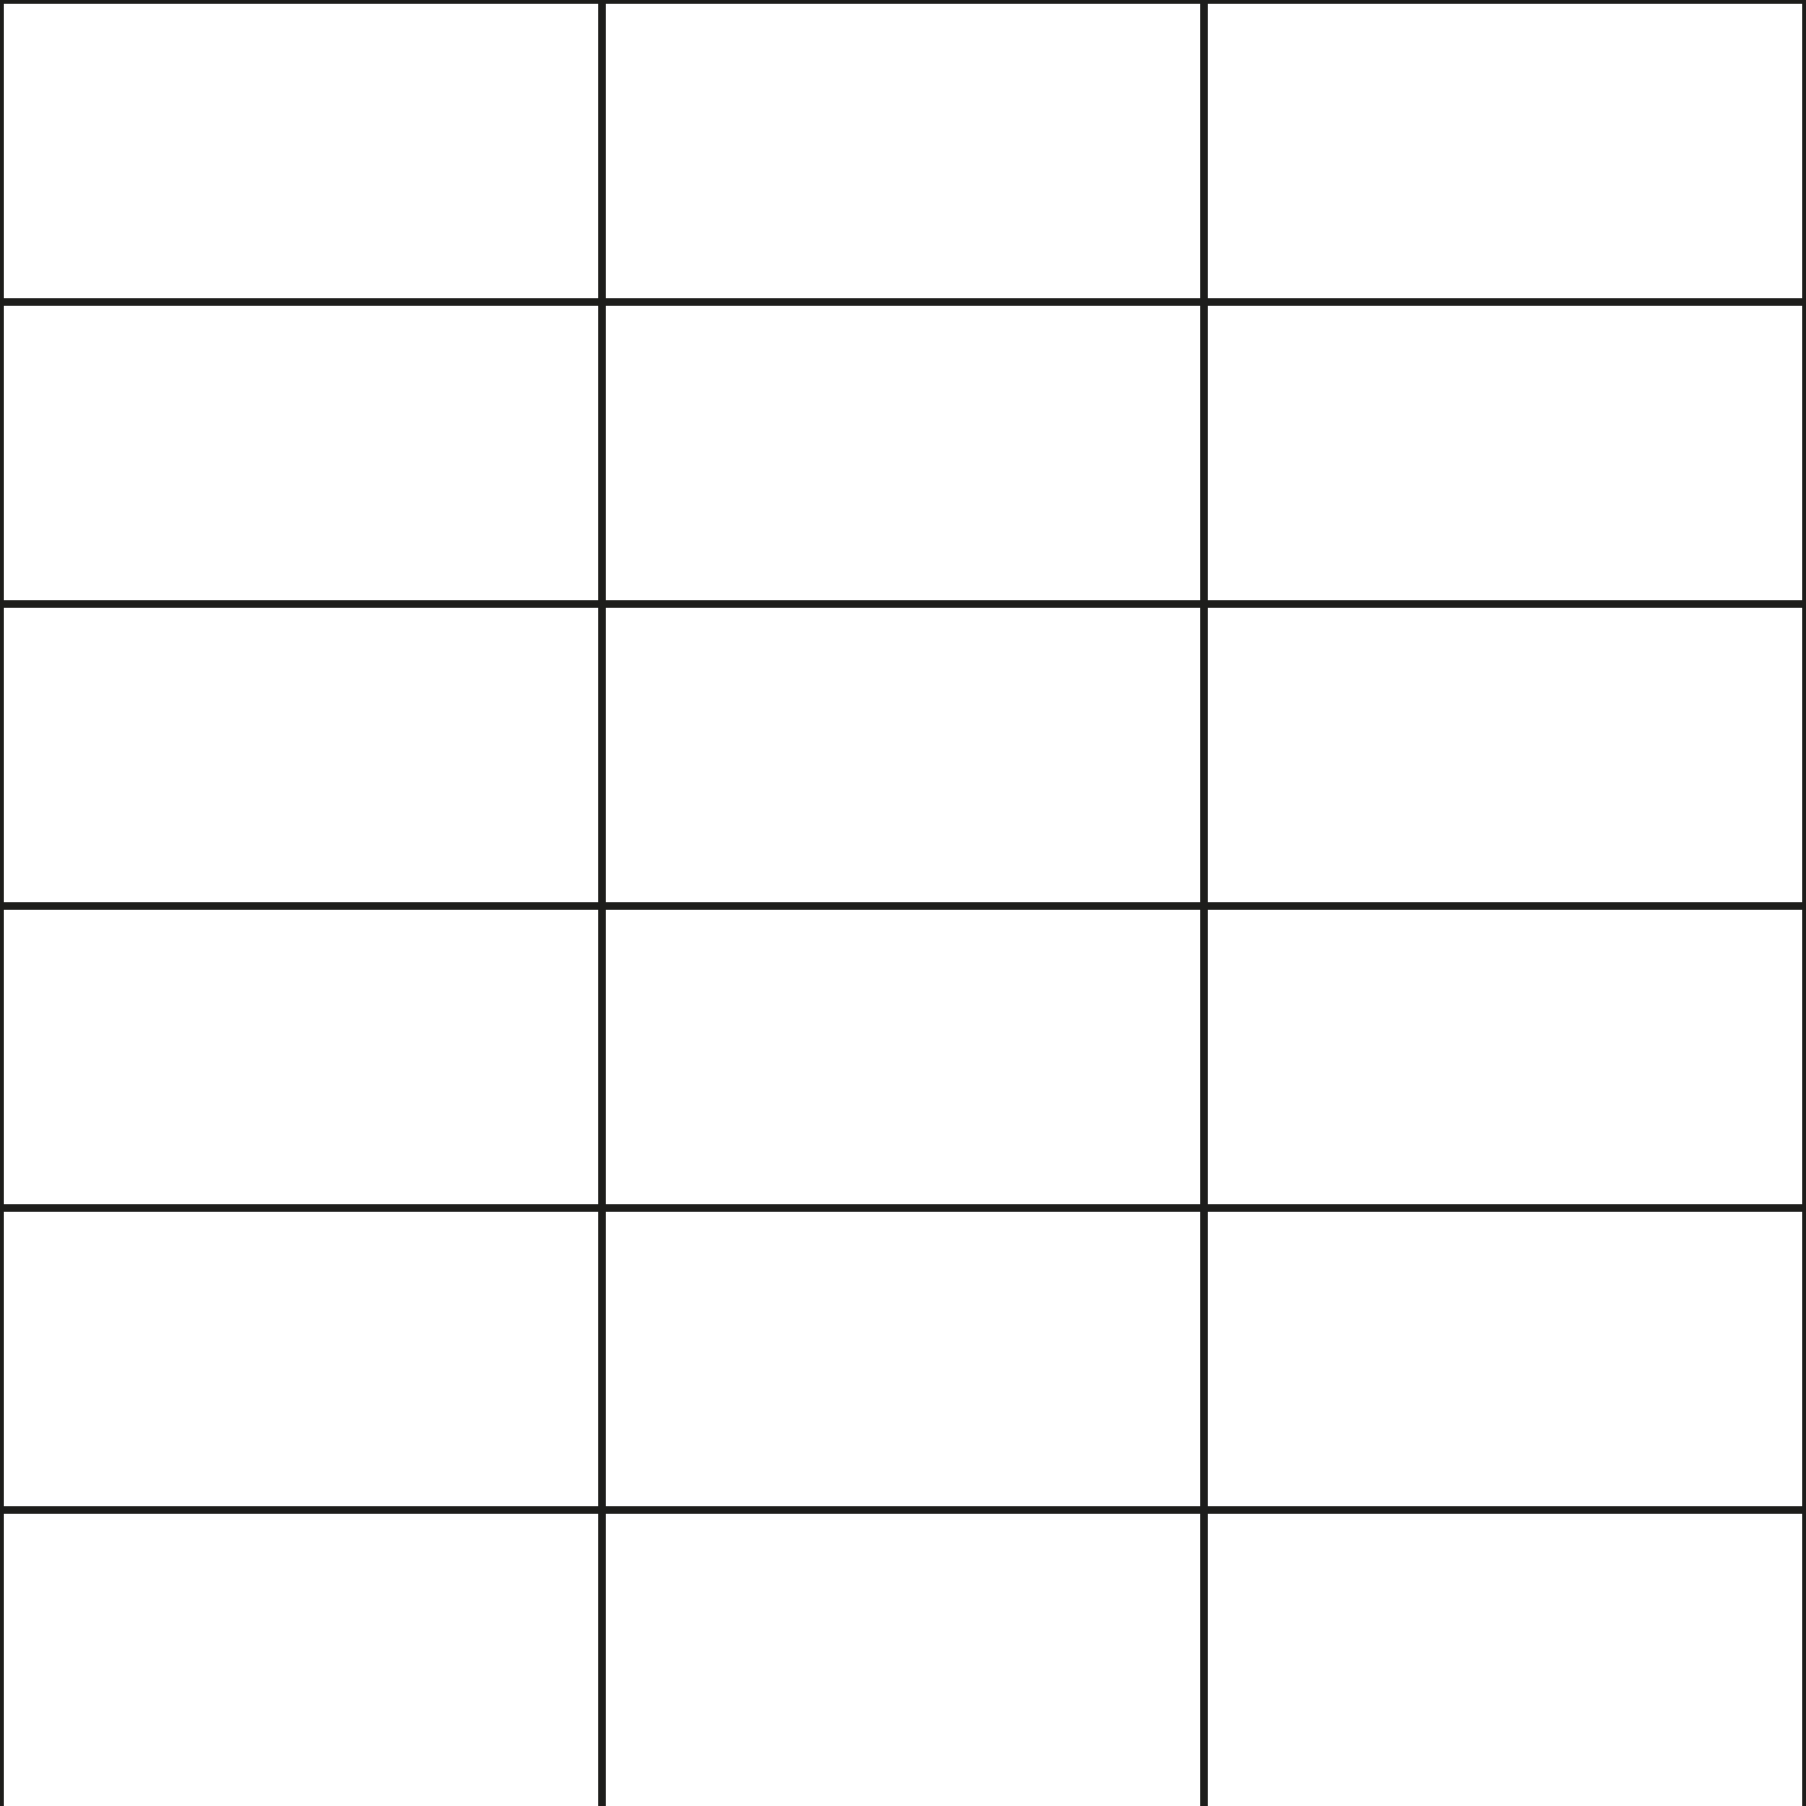 Stack bond tile 600 × 300 mm2 mm joint
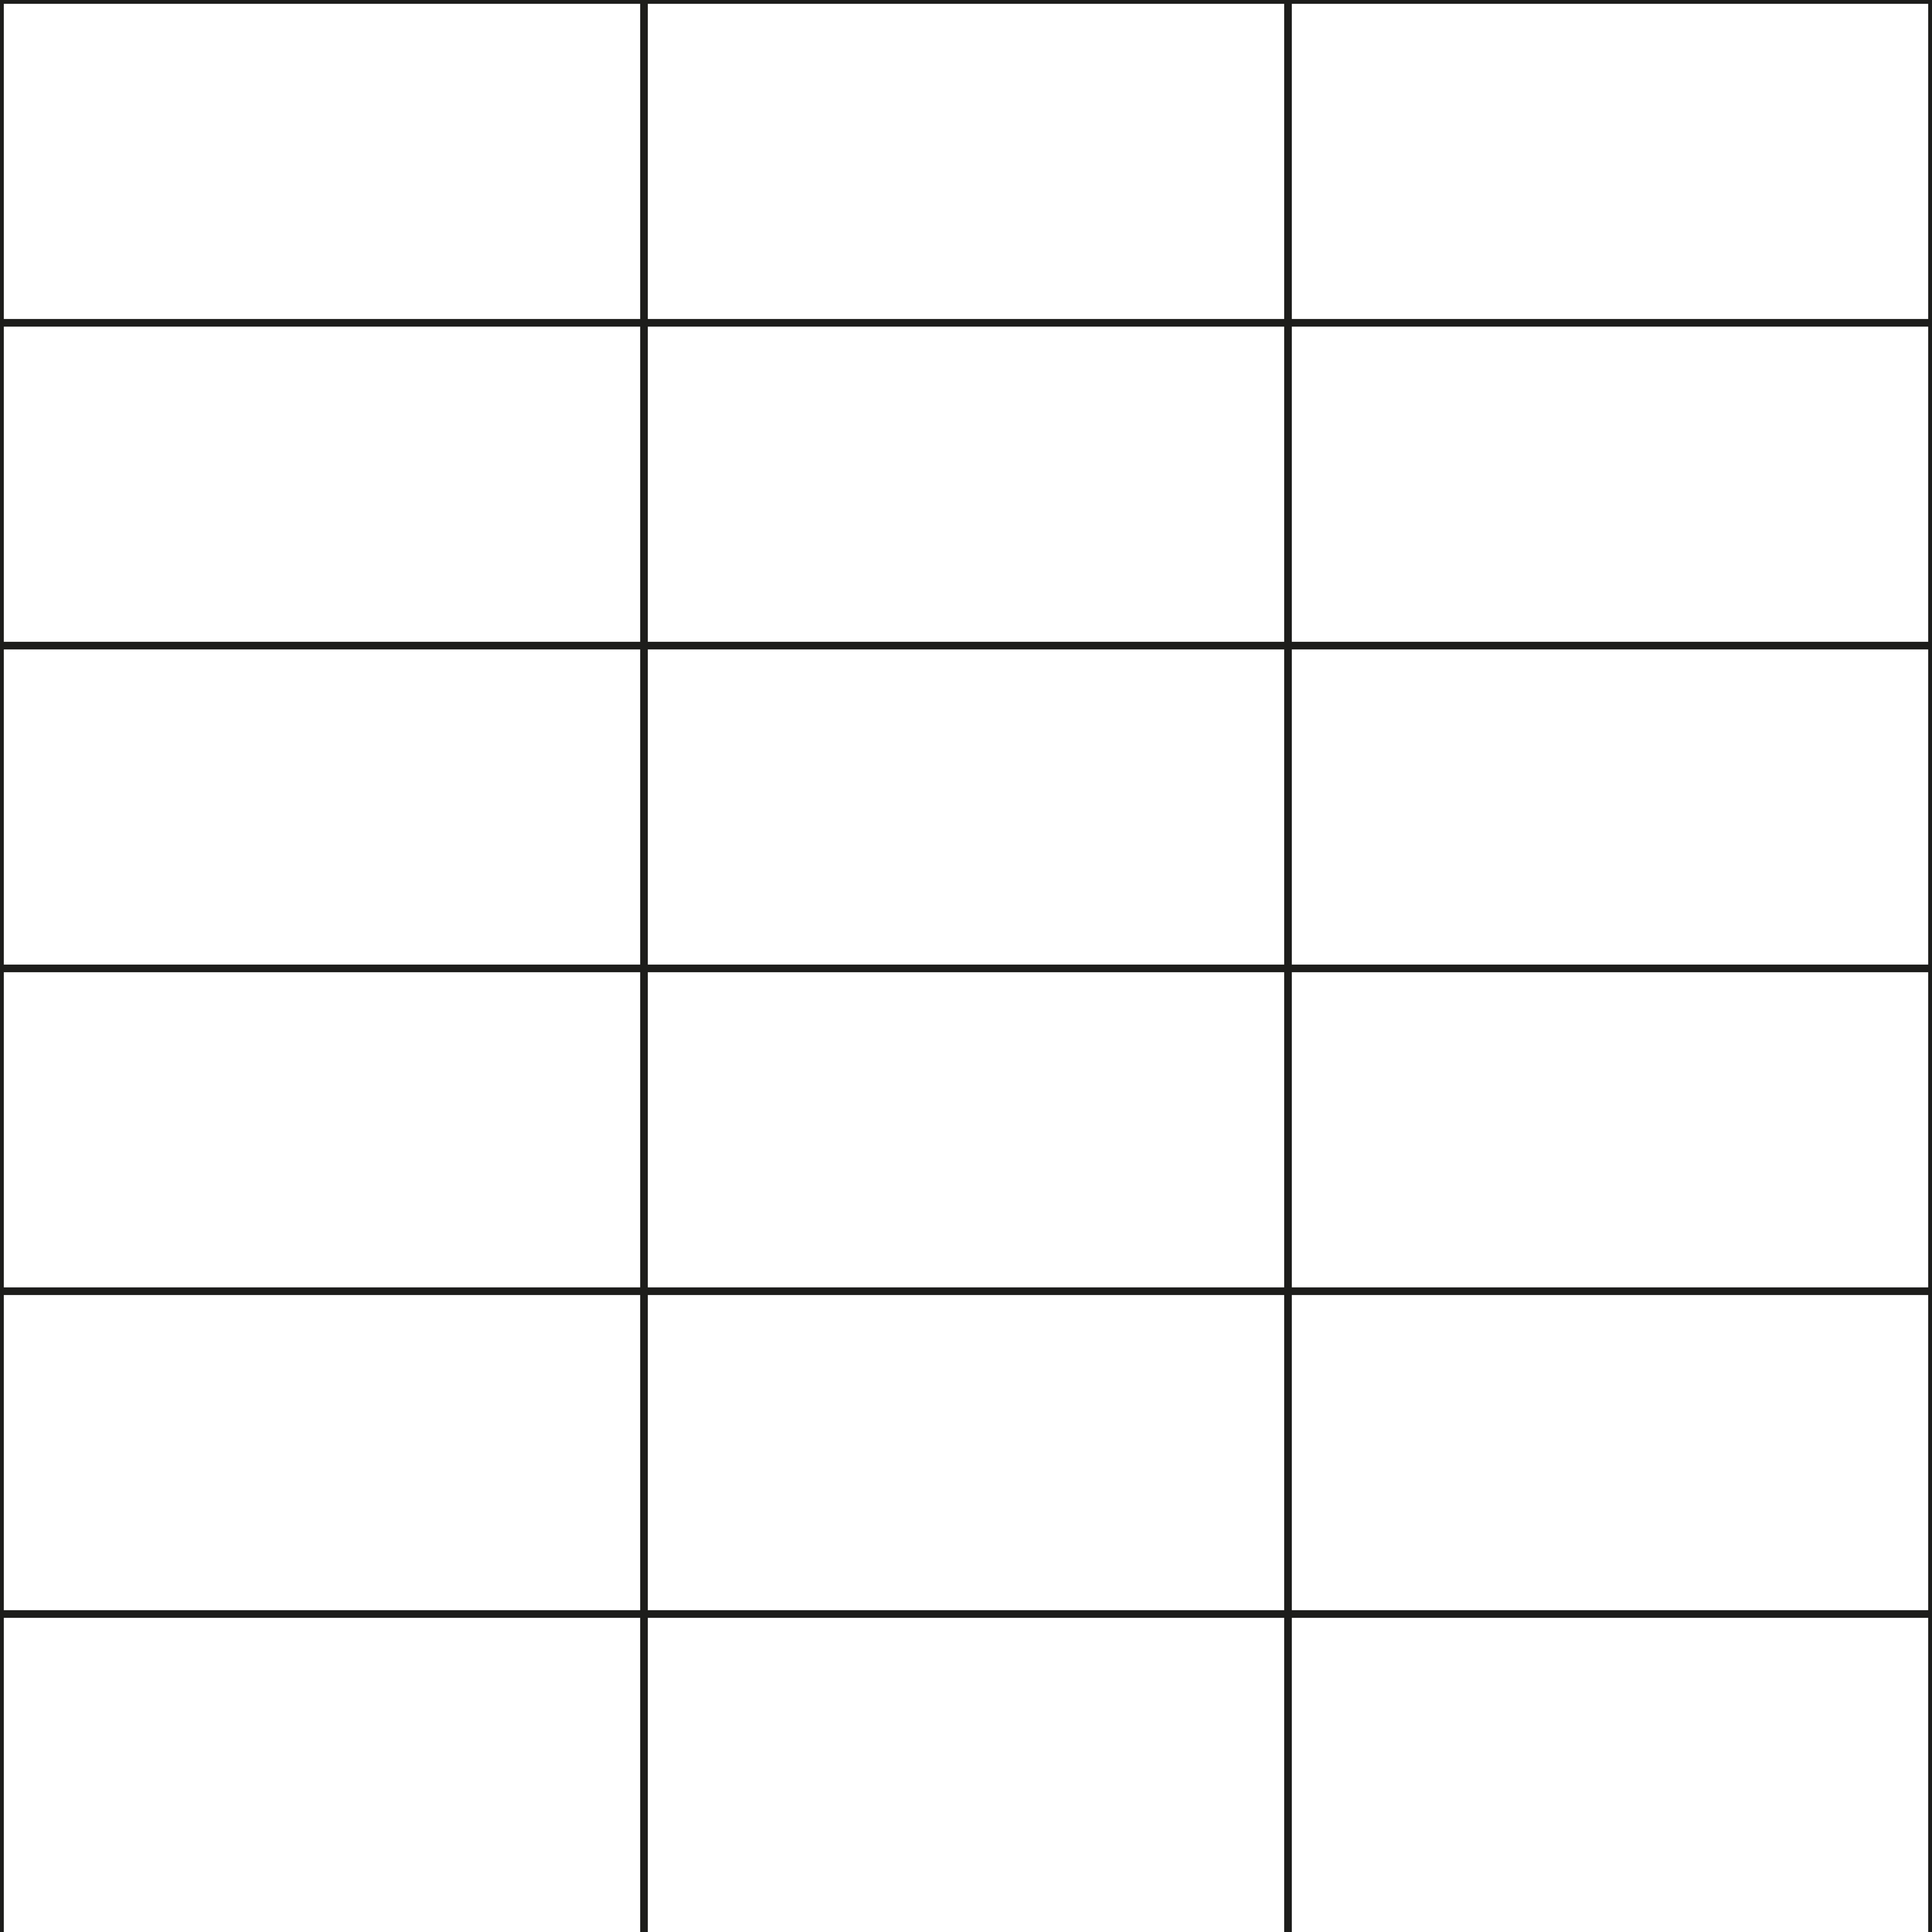 Stack bond tile 1200 × 600 mm3 mm joint
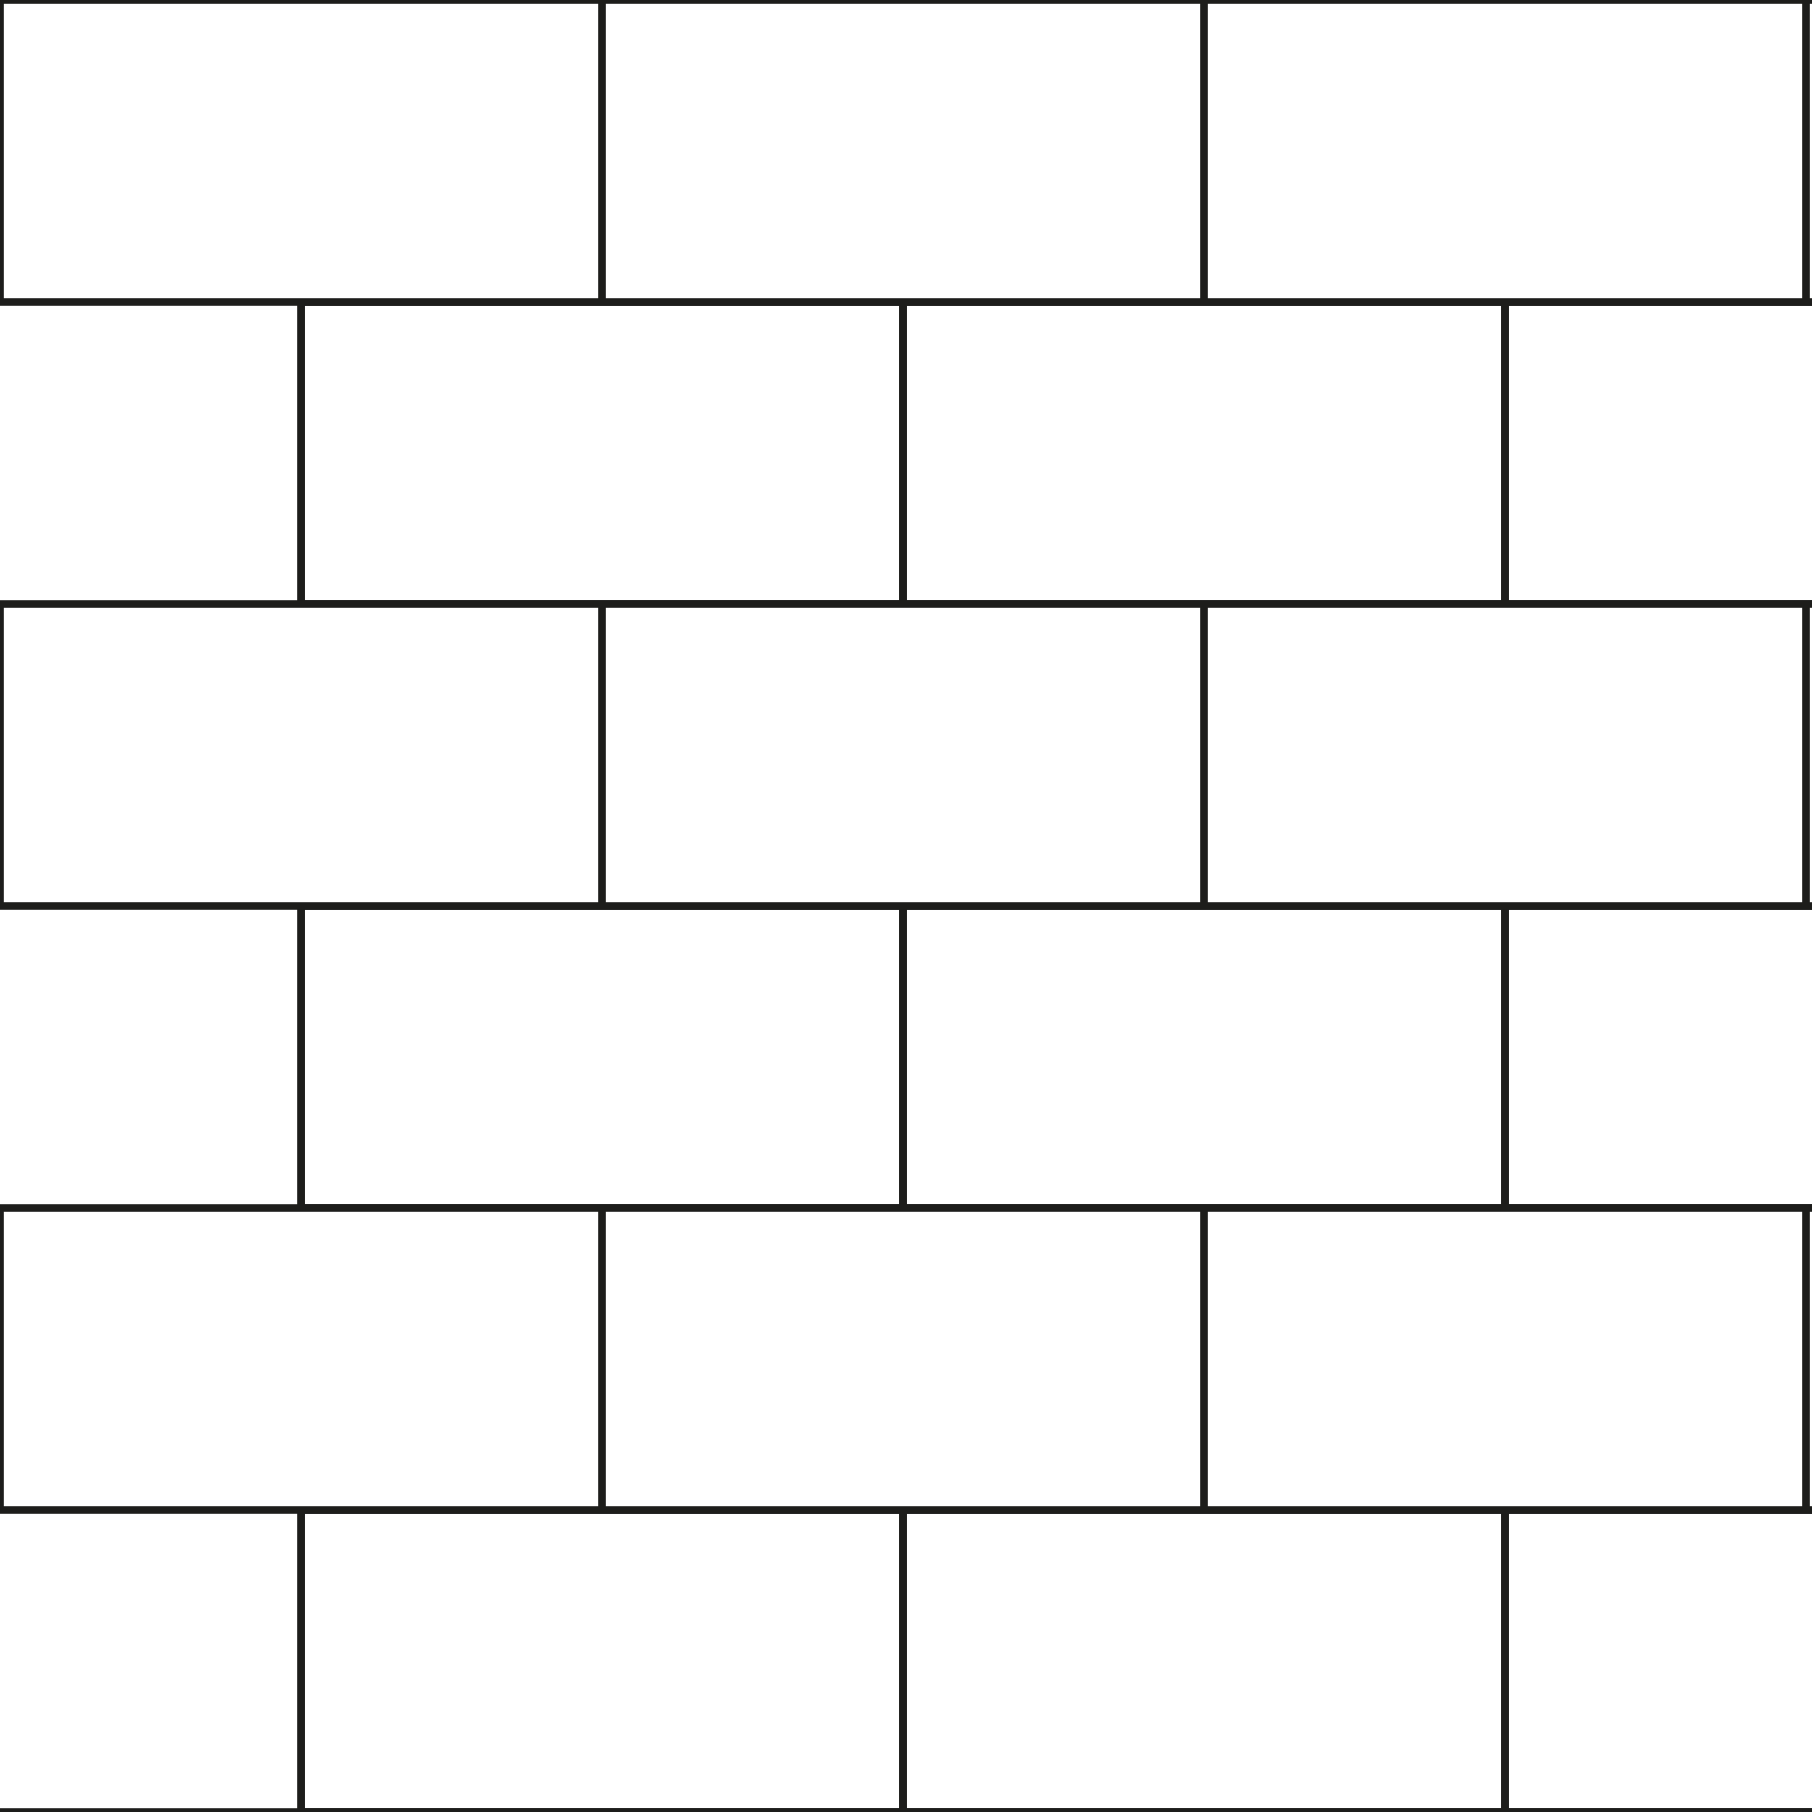 Running bond tile 600 × 300 mm2 mm joint
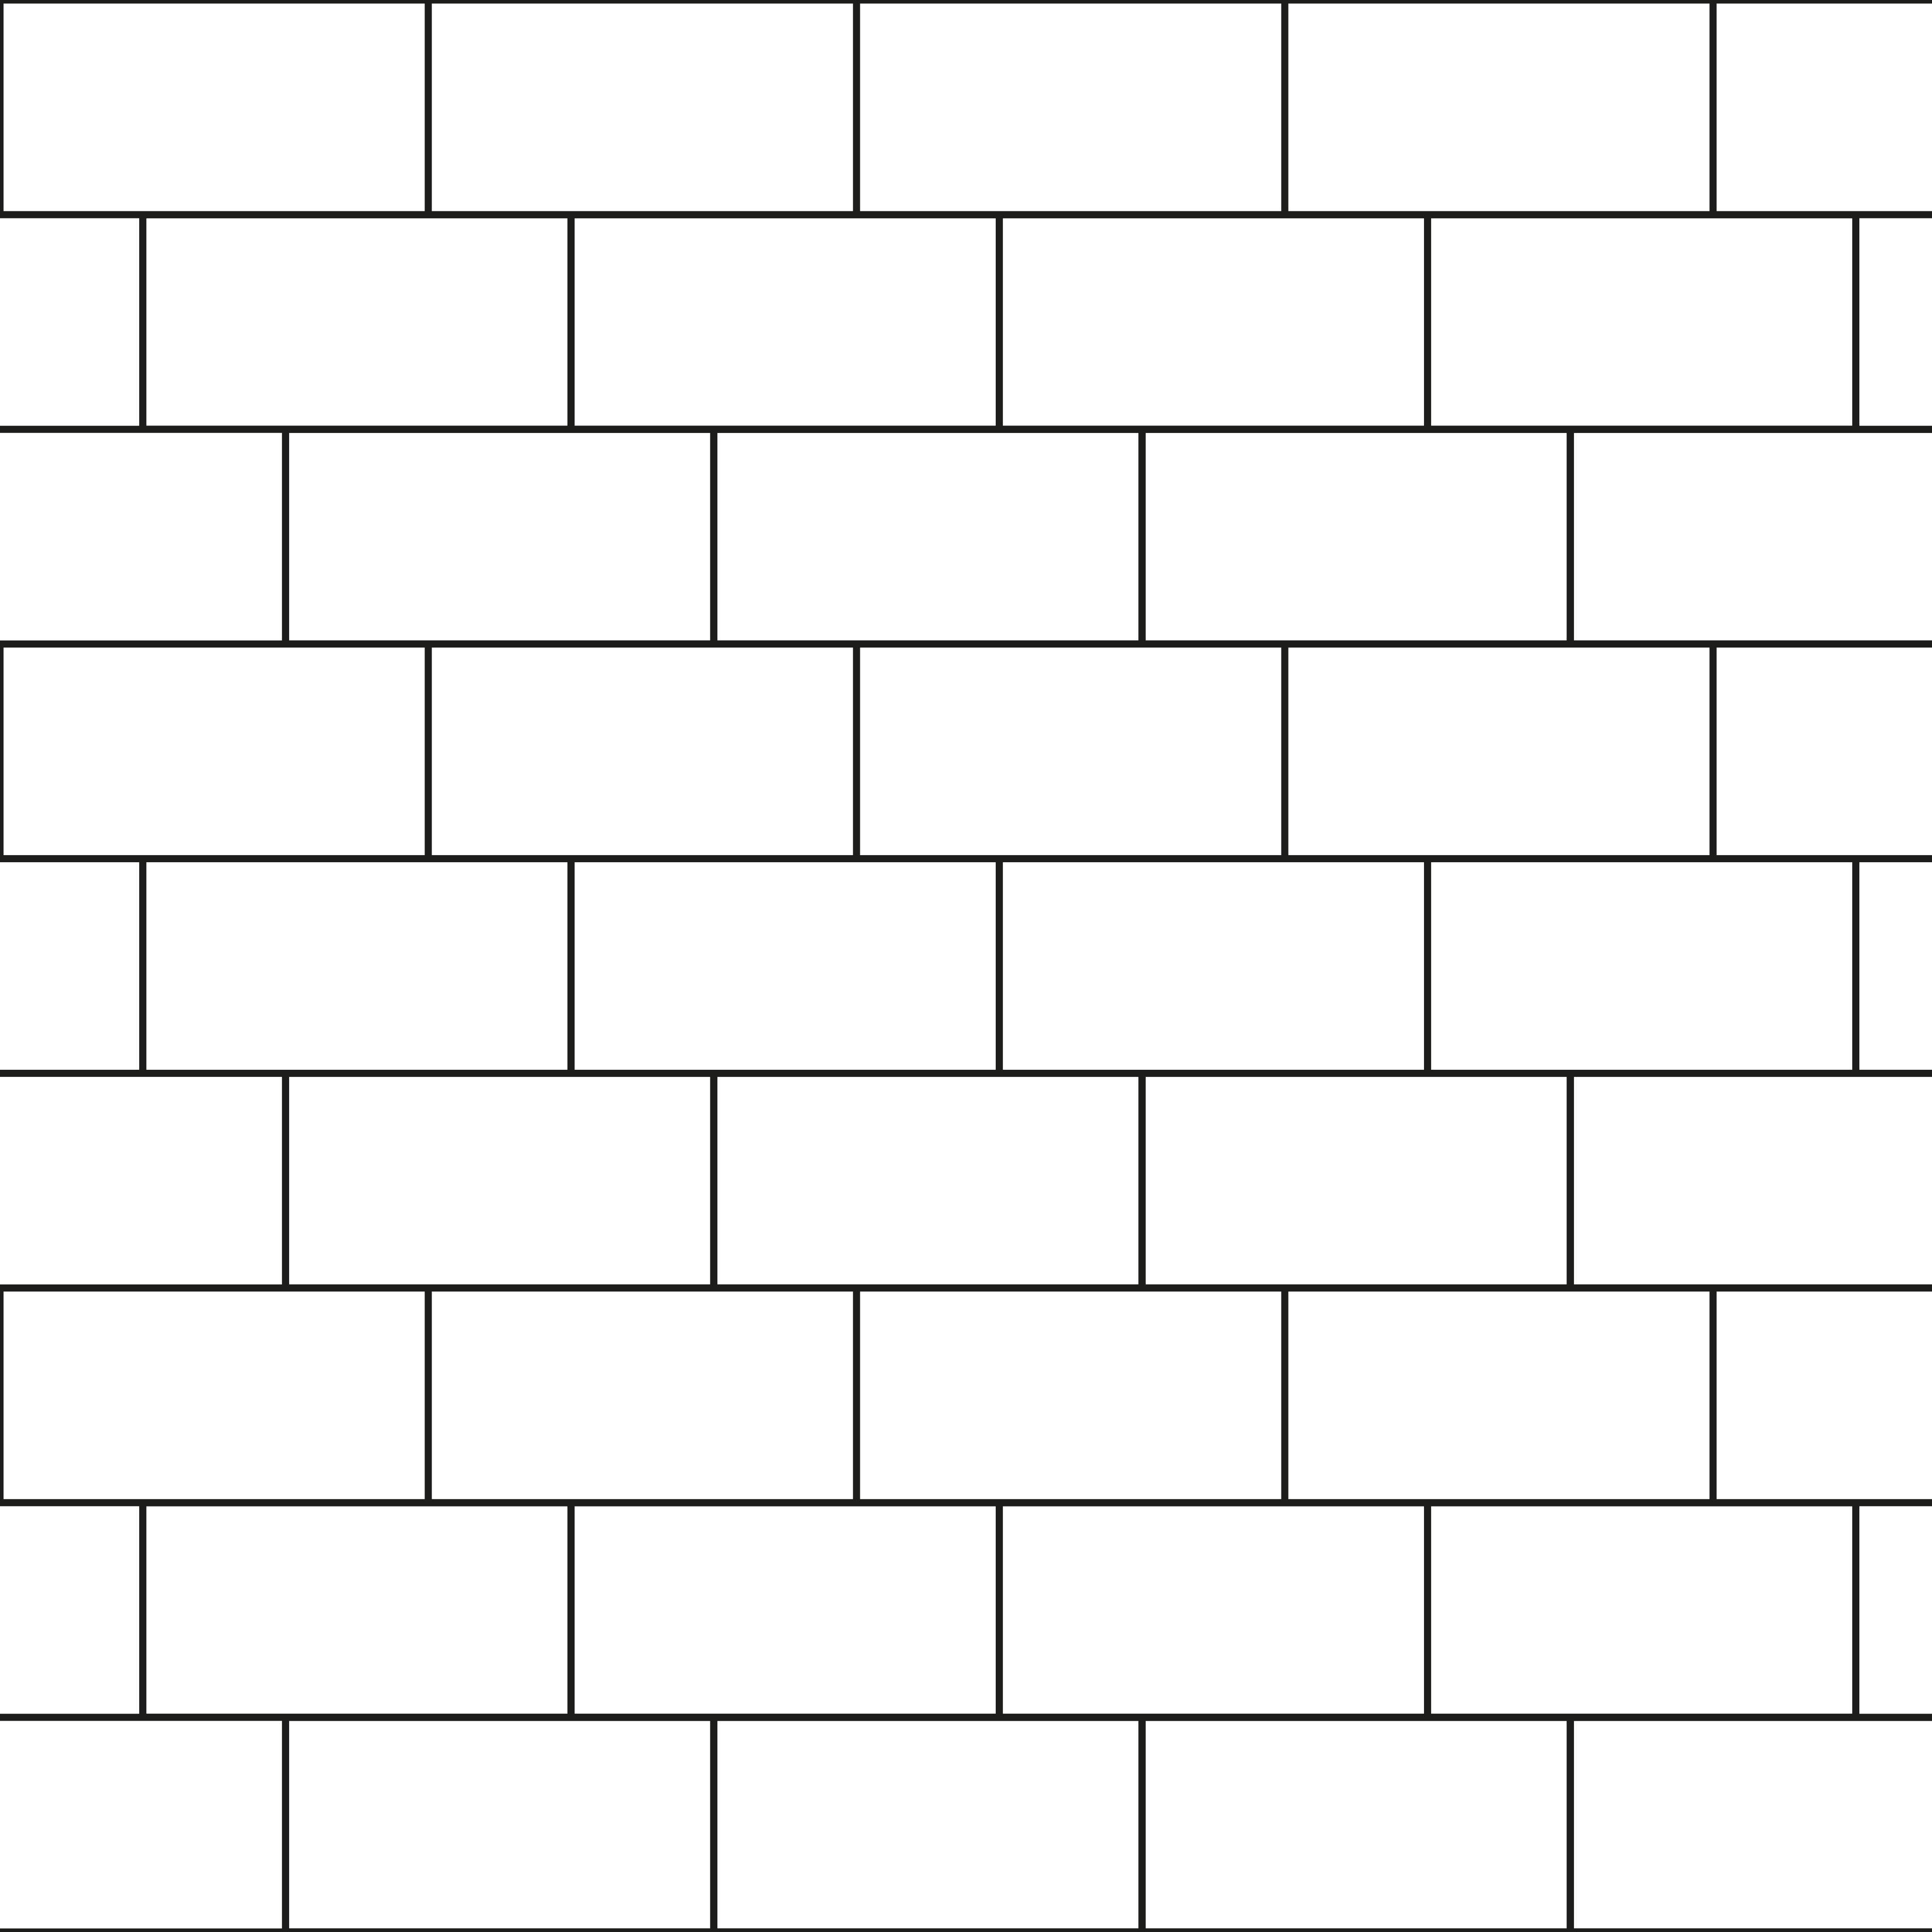 ⅓ offset tile 1200 × 600 mm3 mm joint
 Running bond tile 150 × 75 mm2 mm joint
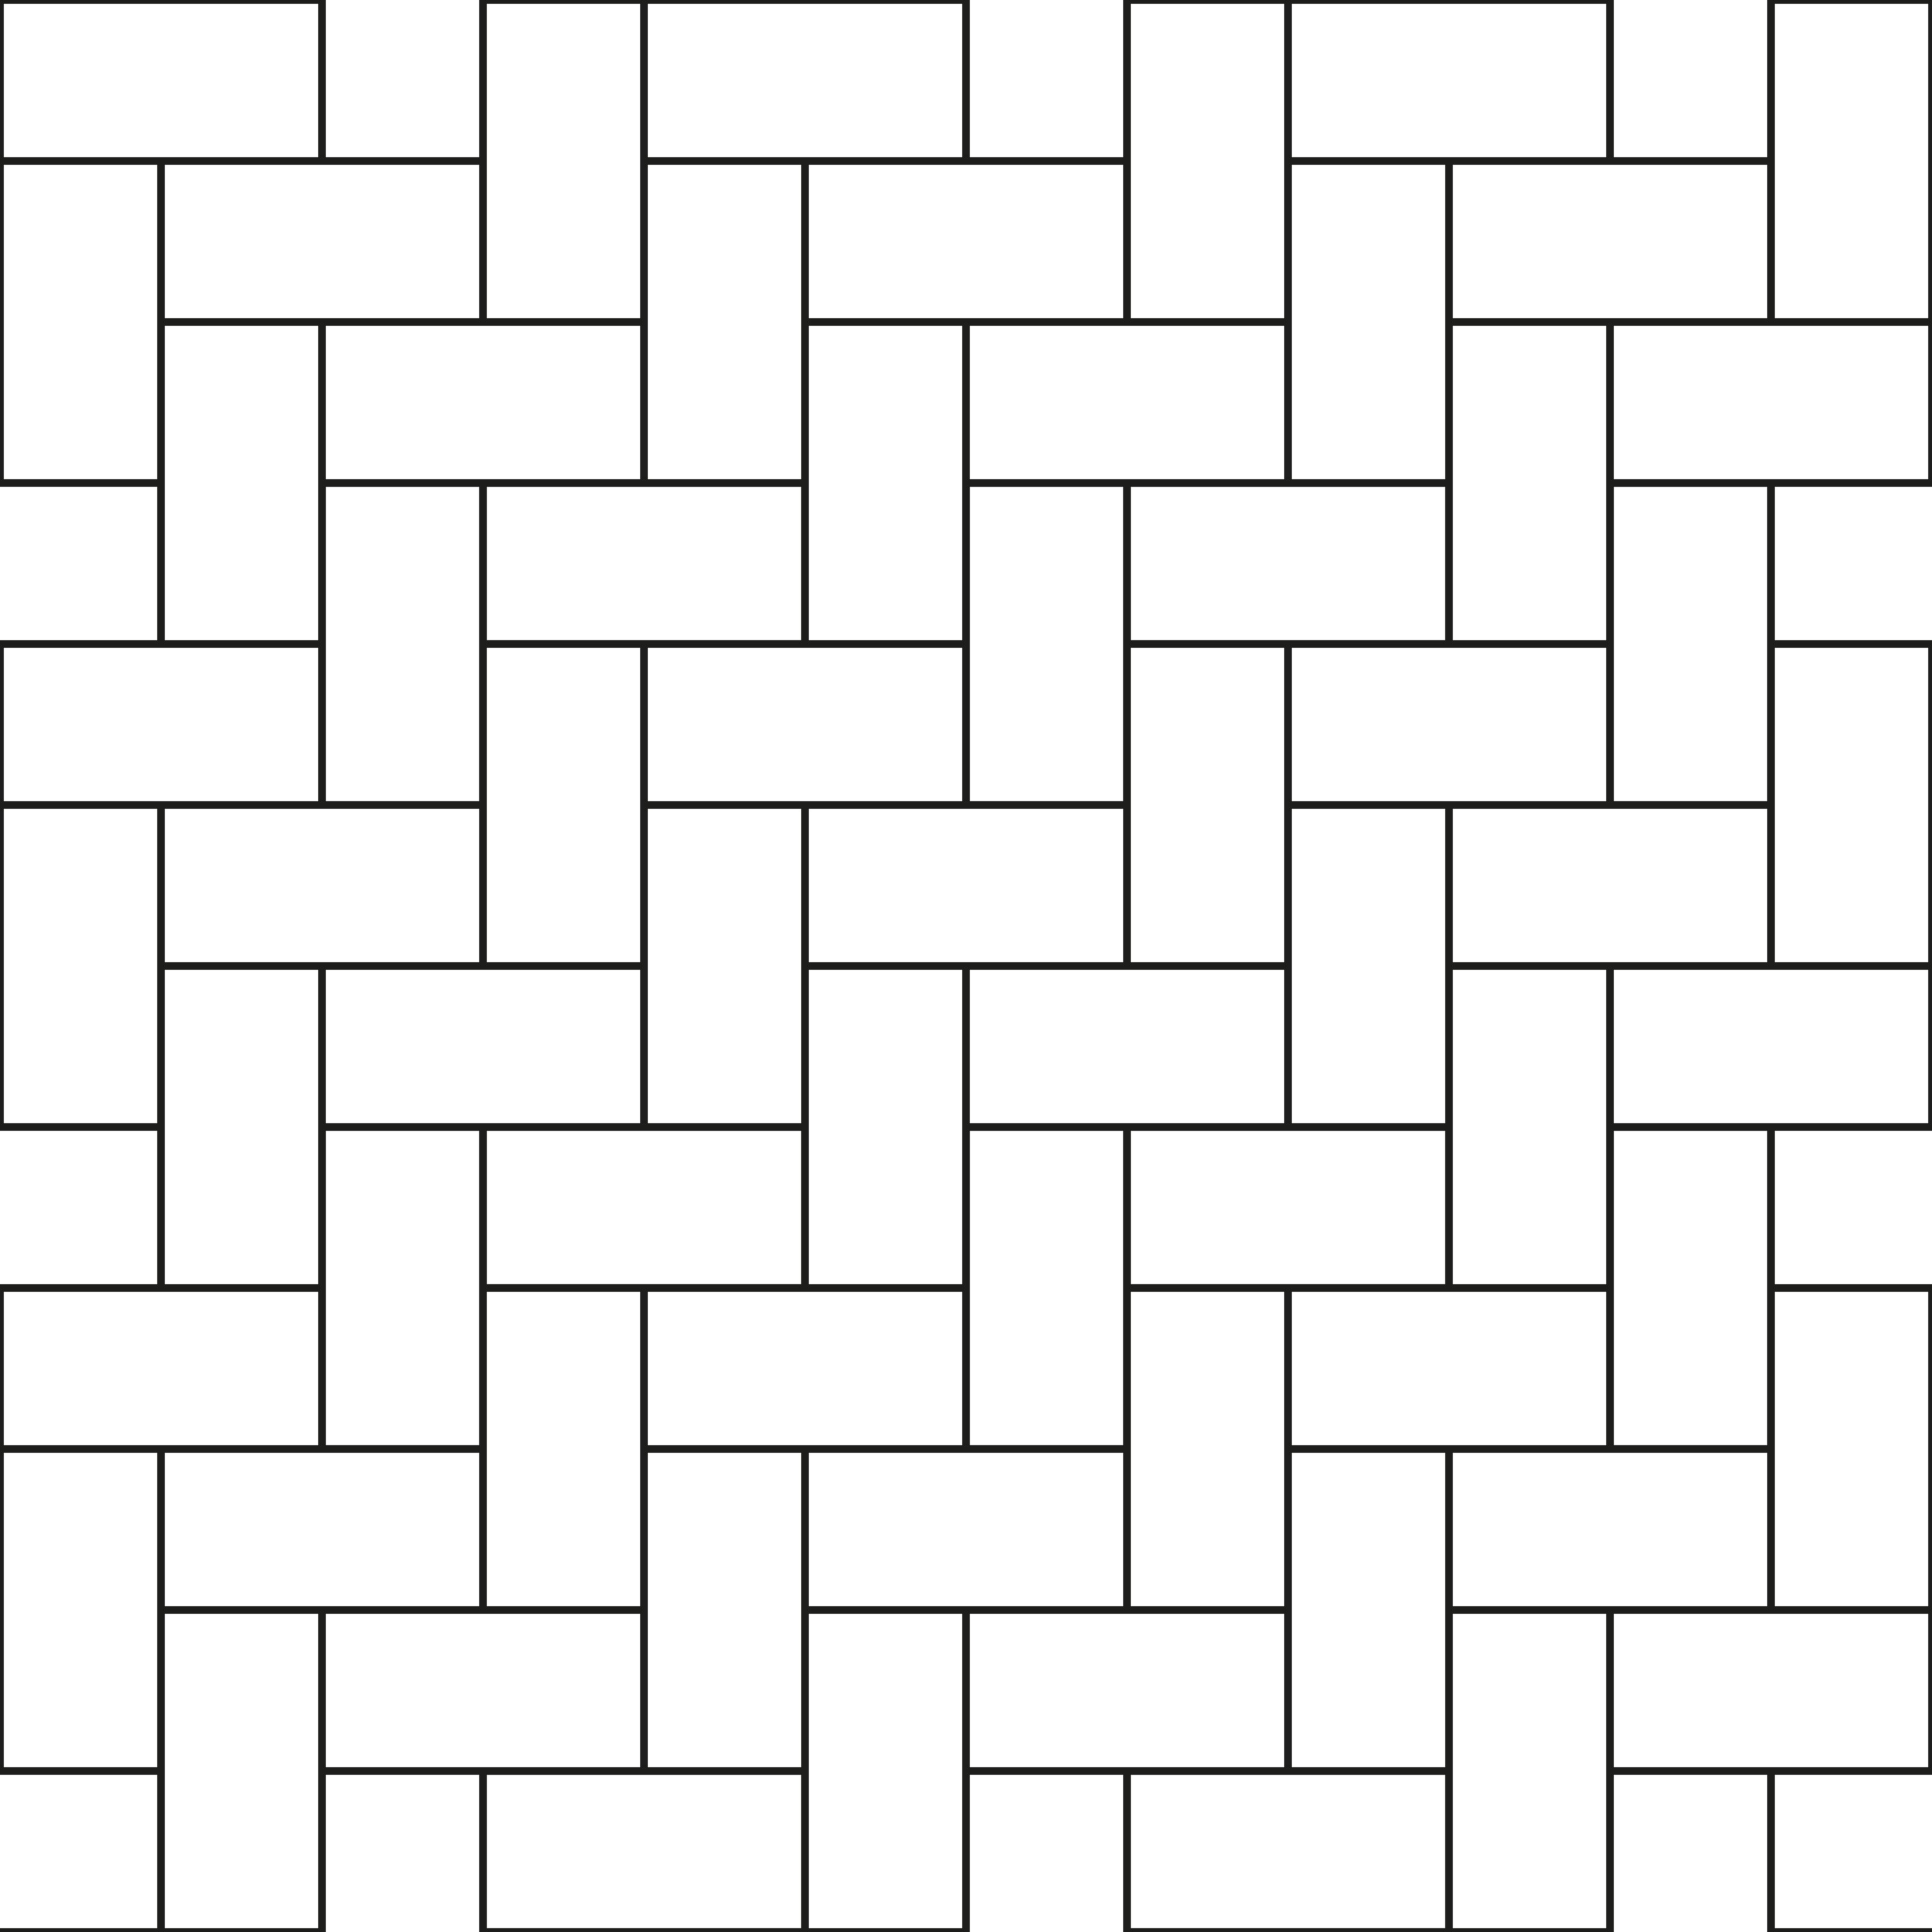 Herringbone tile 600 × 300 mm3 mm joint
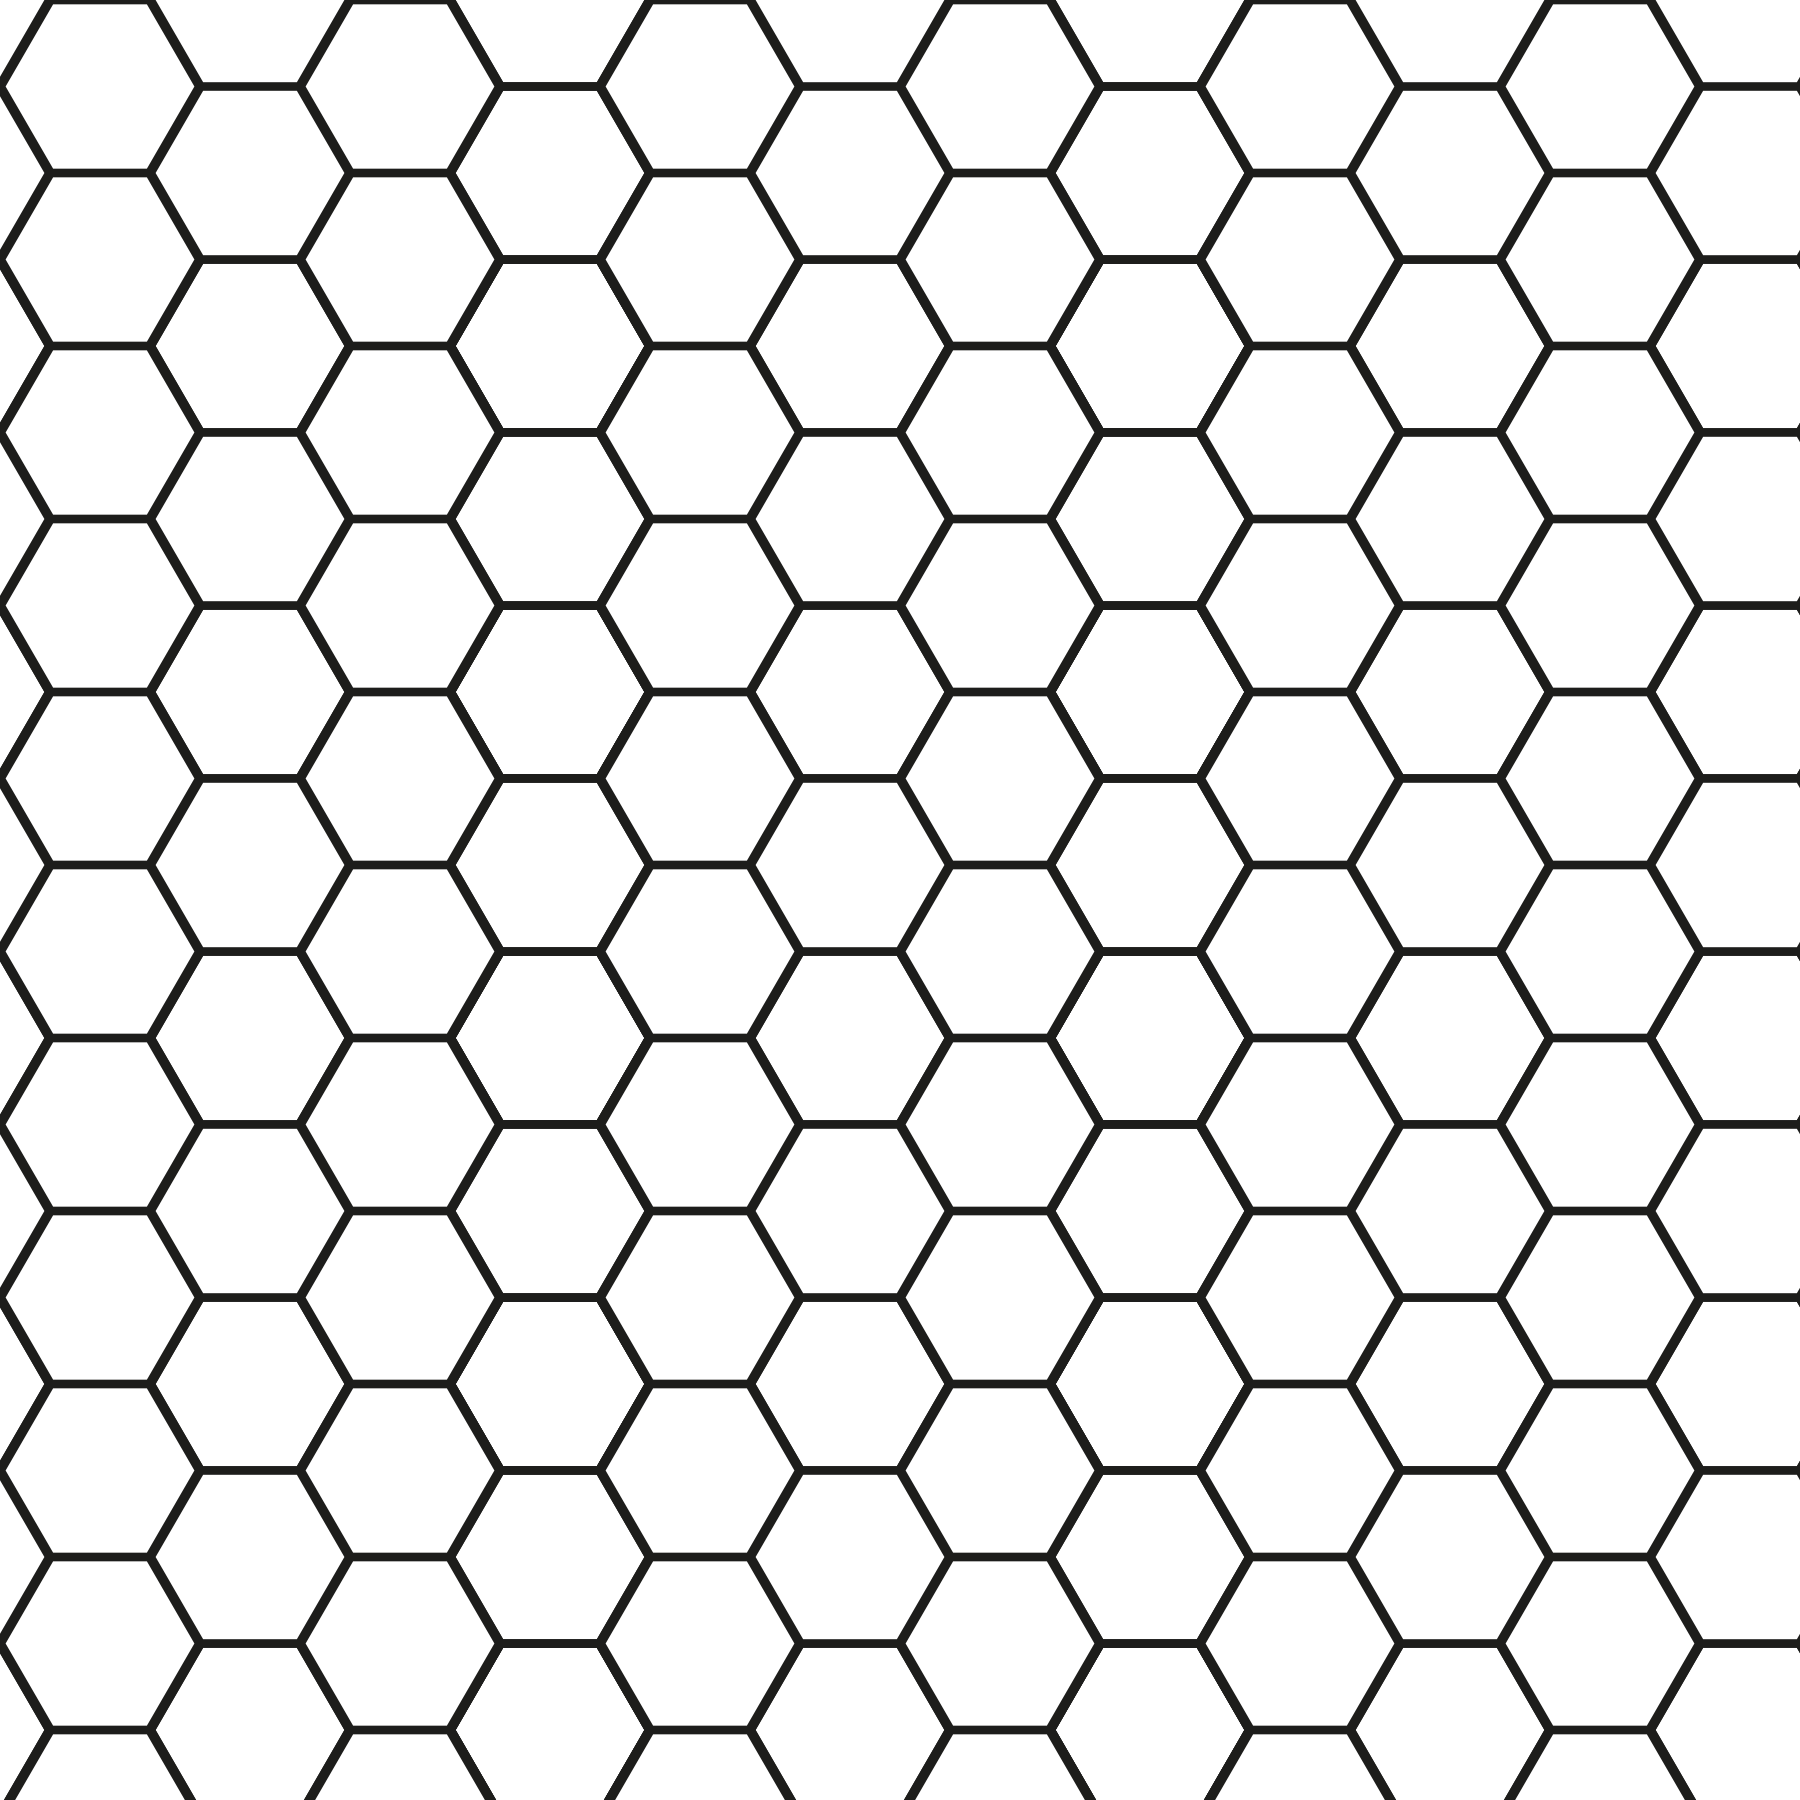 Hexagon tile 200 × 173 mm3 mm joint
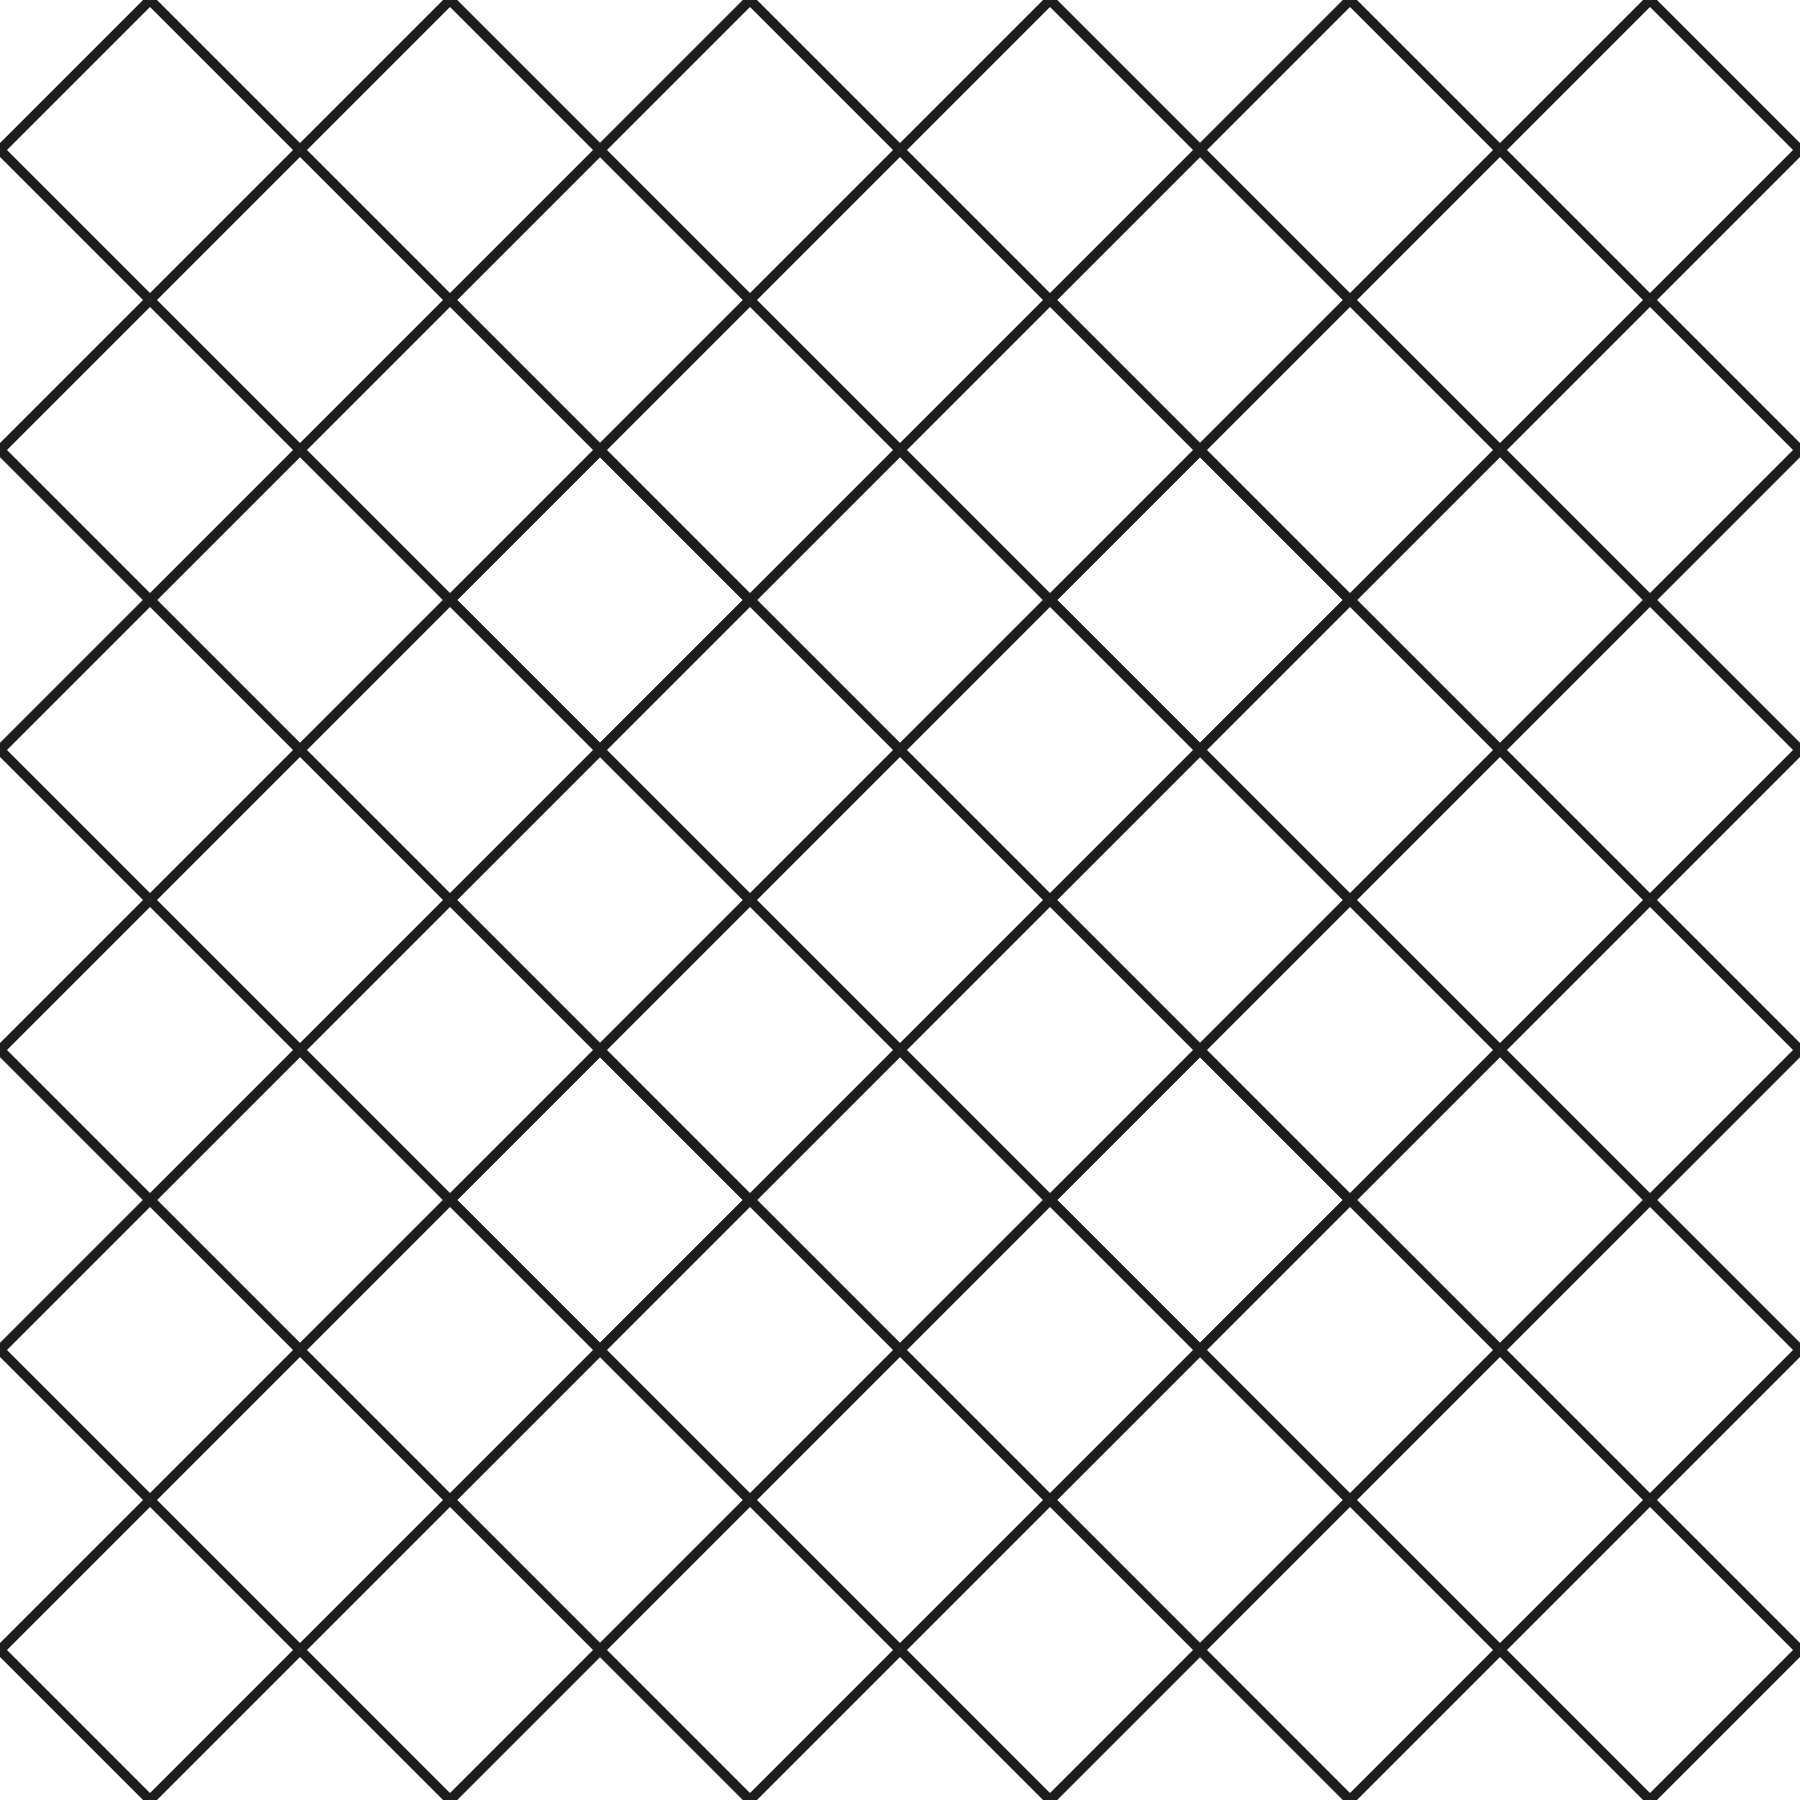 Diamond tile 300 × 300 mm3 mm joint
Floorboard
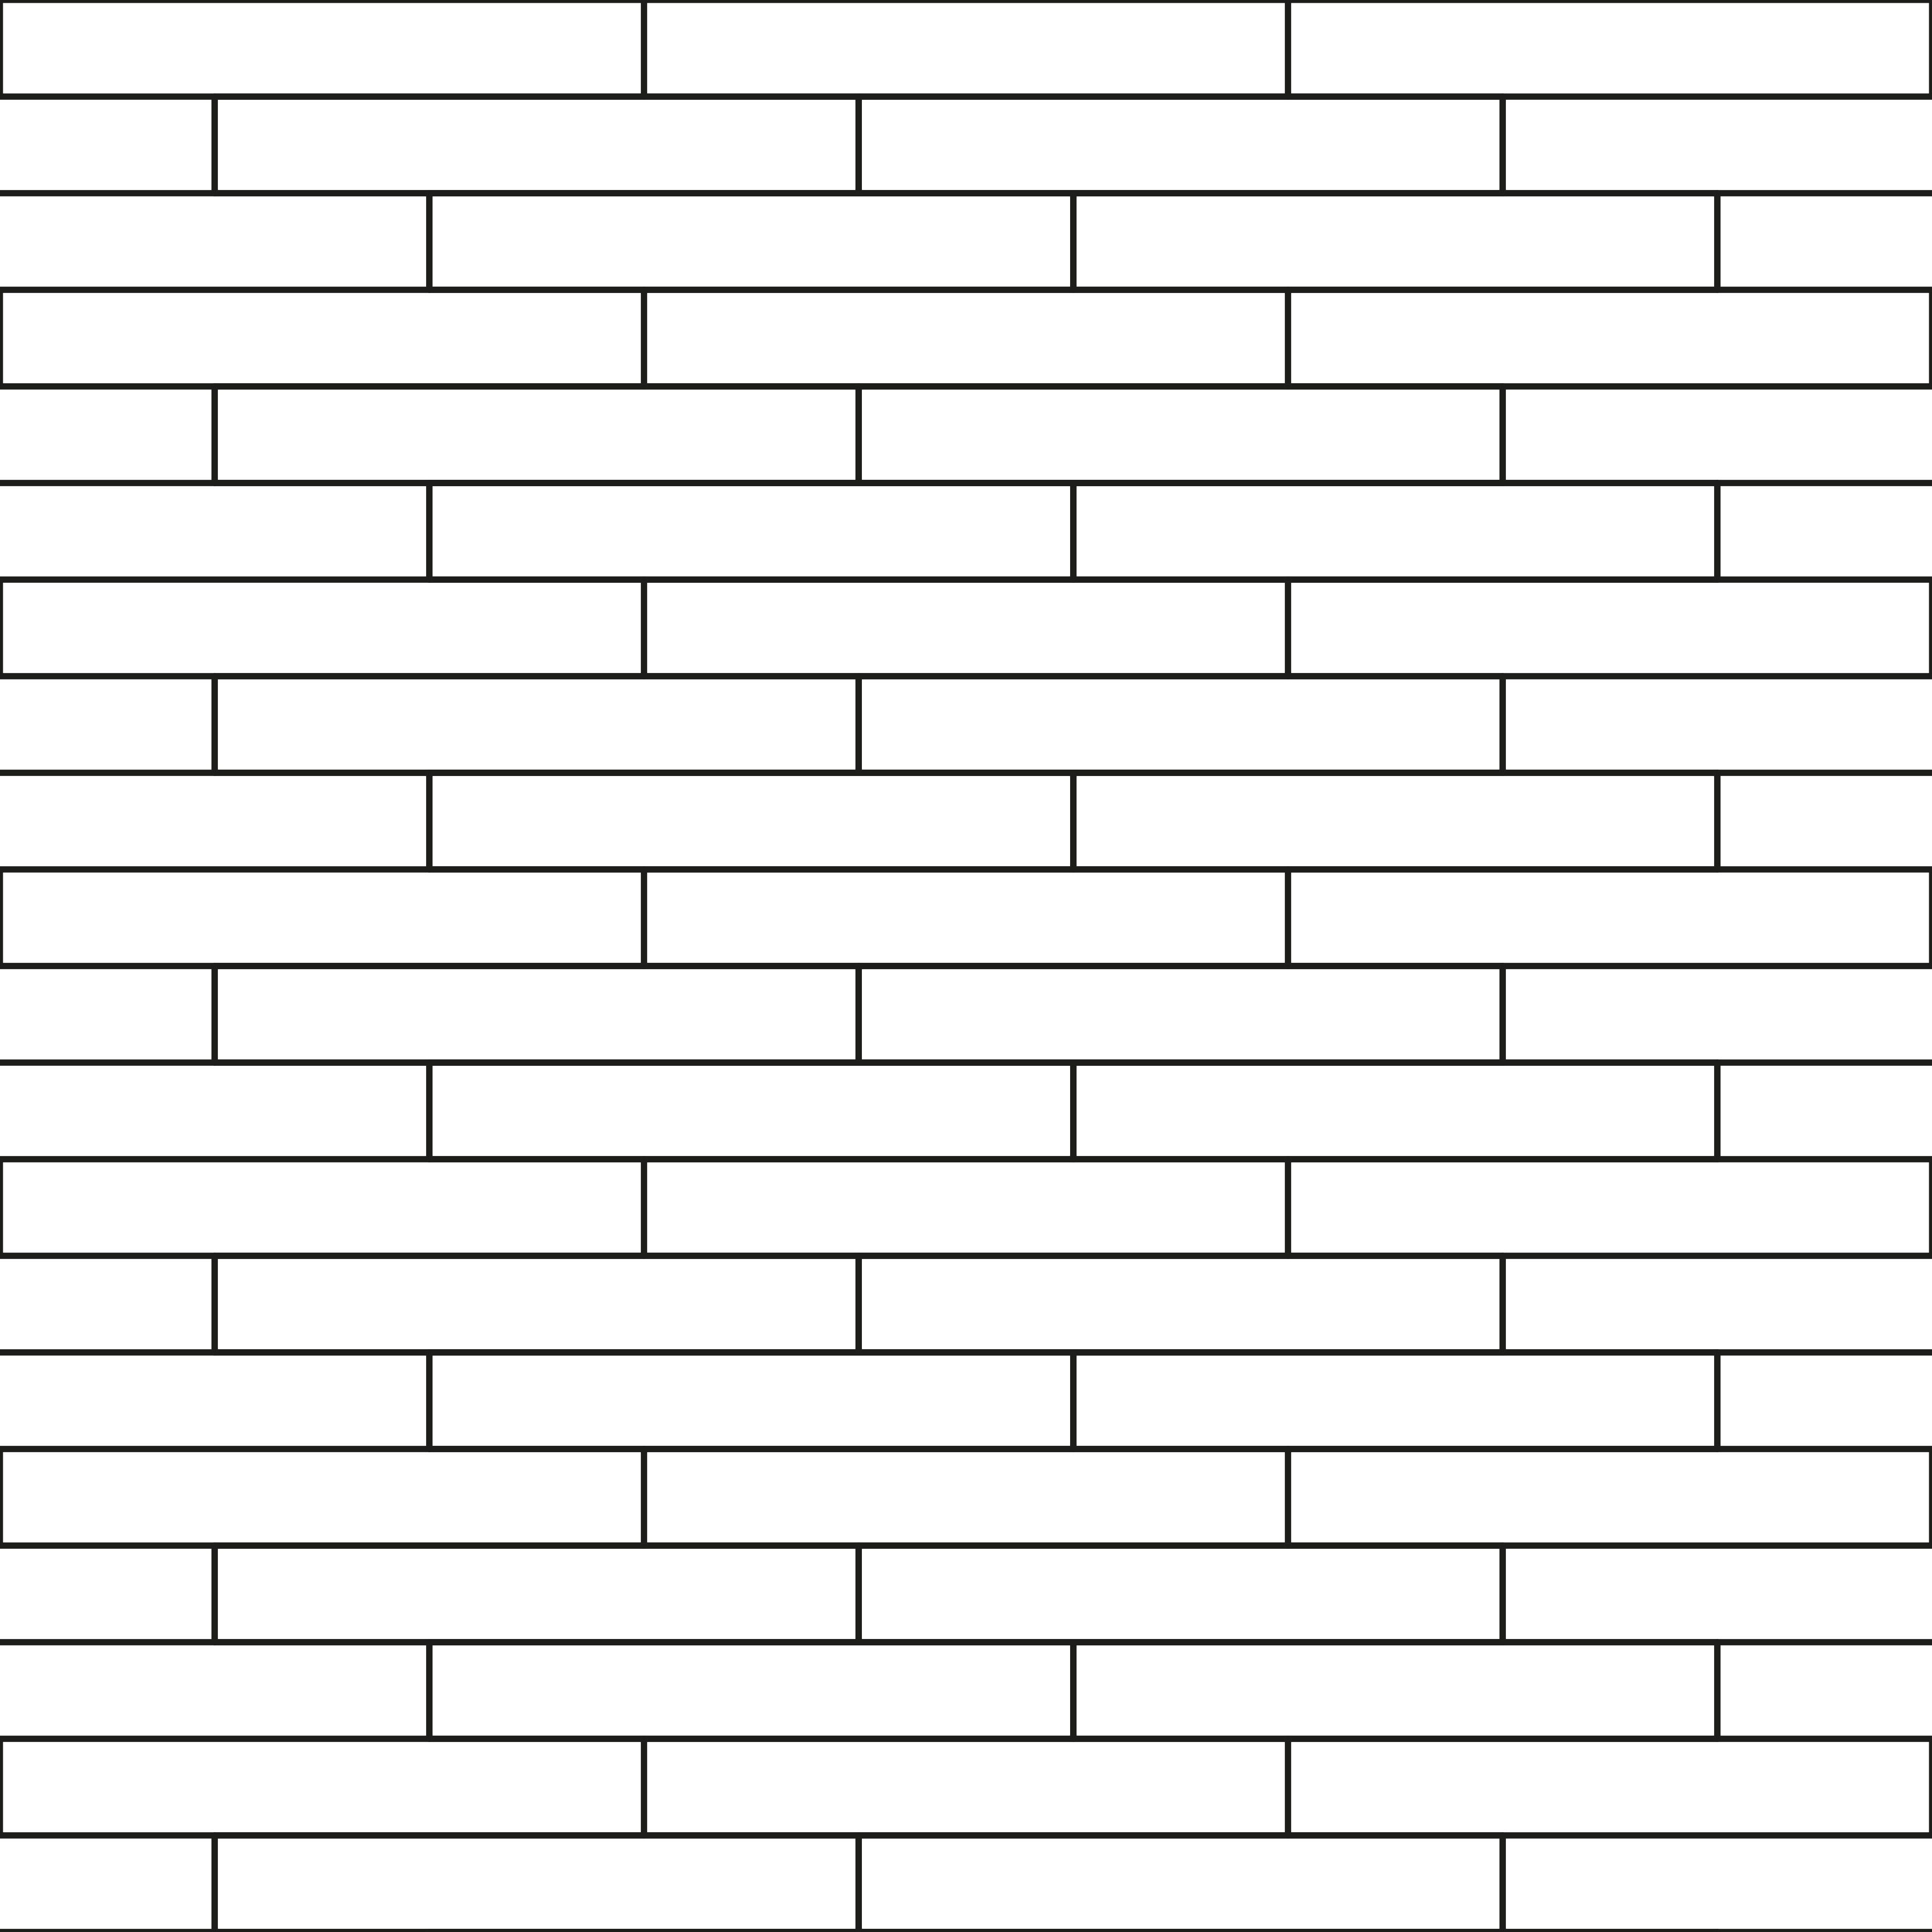 ⅓ offset floorboard 1200 × 180 mmNo joint
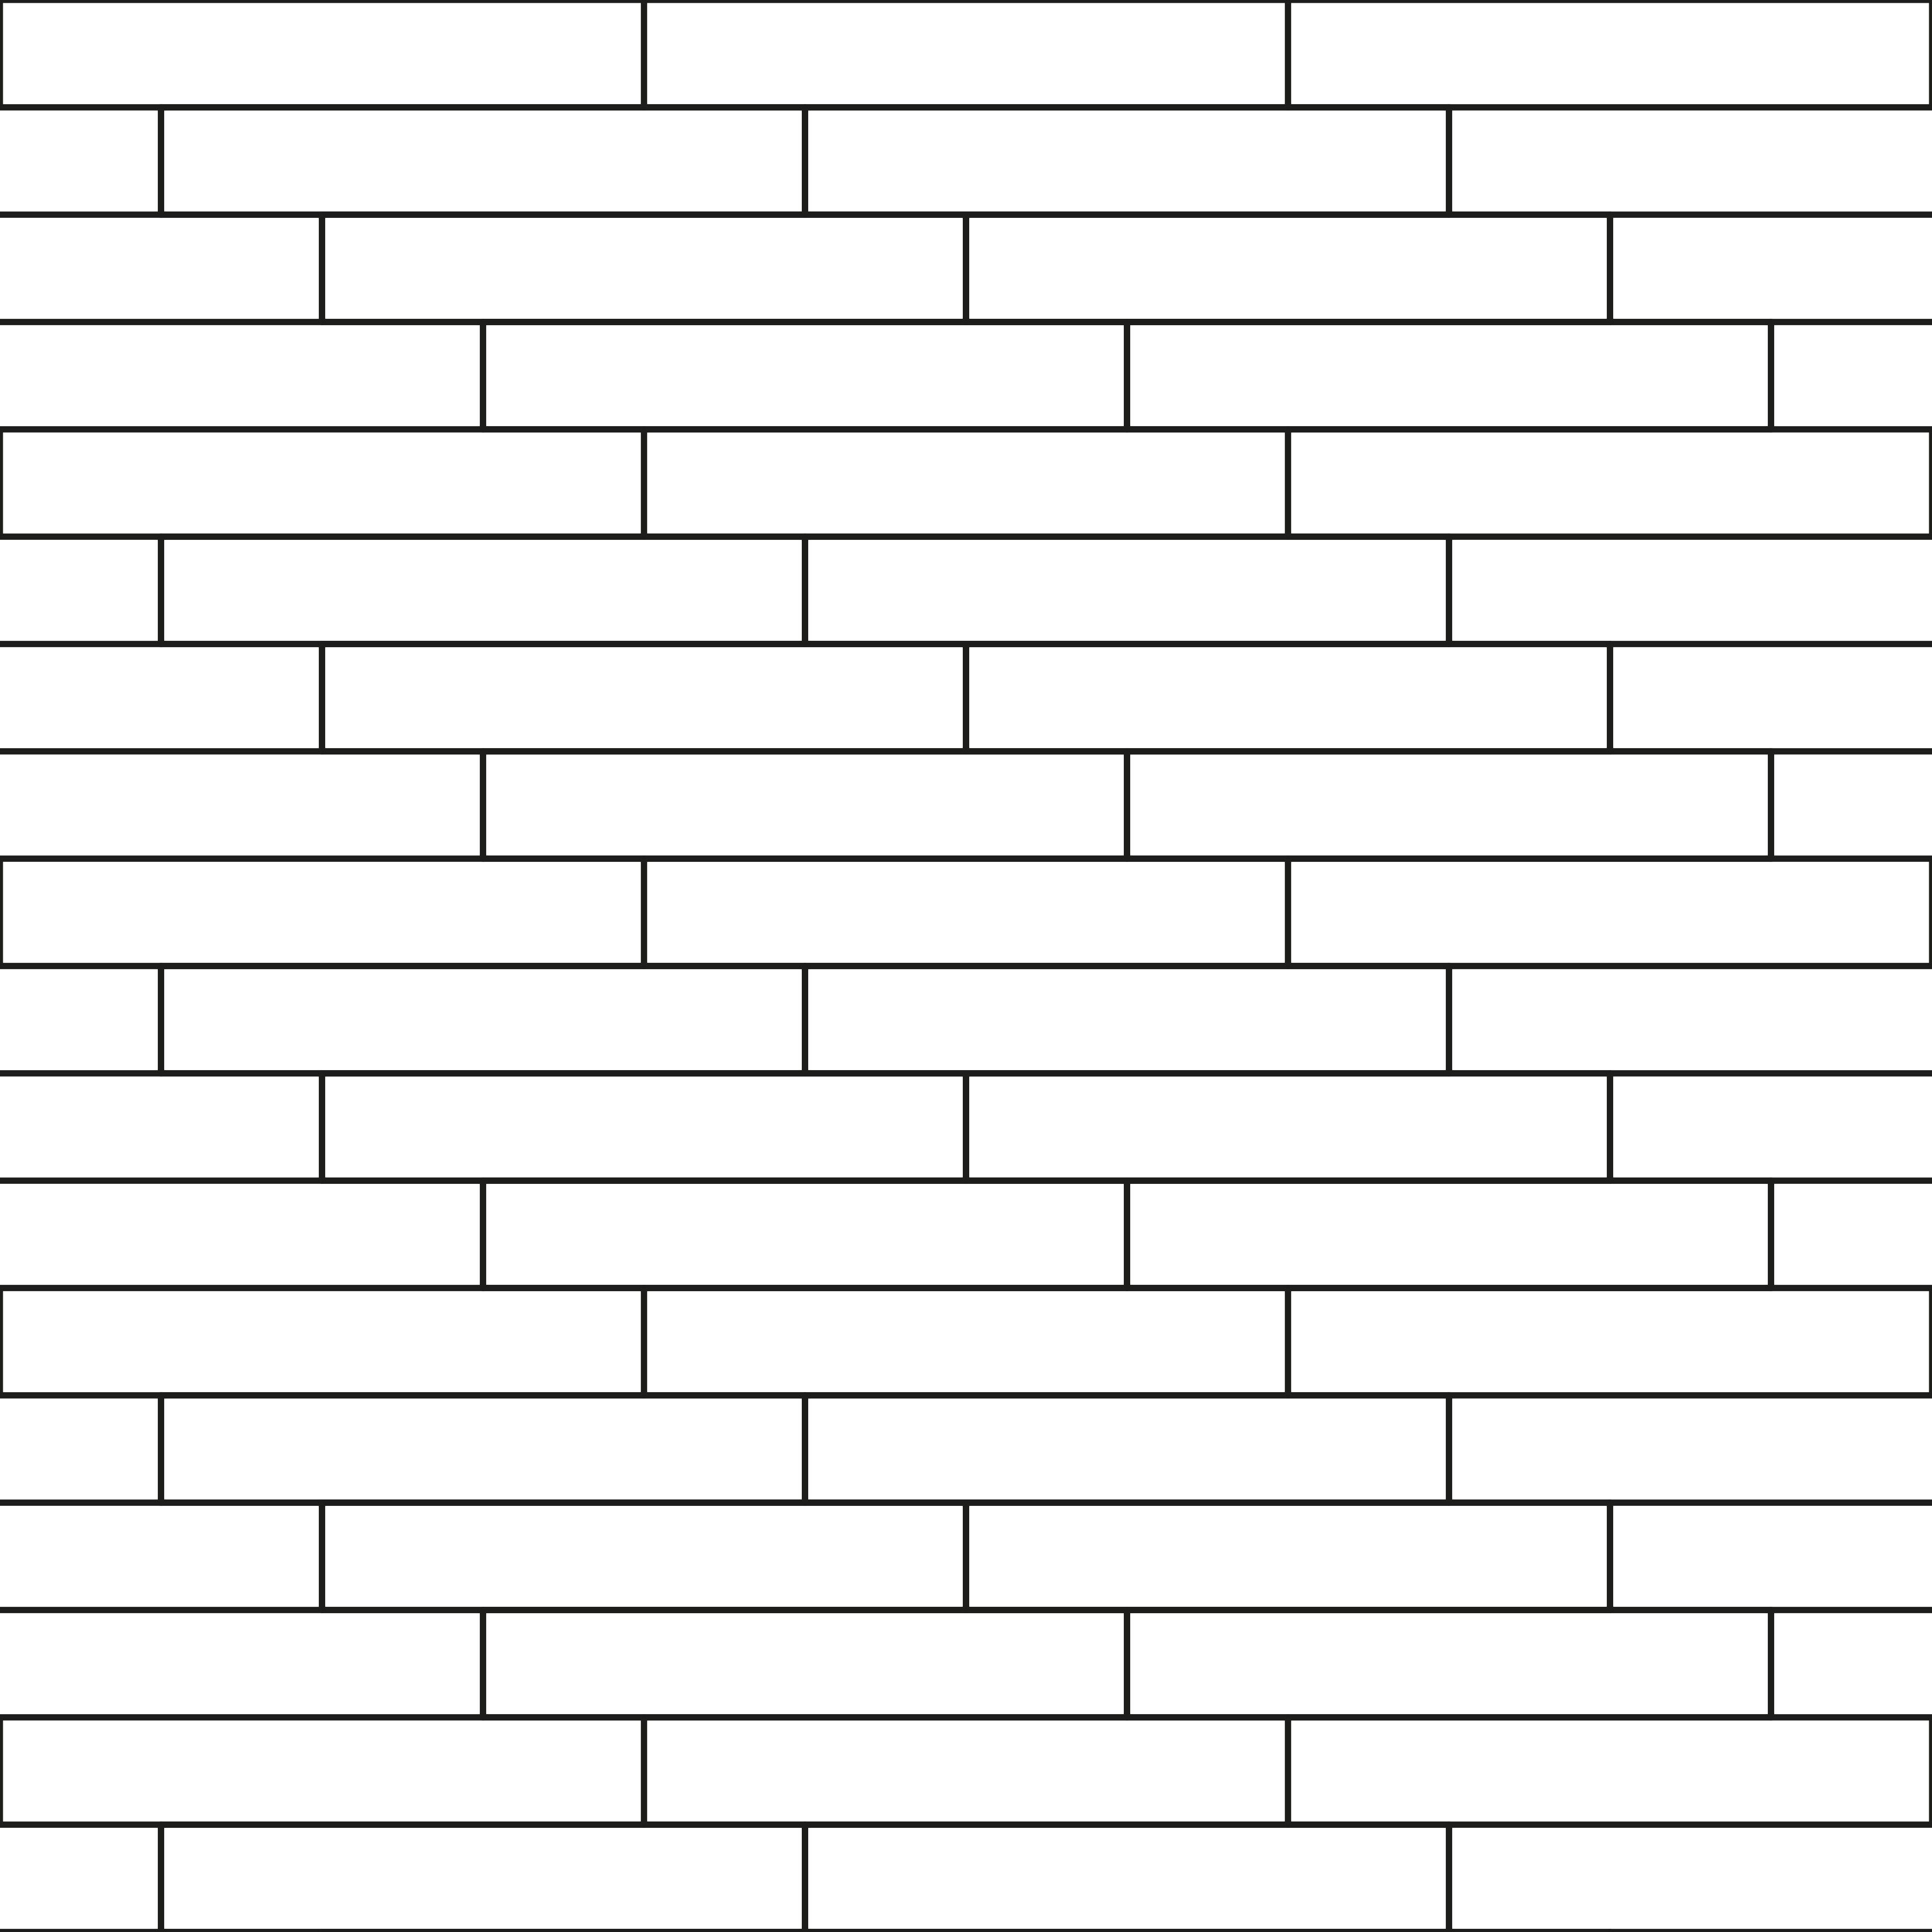 ¼ offset floorboard 1200 × 200 mmNo joint
Load it in Revit
- On the ribbon,
Manage › Additional Settings › Fill Patterns. - Under Pattern Type pick the file’s kind: Model for a model pattern, Drafting for a drafting pattern.
New fill pattern › Custom › Import…, choose the .pat file and the pattern in its list; keep the import scale at 1.00.- Use it as a material’s surface or cut pattern, or in a filled region type.
Load it in AutoCAD
- Save the .pat file in a folder listed under
OPTIONS › Files › Support File Search Path. - Start HATCH; the pattern appears in the pattern list under its own name.
- Keep the file name: AutoCAD finds the pattern by it.
Model or drafting pattern?
A model pattern is real size: a 215 mm brick is 215 mm in the file and grows and shrinks with the model as the view scale changes. A drafting pattern is paper size and stays the same on the sheet at every scale, so the view scale it was drawn for is in its file name. Use the model pattern for a material’s real surface and the drafting pattern for a symbolic fill in section.
Questions
Are these patterns free?
Yes. They download without an account and may be used in your projects, commercial work included.
I need a size that is not listed
The “Make it at your size” button on a pattern page opens the editor with that pattern. Change the module, joint and bond, choose “Create and save”, and the Revit model and drafting patterns are made with the material.
How were the files made?
From the geometry that draws MATERIALHAUS textures, by one .PAT compiler. Each edge becomes a periodic family of lines, so the hatch meets the texture at the same joint. The files pass automated tests; if one misbehaves in your Revit or AutoCAD version, tell us.