Seamless travertine textures
Consider vein direction, slab dimensions and surface appearance together. Keep the source coverage and joint decision explicit when preparing travertine for a wall or floor layout.
3 materials
 Travertine600 × 1200 mm
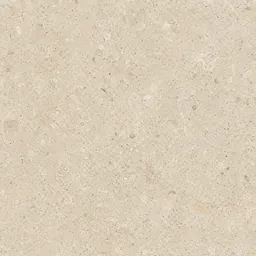 Limestone400 × 800 mm
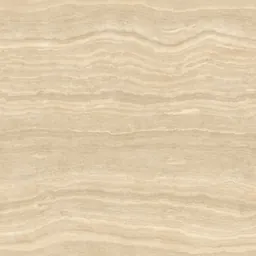 Light Beige Travertine1200 × 1200 mm
Click a material: it opens in the editor, where you change the module, joint and pattern and download the maps.
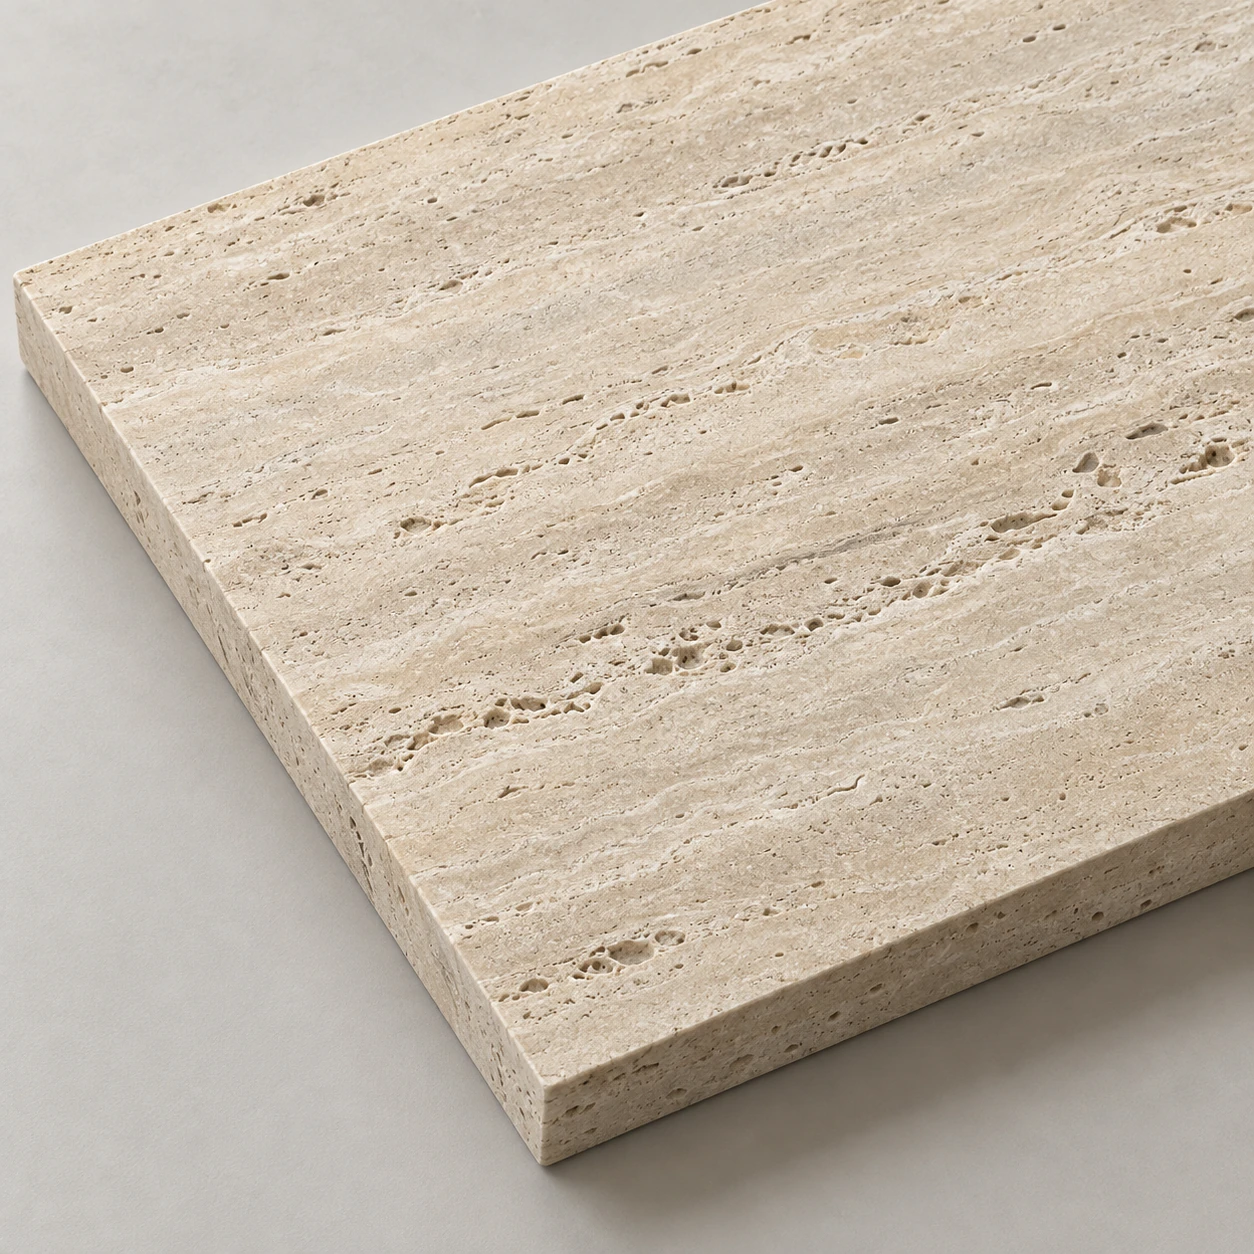
Keep vein direction explicit
Choose image orientation together with the slab layout. Rotating the veins changes the design; it does not establish the real product cut.
Review finish and relief separately
Finish names such as honed describe design intent. Photo-derived height is not a measurement of pore depth. Inspect colour and relief separately under neutral lighting.
Questions
What size should a travertine slab be?
The editor starts the honed travertine at 600 × 1200 mm with a 4 mm joint in a 1/3 stagger. Change the slab and joint to your project’s; the downloaded README states the real size one repeat covers, so the texture is mapped at that size.
Are these textures free?
The photographed and scanned surfaces come from ambientCG and Poly Haven under CC0. Editing and previewing are free. Free has every feature and all four plug-ins, with no watermark, and makes 10 new materials a month; Pro has no limit and downloads maps at 4K. Downloading a material you have made again does not count.
Can I use the same material in Revit and SketchUp?
“Create and save” keeps the material in your library with a Revit fill pattern (.PAT, model or drafting) drawn from the same module and joint, and the SketchUp, Revit, 3ds Max and Blender plug-ins apply it at its real size.
Related practical guides
Last updated: