Start by deciding what the photograph represents
A single stone face and an assembled wall are different texture sources. If you want to create a new slab layout, a reference without joints gives you more control. If the existing wall arrangement is the subject, its mortar belongs to the source. Applying a second procedural joint layout can create small bricks inside larger bricks, even when each individual operation appears to work.
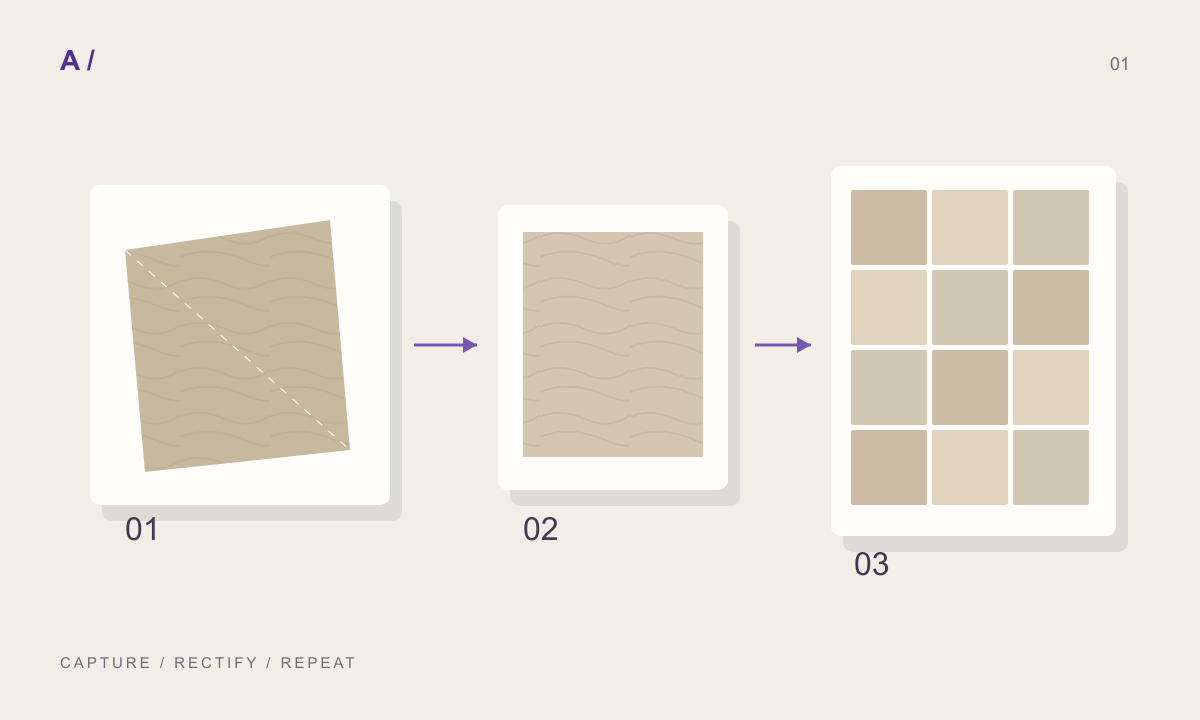
Capture the surface as square-on as practical. Reduce hard shadows, glare and motion blur at capture time. A photograph with usable lighting and sharp detail is a stronger starting point than one that depends on extensive repair. Keep the original image so later edits remain traceable.
Keep a reference for physical size
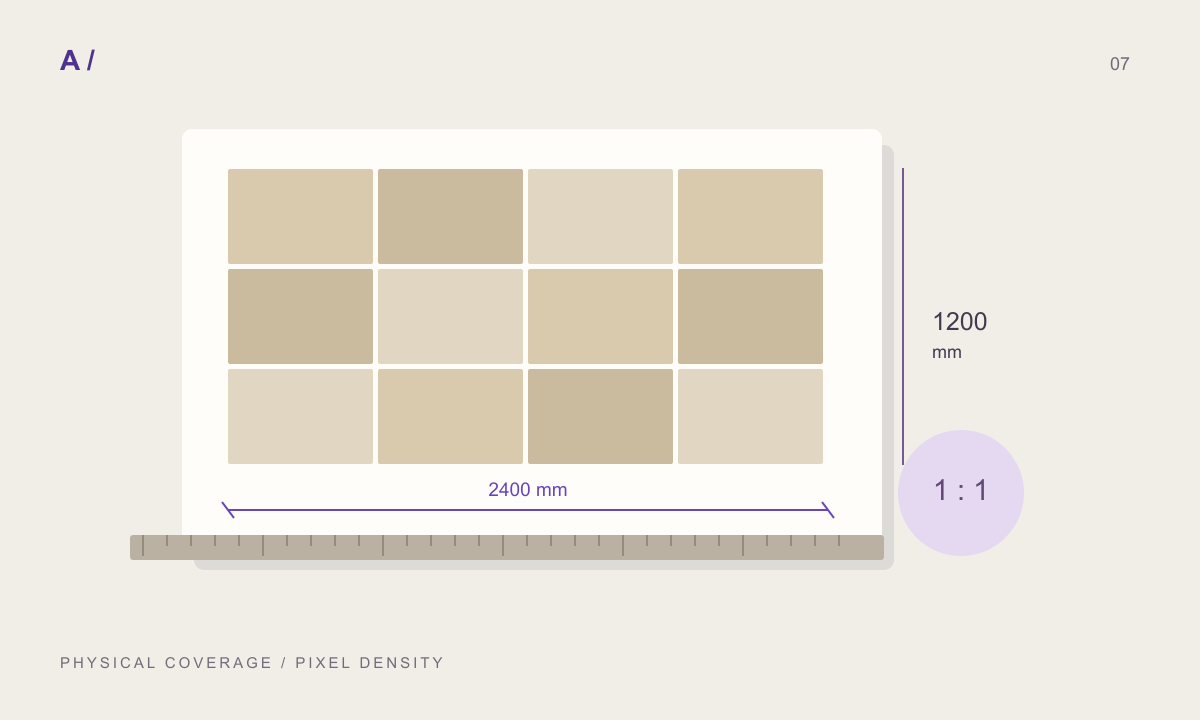
Pixel dimensions do not describe centimetres. Where possible, include a known edge or a ruler in the capture, then crop that reference out of the final texture. Attach the measurement to the final crop, rather than automatically carrying over the full photograph’s dimensions.
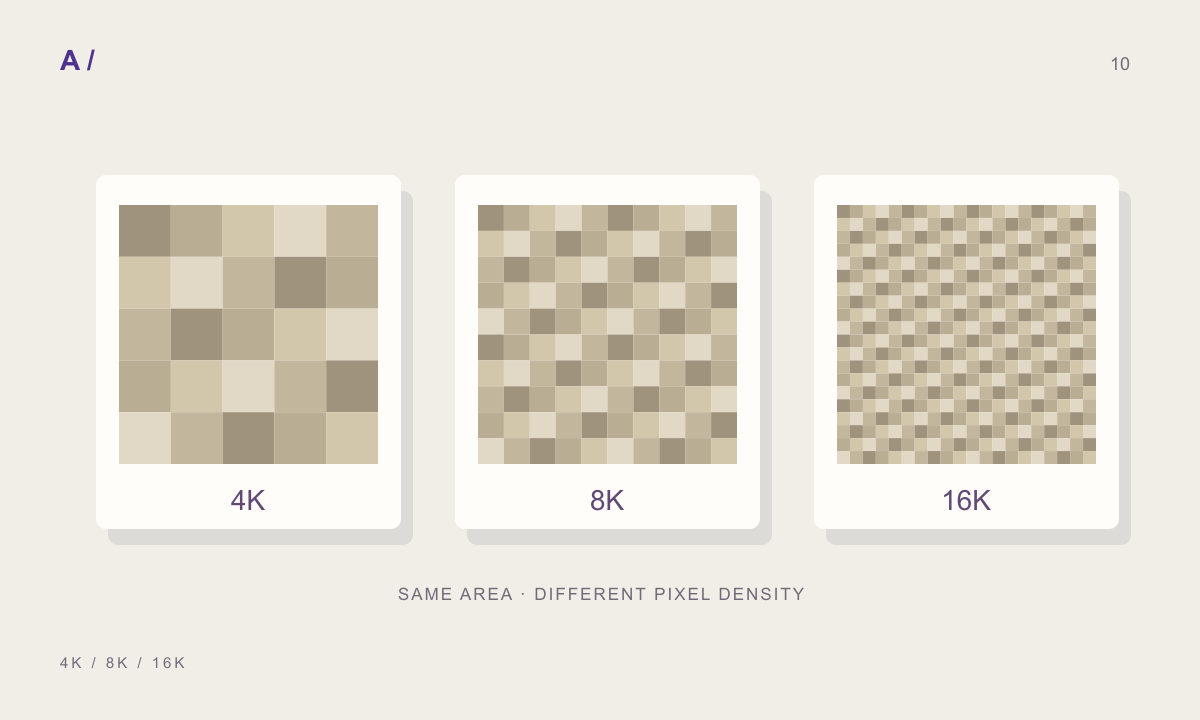
Suppose you photograph a panel 1600 mm wide but use only its central 1200 mm. A final image 2400 pixels wide then has a density of 2 pixels/mm. Declaring that same crop to be 600 mm wide adds no detail; it halves the physical size of every feature. Record an estimated measurement as an assumption, particularly when another person will reuse the material.
Correct perspective before judging illumination
Look first at whether edges that should be parallel remain parallel in the image. A rectangular panel appearing as a trapezoid may need perspective correction in an image editor. Next inspect broad lighting differences. A photograph that becomes darker from left to right can create a repeated light-to-dark band across the entire wall.
Avoid removing every variation. Veins and grain are part of the material; broad illumination from the capture is a different signal. The aim is to separate them, not flatten the surface into a solid colour. Complete any required source-image correction before importing a clean copy into the material workflow.
Check both matching edges and conspicuous repetition
Use a 2 × 2 preview to inspect adjoining edges, then consider a larger repeated field. Does the same dark stain or knot form an obvious grid? Seamless edges only answer the boundary question. A single distinctive feature can still make a large surface look artificial.
Repairing one problem can introduce another. Excessive blur may soften an edge while destroying useful detail. A smaller crop may remove a stain but make the remaining pattern repeat more frequently. Compare alternative crops at the same physical coverage so the comparison is meaningful. Keep a close view for the edge and a wider view for the composition.
Build a material with explicit dimensions
In MATERIALHAUS, open the edited image through Upload photo. Set the unit dimensions, joint width and laying pattern for the intended project. Pay particular attention to added joints if the source already shows an assembled surface. The repeat outline and dimension overlay answer different questions: where the image repeats and how much real area that repeat represents.
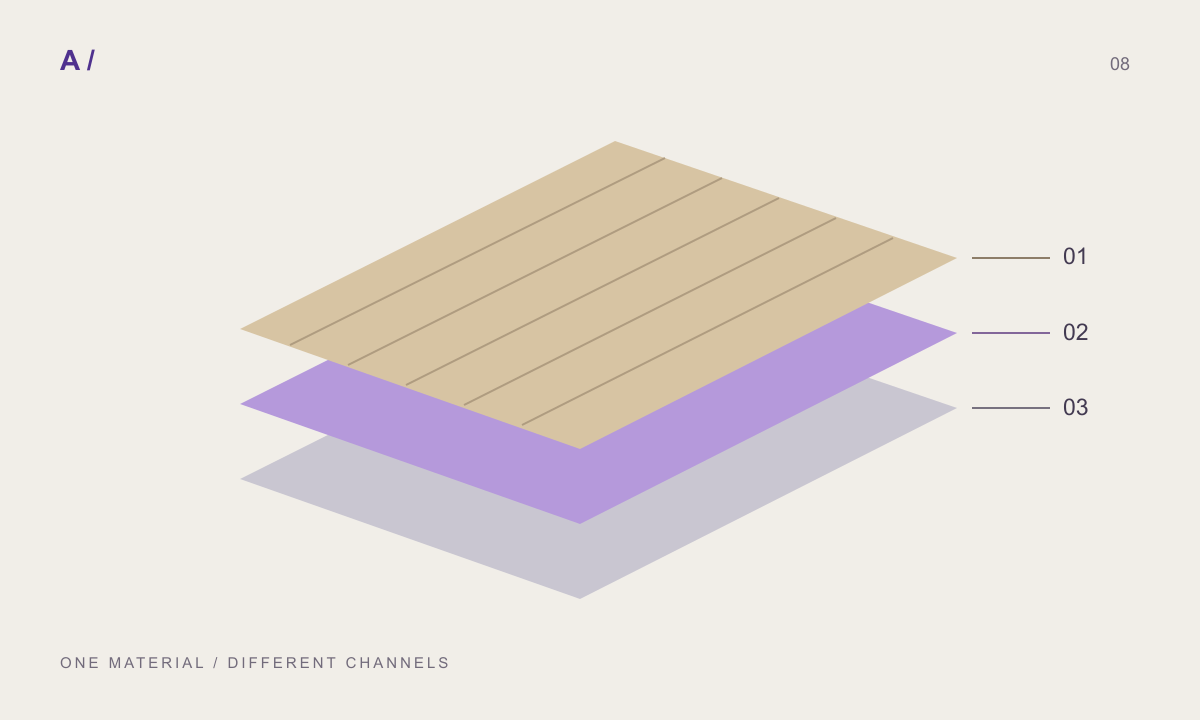
Normal and height maps derived from colour do not measure the photograph’s depth. Begin with restrained relief and inspect the result obliquely. Large dark stains should not become unexplained pits. A useful visual result remains distinct from a measured material scan.
Finish with a test in the destination scene
Import the downloaded package onto a plane of known dimensions. If you expect four 600 mm-wide slabs, check the repeat count and the joint interpretation against that expectation. Different lighting and tone settings can change appearance between applications, so identical colour is not the only success criterion.
Keep the original photograph, edited crop and saved material settings separately. A filename containing the material family, physical coverage and version helps later revisions. Include a short note distinguishing supplied measurements from design assumptions. That record allows the material to move to another project without asking the next person to reconstruct your decisions.
Before you hand off
- The source is identified as one surface or an assembly.
- The physical coverage belongs to the final crop.
- Perspective and broad lighting differences were reviewed.
- Close boundaries and large-area repetition were checked.
- Derived maps were tested in the destination scene.
Frequently asked questions
Can I use a phone photograph?
Yes, if its detail, lighting and sharpness suit the intended view. Assess the source at the closest planned camera distance.
Does uploading a photograph create a measured PBR scan?
No. Derived channels provide a starting material, not measured physical properties.
Prepared by MATERIALHAUS with AI assistance. Worked dimensions are illustrative; verify construction details and technical product information for your own project.