Start with the area the texture covers
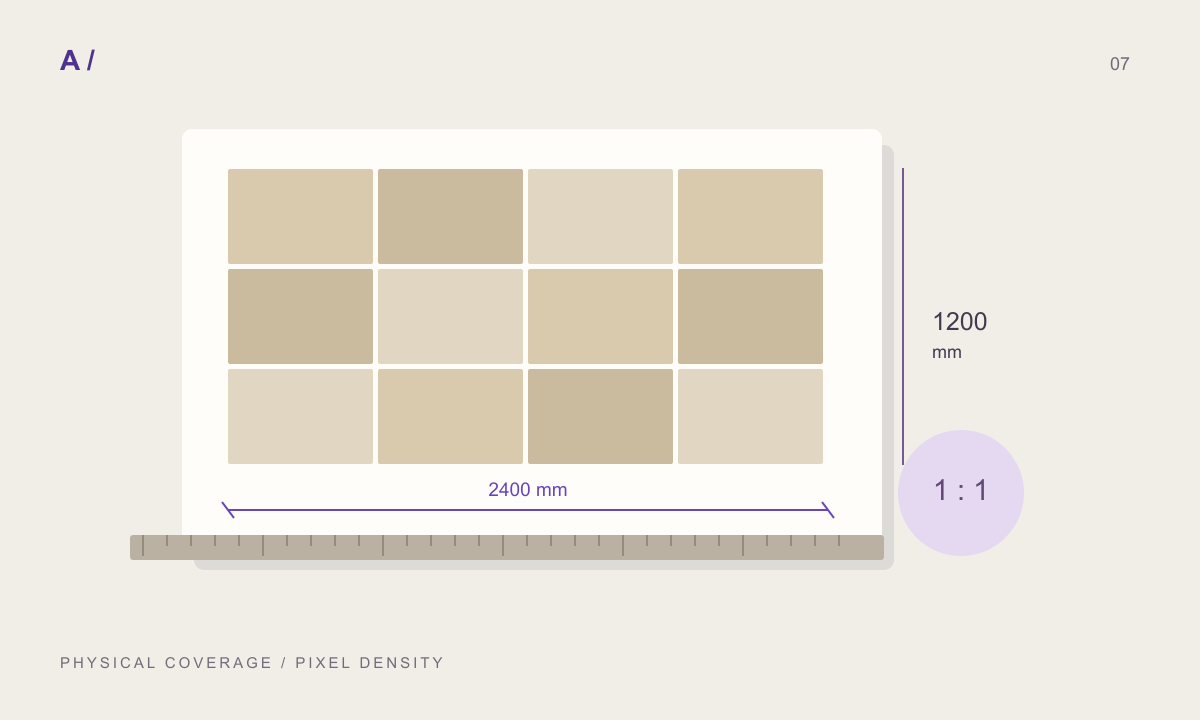
Texture resolution describes a pixel grid; physical scale describes the area represented by that grid. A 4096-pixel image spanning one metre provides about 4.1 pixels per millimetre. The same image spanning four metres provides about one pixel per millimetre. Before choosing an export size, record the repeat width and height and consider how much of the final image the surface will occupy.
A worked facade example
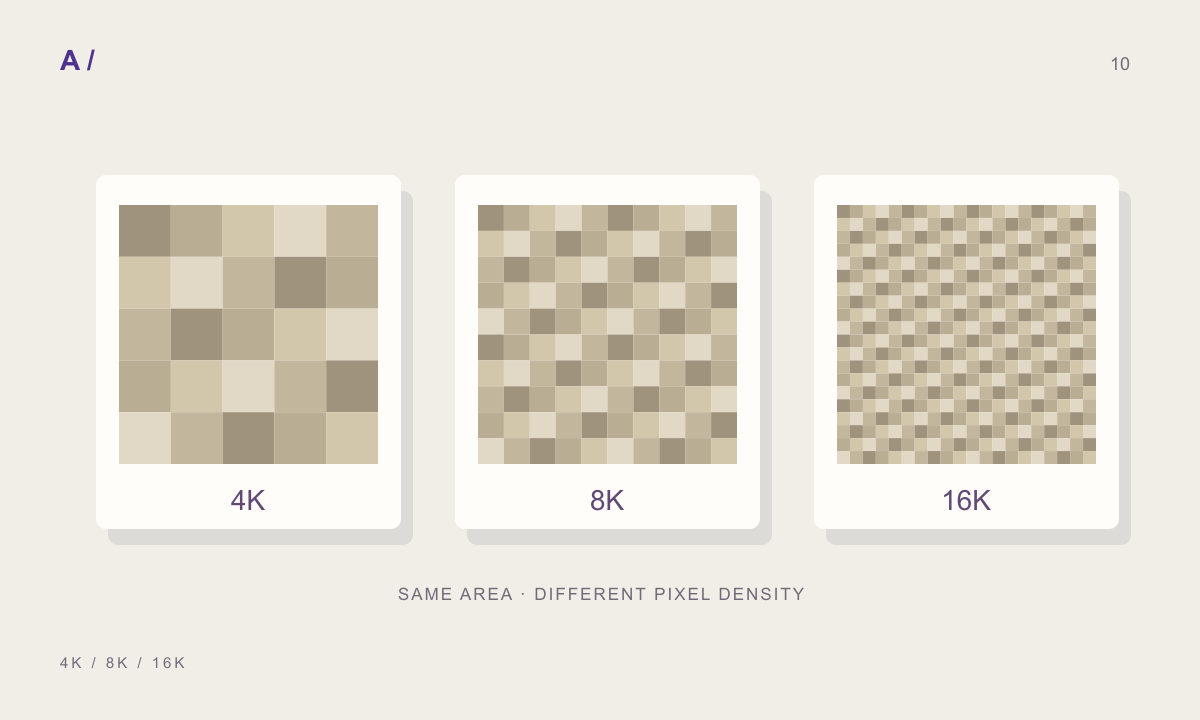
Suppose a square texture covers a four-metre facade panel. At 4096 pixels its density is 1024 pixels per metre; at 8192 it is 2048; at 16384 it is 4096. If the panel appears only 600 pixels wide in your final view, increasing to 16K may have little visible benefit. A close detail filling a large frame may need more detail. Test the closest intended view before exporting every material at the maximum size.
Budget for the whole map set
Doubling both image dimensions multiplies pixel count by four. One uncompressed 8192 × 8192 RGB image uses 192 MiB, and a 16384 × 16384 RGB image uses 768 MiB. That excludes extra maps, processing buffers, mipmaps and renderer overhead. JPEG or PNG file size is not a reliable estimate of working memory. Several large map sets can cost substantially more memory than the download suggests.
Output size cannot replace source detail
A 1K colour reference remains a 1K source even when its output is rendered at 8K. Additional pixels can represent the generated pattern and joints more finely, but they cannot recover pores or grain absent from the reference. MATERIALHAUS identifies its local CC0 collection as 1K colour sources. Use a higher-detail source when close inspection of the original surface matters, and keep source resolution separate from export resolution in your handoff.
A practical export sequence
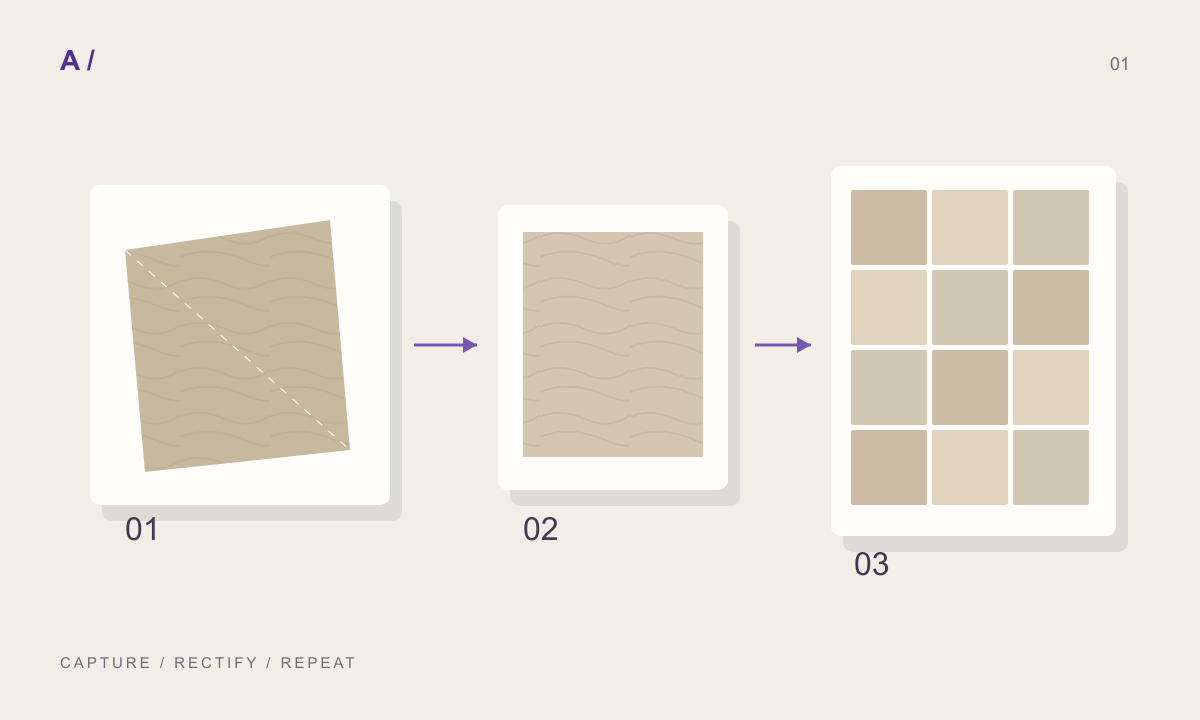
Begin with a modest preview. Confirm physical dimensions, the repeating boundary and material orientation, then inspect the intended camera distance. Export a larger version only when a visible limitation justifies it. MATERIALHAUS offers 8K and 16K output options; availability also depends on the plan. Keep the recipe so a later close-up can be regenerated without rebuilding the material, and compare the results in the destination renderer.
Prepared by MATERIALHAUS with AI assistance. Worked dimensions are illustrative; verify construction details and technical product information for your own project.