Model or drafting: decide before you import
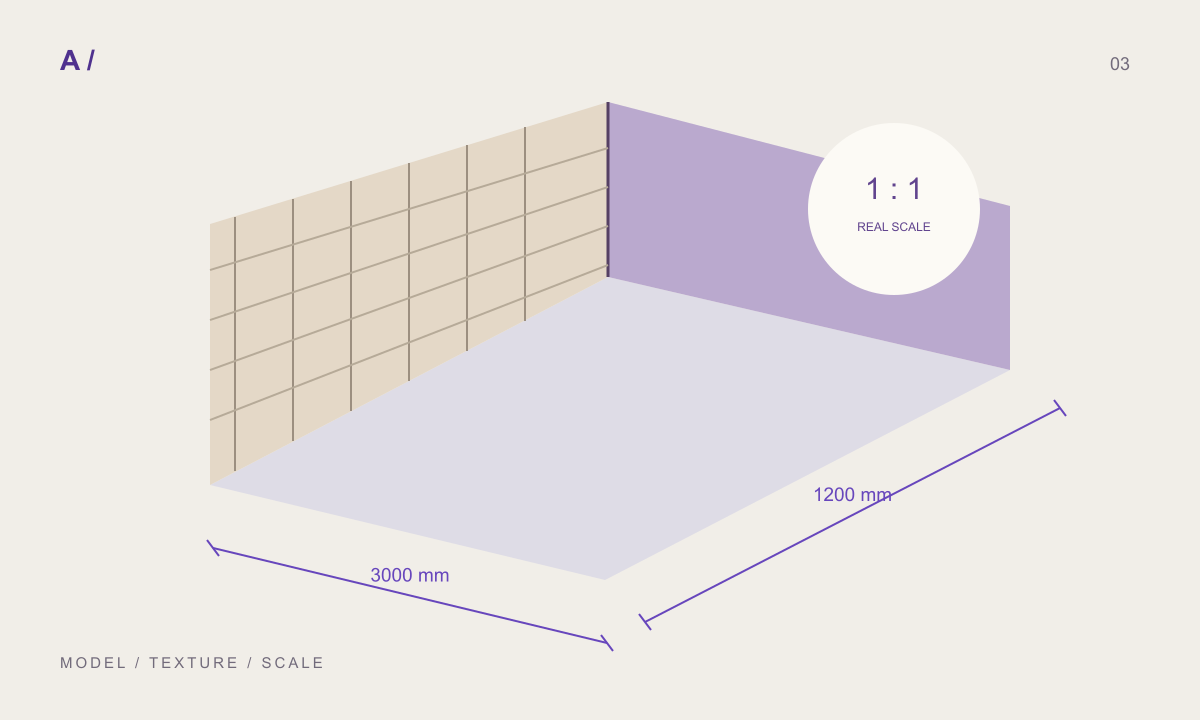
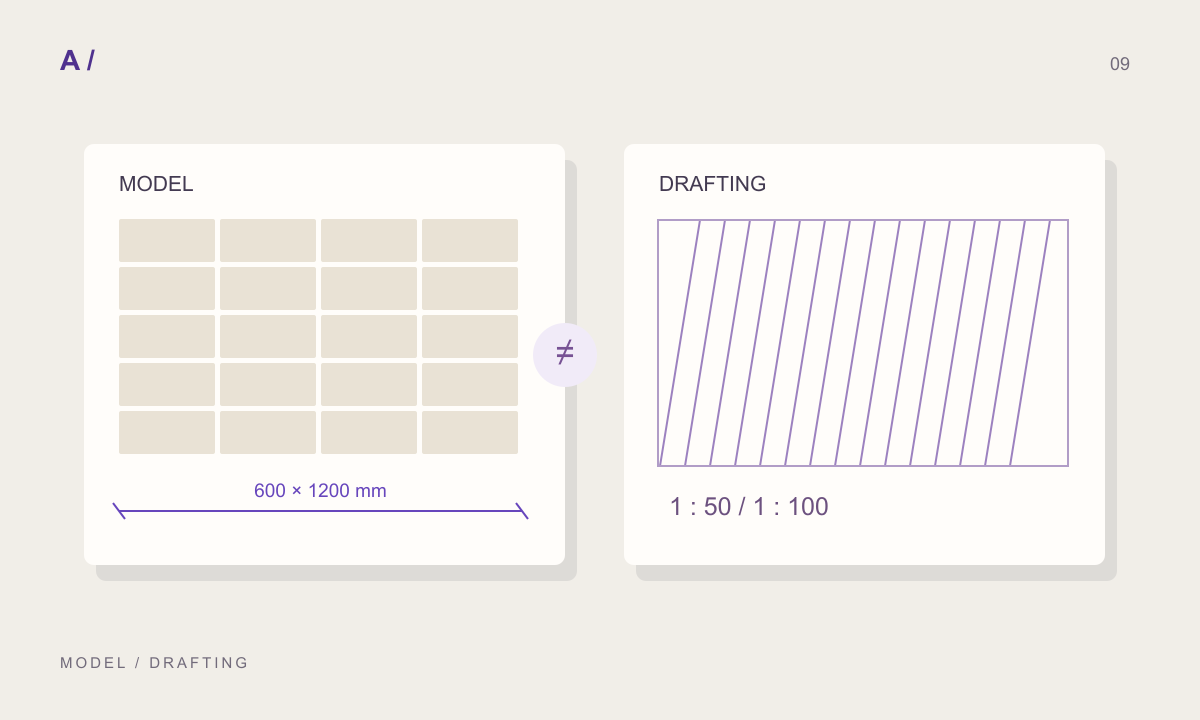
Revit has two kinds of fill pattern. A model pattern is drawn at real size on the element: a 215 × 65 mm brick stays 215 × 65 mm whatever the view scale, so it grows on paper as you zoom in to 1:20. Use it for cladding, floor tiles and paving, where the pattern stands for real joints. A drafting pattern is drawn at a fixed size on paper and looks the same at every view scale; it is for symbols such as insulation or earth.
A PAT file says which kind it is in a ;%TYPE=MODEL line. Revit lists a pattern under the type you choose in the dialog, so pick the type that matches the file before you browse. MATERIALHAUS model files carry the line and are named …_MODEL.pat; drafting files are named for the view scale they were drawn for, …_DRAFTING_1-50.pat.
Import the pattern, step by step
On the Manage tab, in the Settings panel, open the Additional Settings drop-down and click Fill Patterns. Under Pattern Type choose Model (or Drafting), then click New fill pattern. In the New Pattern dialog set Type to Custom, click Browse, select the .pat file and click Open. If the file holds several patterns, pick one from the list; Search filters it.
Leave Import scale at 1 for a MATERIALHAUS file: the size is already in the file, in the units its ;%UNITS line states. Rename the pattern if your office has a naming rule, then click OK twice. The pattern now exists in this project only; to reuse it, keep it in your template or transfer it with Transfer Project Standards.
Apply it to a material at real size
Open Manage › Materials, choose the material and go to its Graphics tab. Under Surface Pattern › Foreground, click the pattern box and pick the model pattern you imported; do the same under Cut Pattern if the section should show it. Every wall, floor or roof that uses the material now shows the pattern.
A model pattern can be moved and rotated on its face: select one of its lines (Tab helps), then use Align or Move to set a joint against a wall end or an opening. Dimensioning to a pattern line also works. A drafting pattern cannot be aligned this way, which is one more reason to use model patterns for real joints.
Why an import fails
Nothing in the list: the pattern type chosen in the dialog does not match the file. A model file appears only under Model. An error while reading: a header line is missing or a line has too many or too few commas; the file must be plain text. The pattern looks a hundred times too big or small: the units line is missing or says INCH for a millimetre drawing, or Import scale was changed.
If the joints look doubled or missing, check whether you chose the single-line or the two-line version. MATERIALHAUS offers both when there is a joint: one line per joint, or a line on each face of the joint, which reads better at 1:20.
The same pattern in AutoCAD
AutoCAD finds custom patterns in the folders listed under Options › Files › Support File Search Path (on a Mac, Preferences › Application). Put the .pat file in such a folder, or add the folder to the list, then start HATCH; the pattern appears with the others. Autodesk notes that a pattern missing from the list usually means a syntax error, a folder that is not on the search path, or a renamed folder.
For a single-pattern file, the file name must match the pattern name written after the asterisk on its first definition line. MATERIALHAUS files are named that way. Use the millimetre file in a metric drawing and the inch file in an imperial one, at hatch scale 1.
Where to get a PAT at your size
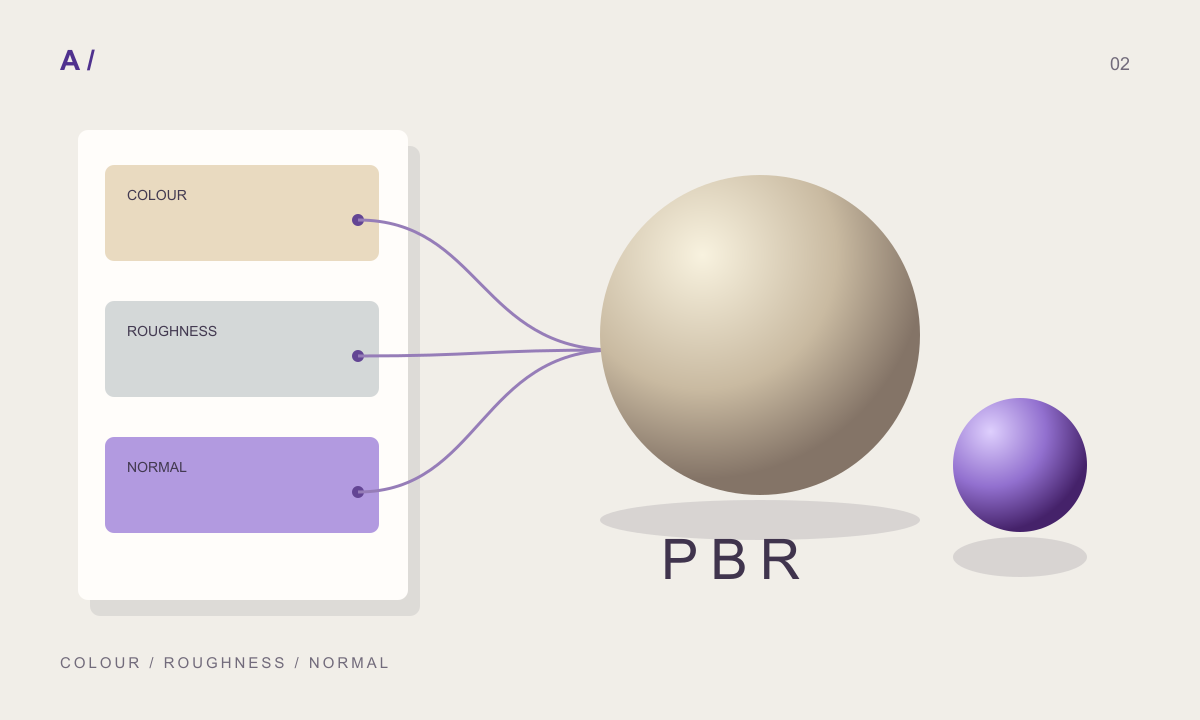
The MATERIALHAUS hatch library has brick, paver, tile and floorboard patterns as Revit model and drafting patterns and AutoCAD files in millimetres and inches, with the size in every file name, without an account. If your module or joint is different, “Make it at your size” opens the editor’s Hatch tab with that pattern; the same settings also make the texture and its PBR maps, so the render and the drawing agree.
Before you hand off
- Pattern type in the dialog matches the file (model or drafting).
- Import scale left at 1; units line matches the project.
- Pattern set as the material’s surface (and cut) foreground pattern.
- One joint aligned to a wall end or opening.
- Pattern saved in the office template for reuse.
Frequently asked questions
How do I import a PAT file into Revit?
Manage › Additional Settings › Fill Patterns, choose Model or Drafting, New fill pattern, Type: Custom, Browse to the .pat file, pick the pattern, OK twice.
Why does my PAT not appear in Revit?
Usually the pattern type chosen in the dialog does not match the ;%TYPE line in the file. A model pattern appears only under Model.
Should I use a model or drafting pattern for tiles?
Model. It is drawn at real size, can be aligned to walls and openings, and its joints are where the real joints are.
Can I use a Revit PAT in AutoCAD?
The format is the same, but Revit files carry a type line and real-size units. Use a file made for AutoCAD in the units of your drawing; MATERIALHAUS gives both.
References and further reading
Prepared by MATERIALHAUS with AI assistance. Worked dimensions are illustrative; verify construction details and technical product information for your own project.