Choose the drawing purpose
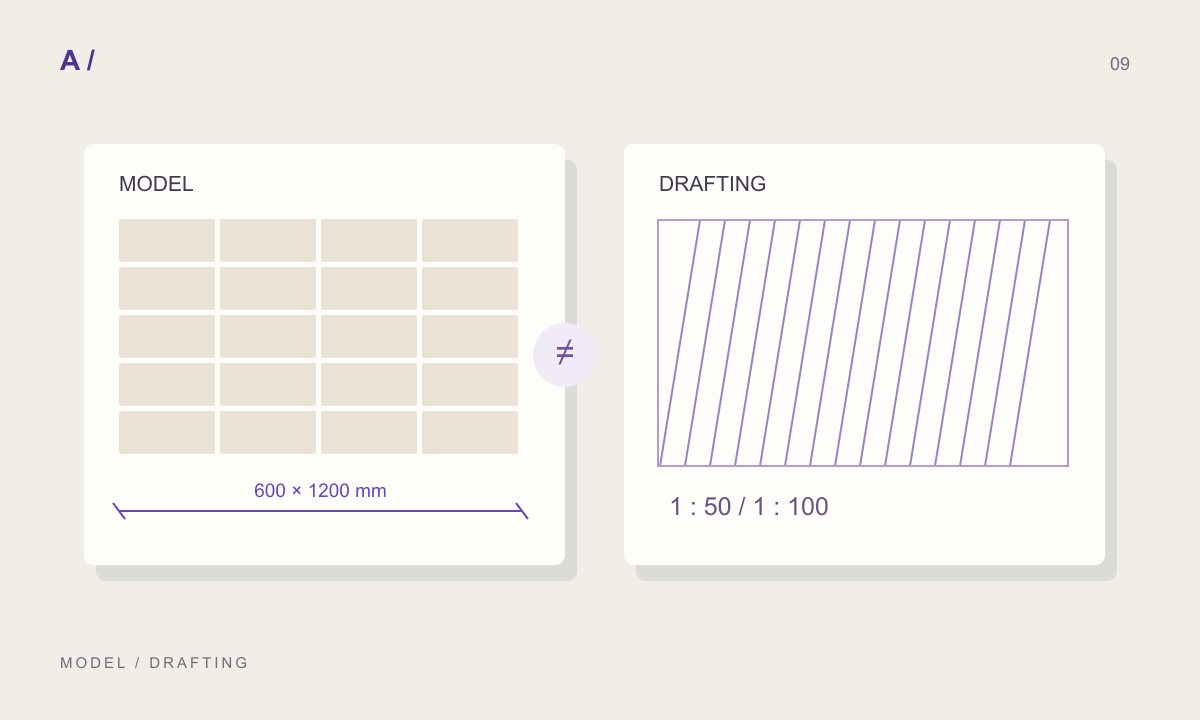
Model patterns retain dimensions relative to the model. Drafting patterns serve graphical representation at the view scale. Choose according to drawing purpose, not only the thumbnail appearance.
State the module
Record width, height, bond and joint dimensions before exporting. A brick elevation and a symbolic section hatch have different purposes. Use descriptive names to distinguish a graphic convention from a construction dimension.
Keep outputs together
Prepare the material and export package from the same recipe in MATERIALHAUS. Keep maps, stated scale and patterns together. If the layout changes, create a new package instead of combining an old PAT with a new texture.
Validate in Revit
Export success does not prove correct import. Test the file in the target project, inspect scale and orientation, and record the result. MATERIALHAUS does not call an untested export Revit-validated.
Two drawing purposes, two reviews
An elevation showing the arrangement of cladding panels needs a meaningful module. A small-scale section representing material symbolically may prioritise legibility. Instead of forcing one pattern into both jobs, record what it means on each drawing. Looking right in one example view does not establish suitability in every view.
Worked example: 600 × 1200 mm cladding
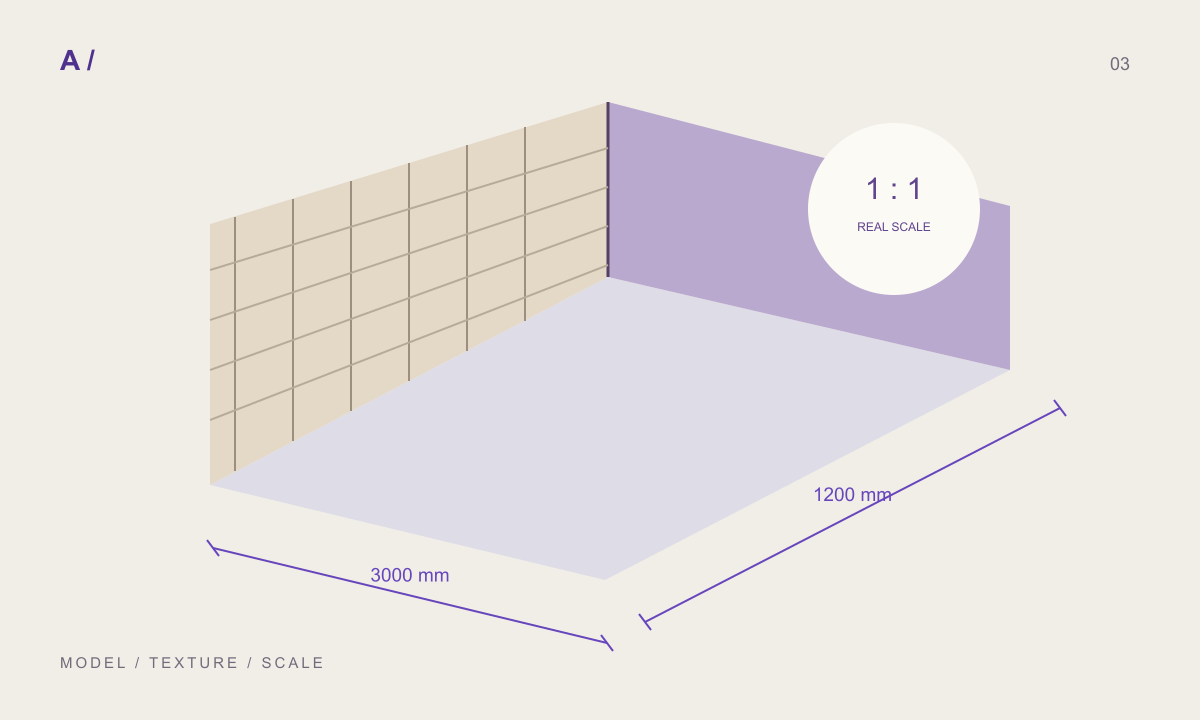
Record the slab dimensions, horizontal and vertical joints and bond first. Count repeats on a test surface containing a known number of slabs. Confirm that the 1200 mm direction is the long edge and that the texture grain agrees with the layout. This checks arrangement, not product performance or construction approval.
PAT is not an image format
A PNG carries pixel appearance; a PAT carries pattern definitions. Do not expect every pore or irregular photographic detail to appear in a hatch. If the purpose is to communicate modules and lines, avoiding unnecessary detail can make the drawing more useful. Consider texture and hatch as two representations of the same material.
Diagnose after import
For an overly dense pattern, inspect units and scale interpretation first. For an incorrect direction, review pattern rotation separately from surface orientation. If the hatch disappears, check model/drafting type, view settings and density. Change one variable and record the result instead of trying unexplained scale factors or repeatedly renaming the file.
What belongs in the validation record?
Record the package version, target Revit version, imported filename, test-surface dimensions and observed result. Include a screenshot with a reference dimension. A successful test supports that file and setup; it does not automatically apply to another version or changed geometry. Keeping this distinction makes validation useful to the next team member.
Before you hand off
- Purpose and pattern type are stated.
- Product size, repeat interval and joint interpretation are explicit.
- The correct PAT was tested in the target version.
- Scale, orientation and repeat count were checked.
- The result is recorded against the package version.
Frequently asked questions
Does generating PAT validate it in Revit?
No. Generation and numerical tests do not replace an import test in the destination software.
Do texture and hatch contain identical detail?
No. The texture describes pixel appearance and the hatch describes lines. They can still share module geometry.
What if dimensions change?
Rebuild the maps and patterns from the same new settings. Do not copy the old validation result to the changed package.
References and further reading
Prepared by MATERIALHAUS with AI assistance. Worked dimensions are illustrative; verify construction details and technical product information for your own project.