Separate the brick from its module
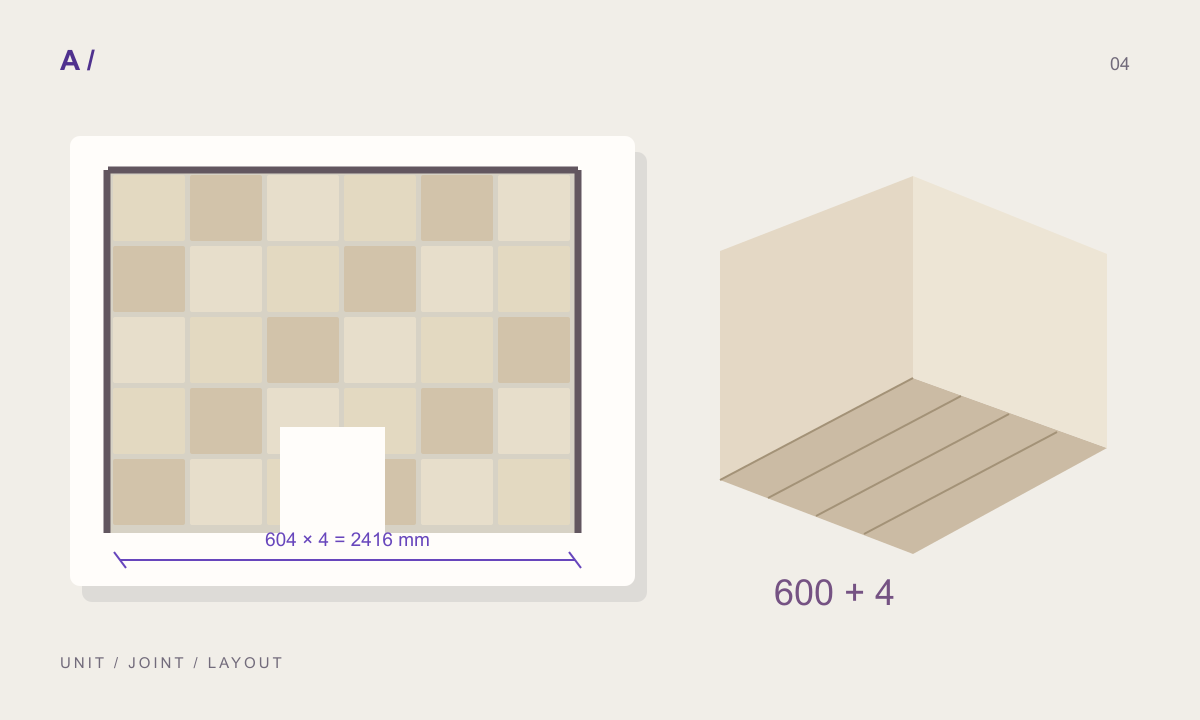
A brick size and a repeating module are different measurements. In a simple rectangular arrangement, a 215 × 65 mm brick with a 10 mm joint has a 225 × 75 mm pitch. Four pitches span 900 × 300 mm. State whether your measurements describe the brick face, centre-to-centre spacing or the complete repeat. This prevents a plausible texture from quietly drifting away from the elevation dimensions.
Complete the offset cycle
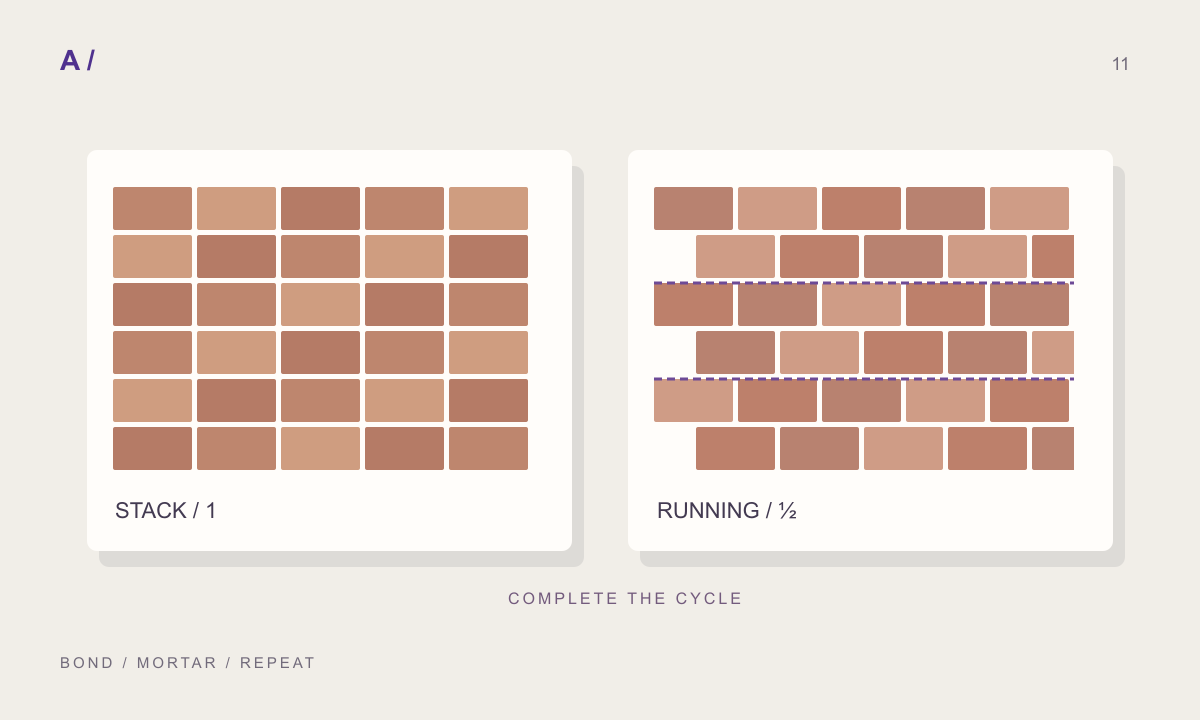
A half-offset running bond returns to the same alignment every two rows. A third-offset layout needs three rows and a quarter-offset layout needs four. If a third-offset pattern repeats after four rows, the next repeat may introduce an unexpected change of alignment. MATERIALHAUS completes row counts to the selected cycle, so choosing a third-offset layout can increase the repeat to six rows. Check the resulting physical dimensions rather than assuming the old count remains.
Do not add a second set of mortar lines
A photograph of a whole brick wall already contains mortar. Applying another generated brick layout to that image can put small bricks inside larger bricks. For a new procedural bond, use a suitable individual face reference. For a complete photographed wall, start with zero added joints and inspect the source repeat. The two workflows answer different needs; decide which one matches the intended elevation before adjusting sliders.
Check beyond the purple boundary
The repeat outline marks one reusable region. Inspect both sides of every boundary: horizontal courses should meet at the correct height and vertical joints should preserve the offset sequence. Zoom out to spot conspicuous repeated stains, then zoom in to examine mortar. A continuous edge alone does not make a convincing wall if the same chipped brick repeats every few modules.
Coordinate the drawing handoff
Use the same brick dimensions, joint width and bond for the surface and CAD pattern. A single-line PAT can communicate the joint centreline; expressed joints show a gap and can become dense at small drawing scales. Choose deliberately, name the export clearly and test the PAT inside the target Revit project. A successful download is not evidence that the pattern has been validated in Revit.
Prepared by MATERIALHAUS with AI assistance. Worked dimensions are illustrative; verify construction details and technical product information for your own project.