Identify the concrete surface you are representing
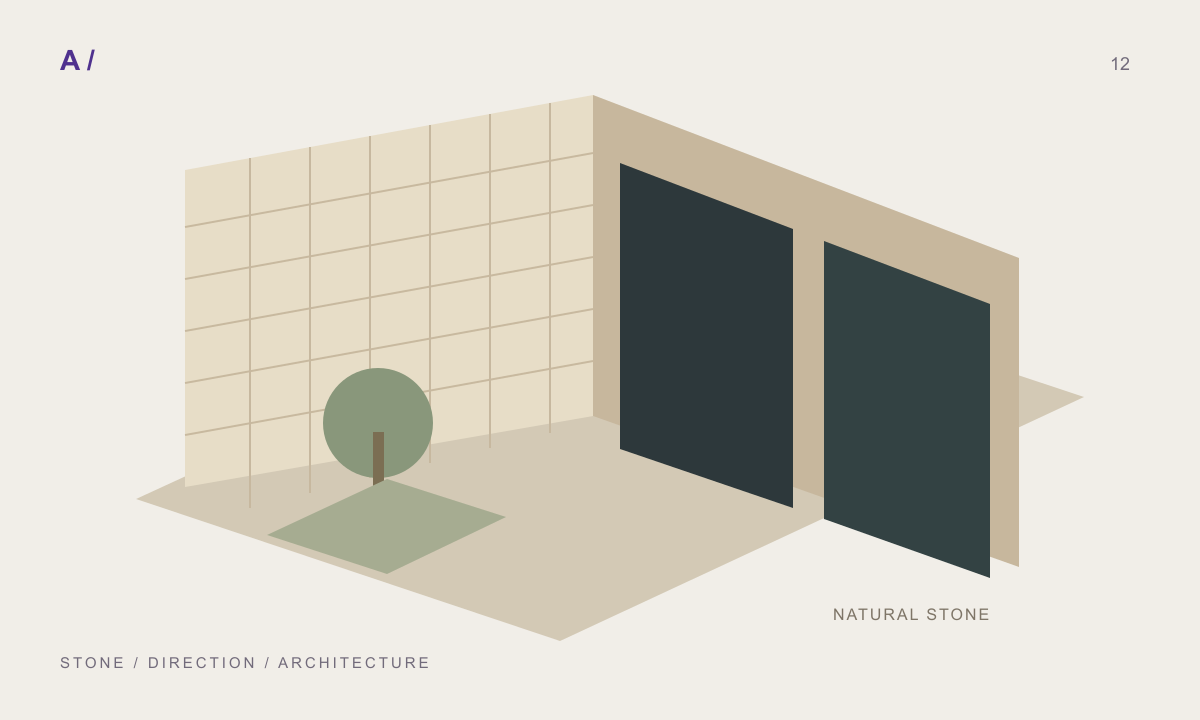
A board-formed wall, a polished floor and a rough cast surface do not share the same visual character. Calling all of them grey concrete encourages mismatched sources and settings. Begin with the intended application, such as an interior wall with horizontal board marks. That description helps you choose grain direction and the type of detail that should be visible.
A visual reference does not establish concrete strength or physical performance. Keep presentation appearance distinct from product and installation data. Solve the visual problem first; any technical performance claim needs its own source rather than being inferred from the rendered surface.
Check the size of formwork marks and pores
A concrete material may look convincing from a distance but show oversized pores in a close detail. The problem may be physical coverage rather than insufficient pixels. Use a known board or panel dimension as a reference. If no measurement exists, state the chosen scale as a design assumption.
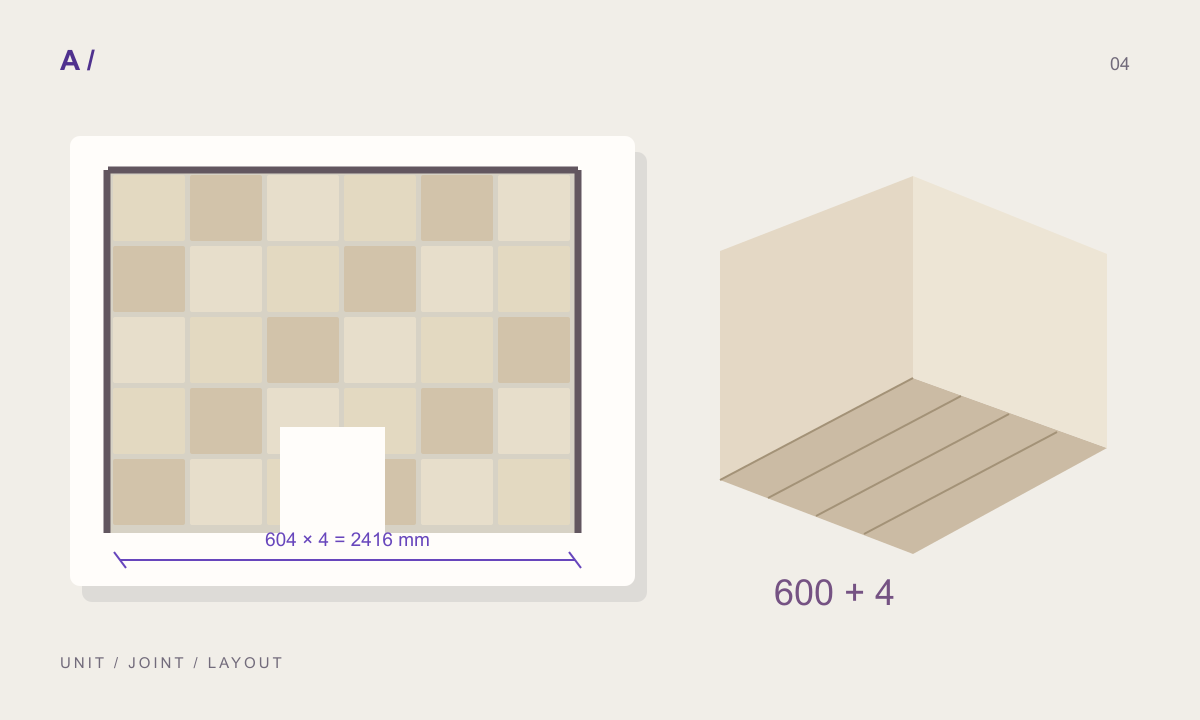
Show the same image at two different coverages on a test wall. Keep colour and lighting unchanged. Compare the size of marks with the project geometry. A visually suitable scale is a useful design decision, but it is not automatically a measured property of the source. Save the reasoning with the material so it can be revisited.
Inspect repetition across an entire wall
A dark stain or formwork hole can look natural in a small thumbnail. Across a wall, the identical feature may form a visible grid. Higher resolution can make the repeated feature clearer rather than solving the problem.
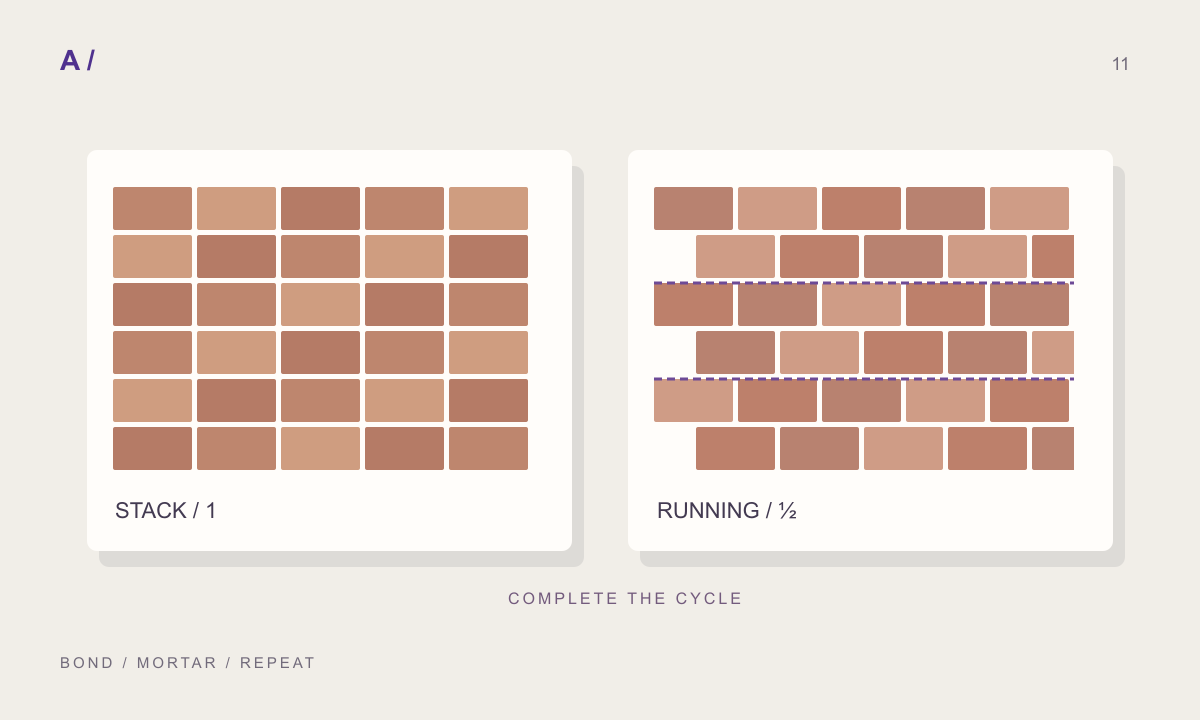
Start with a wide view to assess feature frequency, then inspect the boundaries closely. If the source already contains board marks, decide whether added rectangular joints have a meaningful role. Repeating a complete wall photograph inside each newly generated unit can introduce a second, unintended scale. Choose a layout that matches what the source represents, or choose a simpler source for procedural pattern work.
Separate colour differences from lighting
A dark area in a photograph might be pigmentation, moisture, shadow or geometry. One image may not contain enough information to distinguish them reliably. Inspect the colour source under neutral lighting before moving to the project lighting. A change between these views does not by itself prove a faulty map.
Do not change image tone, light power and exposure simultaneously to brighten the concrete. Adjust one variable and record the outcome. This makes the result reproducible and helps explain why the material behaves differently in another scene. Keep an untouched source for comparison with your edited version.
Set relief and roughness independently
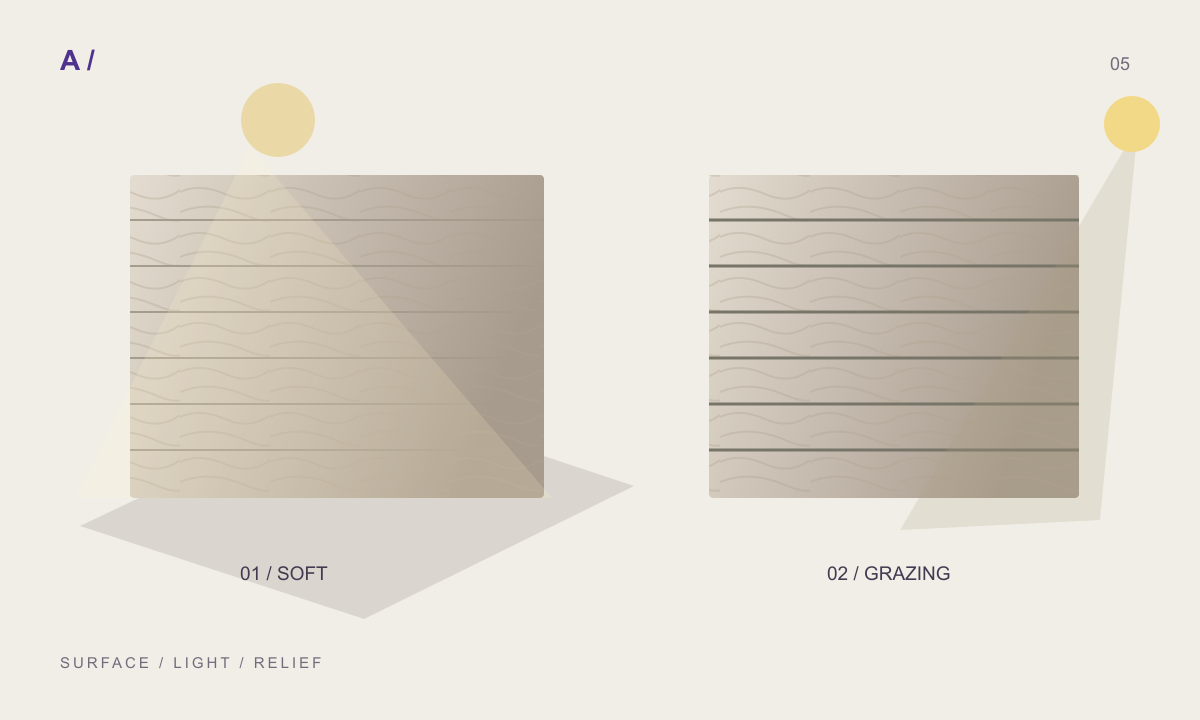
Height derived from brightness can interpret a stain as a deep cavity. If a wall looks wavy or crusted, reduce relief and compare. A close camera with grazing light makes exaggeration easier to see than a distant frontal view.
Roughness influences the spread of reflection; it is not another name for making the surface darker. No single value or map should be treated as correct for every concrete finish. Compare with a suitable reference under the intended lighting and preserve the settings with the material version. When supplied scan channels are available, keep their identity distinct from later derived channels.
Move from the test wall to the final scene
In MATERIALHAUS, select the surface, adjust the unit or formwork layout and inspect the repeat coverage. Test a modest output in the destination scene first. Increase resolution when the closest required view justifies it, rather than exporting the maximum size for every material by default.
Include the source, measured or assumed coverage, direction and version in the handoff. Keep one neutral-light test and one final-scene view to help diagnose later differences. Visual character, technical performance and renderer settings are separate pieces of information. They can be stored together without being treated as interchangeable evidence.
Before you hand off
- The concrete application and source coverage are clear.
- Formwork scale was compared with a reference.
- Distinctive repetition was reviewed across a wall.
- Lighting, colour and relief were tested separately.
- The package and test views use the same version.
Frequently asked questions
Is there one correct roughness value for concrete?
No. Evaluate the intended finish and source under the target lighting.
Does high resolution guarantee realism?
No. Incorrect scale, conspicuous repetition and exaggerated relief remain in a larger file.
Prepared by MATERIALHAUS with AI assistance. Worked dimensions are illustrative; verify construction details and technical product information for your own project.