Running bond tile 300 × 75 mm (subway) hatch pattern (.PAT)
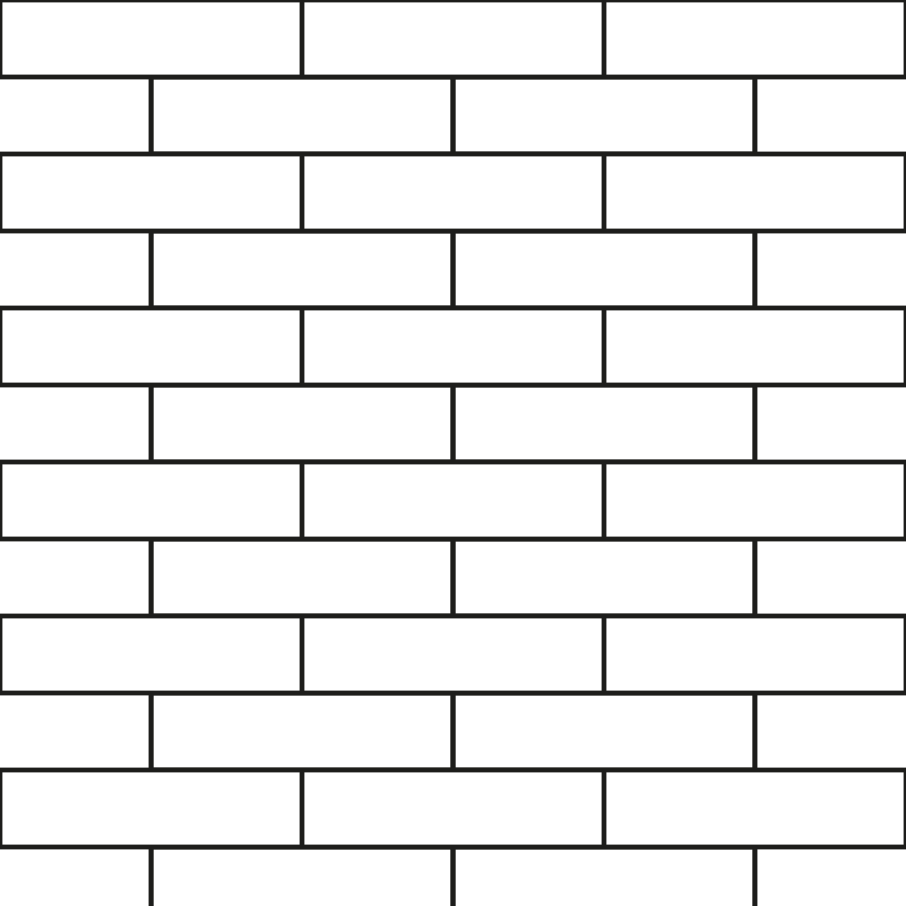
- Module
- 300 × 75 mm
- Joint
- 2 mm
- Bond
- Running bond
- Repeat cell
- 302 × 154 mm
- Revit · model patternMH_RUNNING_300X75_MODEL.patReal size; single lines at the joint centre. For the surface of a material in plan, section and elevation.
- Revit · model pattern, 2 mm joint as two linesMH_RUNNING_300X75_MODEL_J2.patBoth faces of the joint are drawn; for large-scale details.
- Revit · drafting pattern 1:50MH_RUNNING_300X75_DRAFTING_1-50.patPaper size; reads at the right size on a 1:50 view.
- Revit · drafting pattern 1:100MH_RUNNING_300X75_DRAFTING_1-100.patPaper size; for a 1:100 view.
- AutoCAD · millimetresMH_RUNNING_300X75.patThe file name matches the pattern name, as AutoCAD requires.
- AutoCAD · inchesMH_RUNNING_300X75_IN.patFor drawings in inches.
MATERIAL EDITOR
Make the hatch at your own size
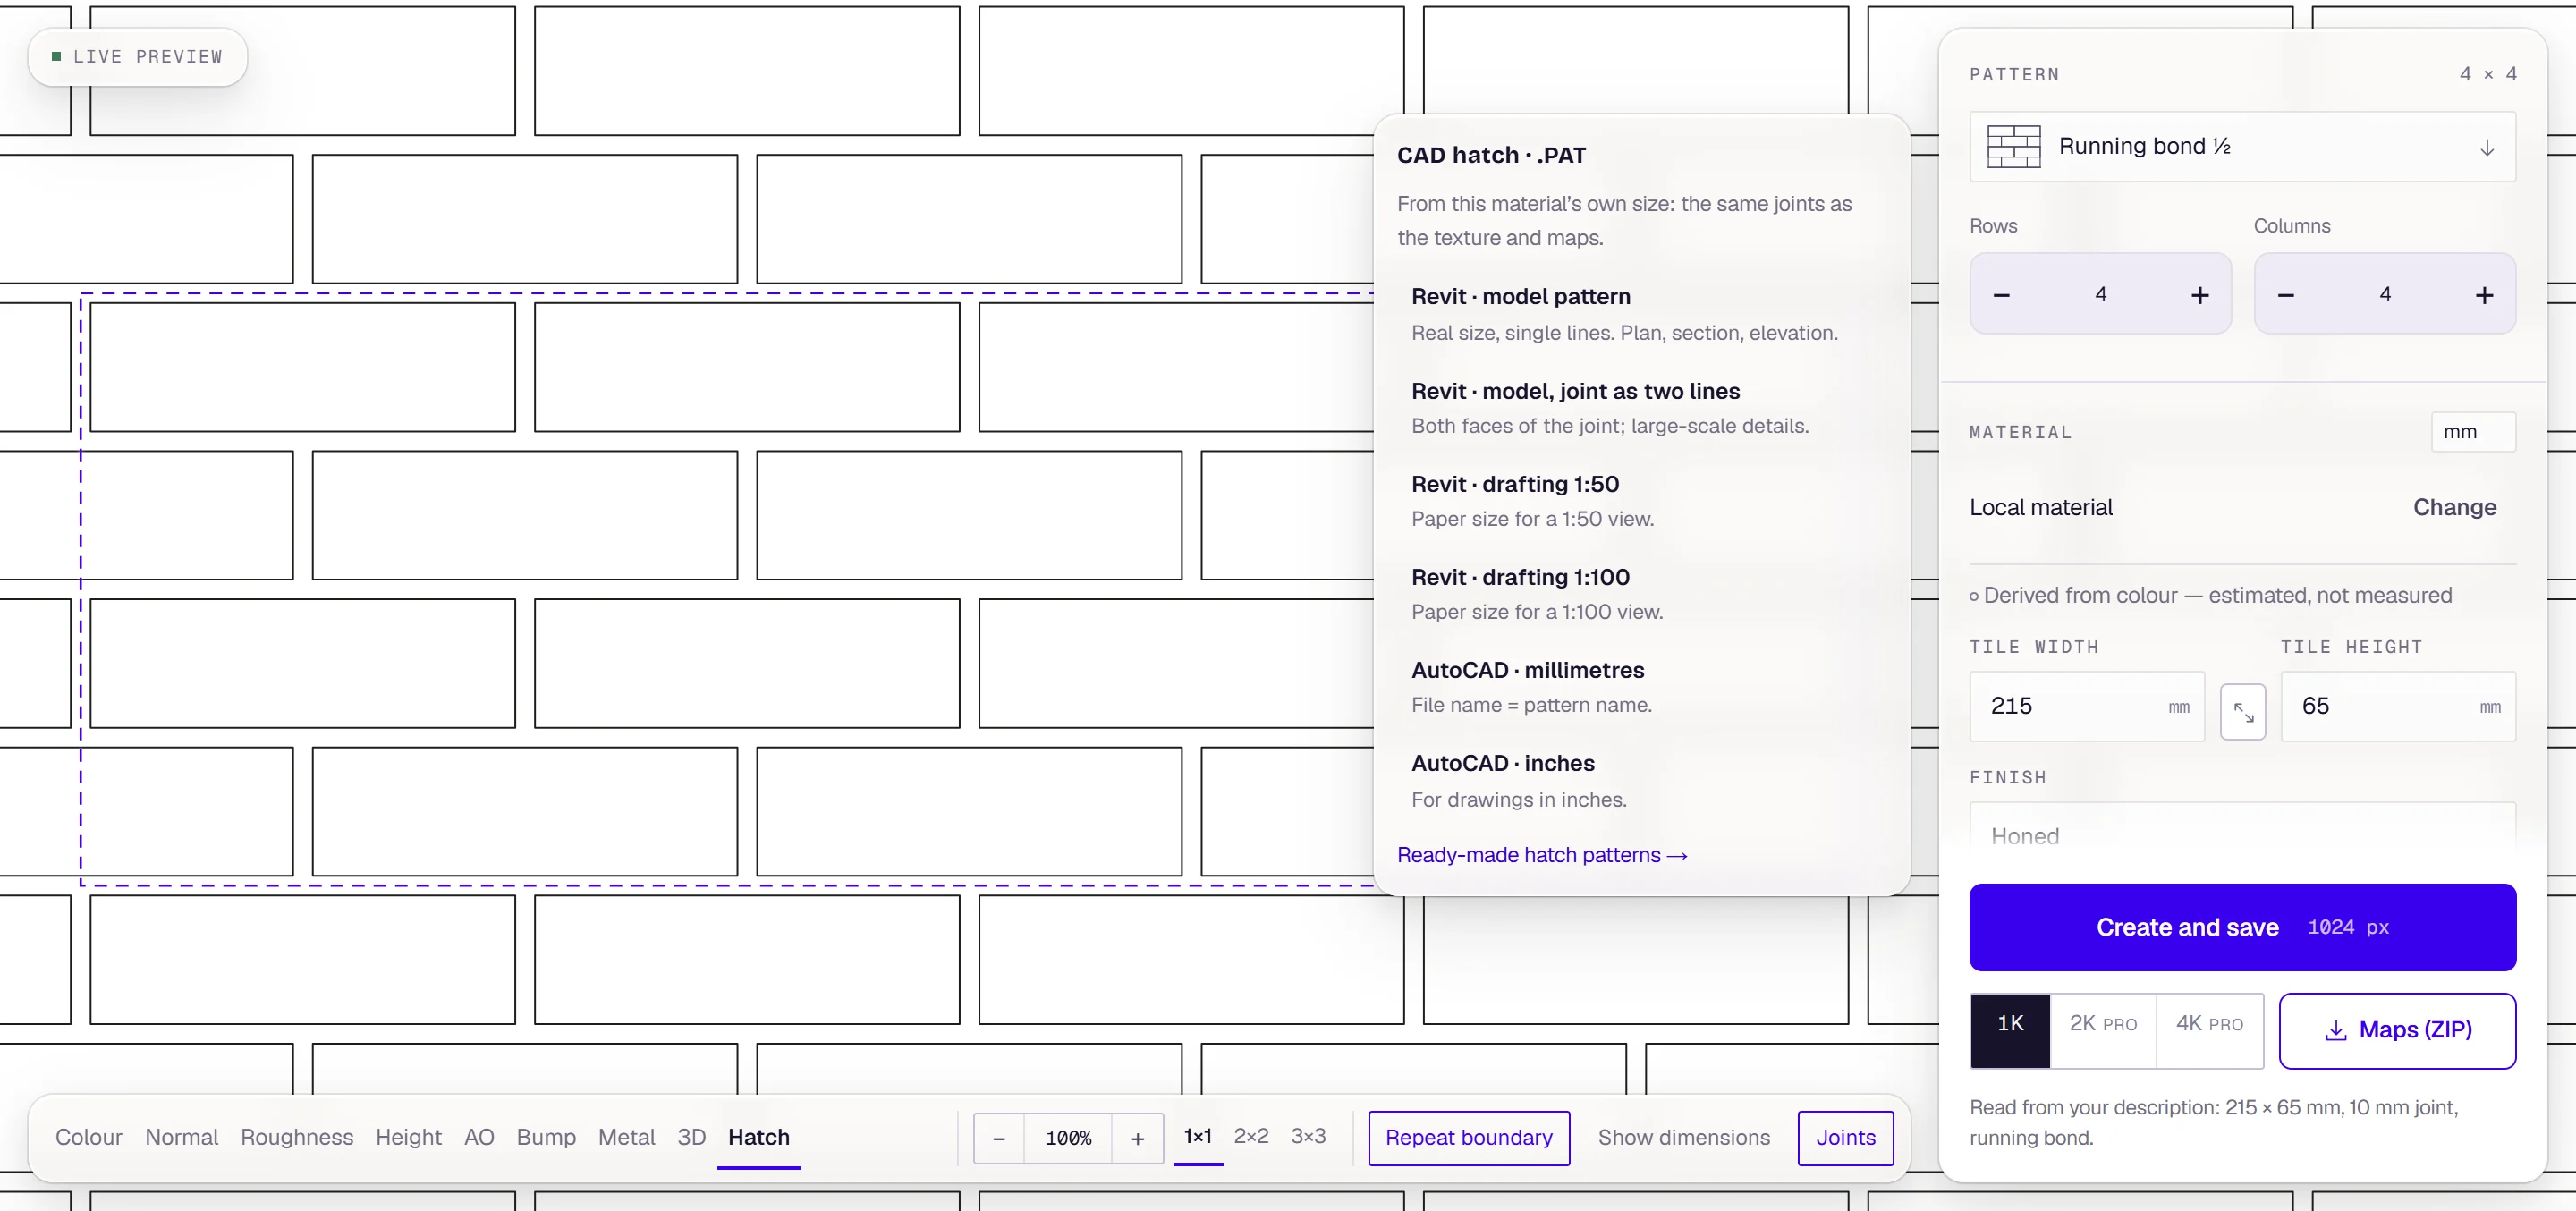
Enter the module, the joint and the bond, and the hatch is drawn as you type. Revit model and drafting patterns and AutoCAD files in millimetres and inches download in one click. The same size gives the texture and PBR maps too, with the joints in the same place.
- Any module and joint width
- Texture, PBR maps and hatch from one geometry
- With a free account
Load it in Revit
- On the ribbon,
Manage › Additional Settings › Fill Patterns. - Under Pattern Type pick the file’s kind: Model for a model pattern, Drafting for a drafting pattern.
New fill pattern › Custom › Import…, choose the .pat file and the pattern in its list; keep the import scale at 1.00.- Use it as a material’s surface or cut pattern, or in a filled region type.
Load it in AutoCAD
- Save the .pat file in a folder listed under
OPTIONS › Files › Support File Search Path. - Start HATCH; the pattern appears in the pattern list under its own name.
- Keep the file name: AutoCAD finds the pattern by it.
Model or drafting pattern?
A model pattern is real size: a 215 mm brick is 215 mm in the file and grows and shrinks with the model as the view scale changes. A drafting pattern is paper size and stays the same on the sheet at every scale, so the view scale it was drawn for is in its file name. Use the model pattern for a material’s real surface and the drafting pattern for a symbolic fill in section.
Similar patterns
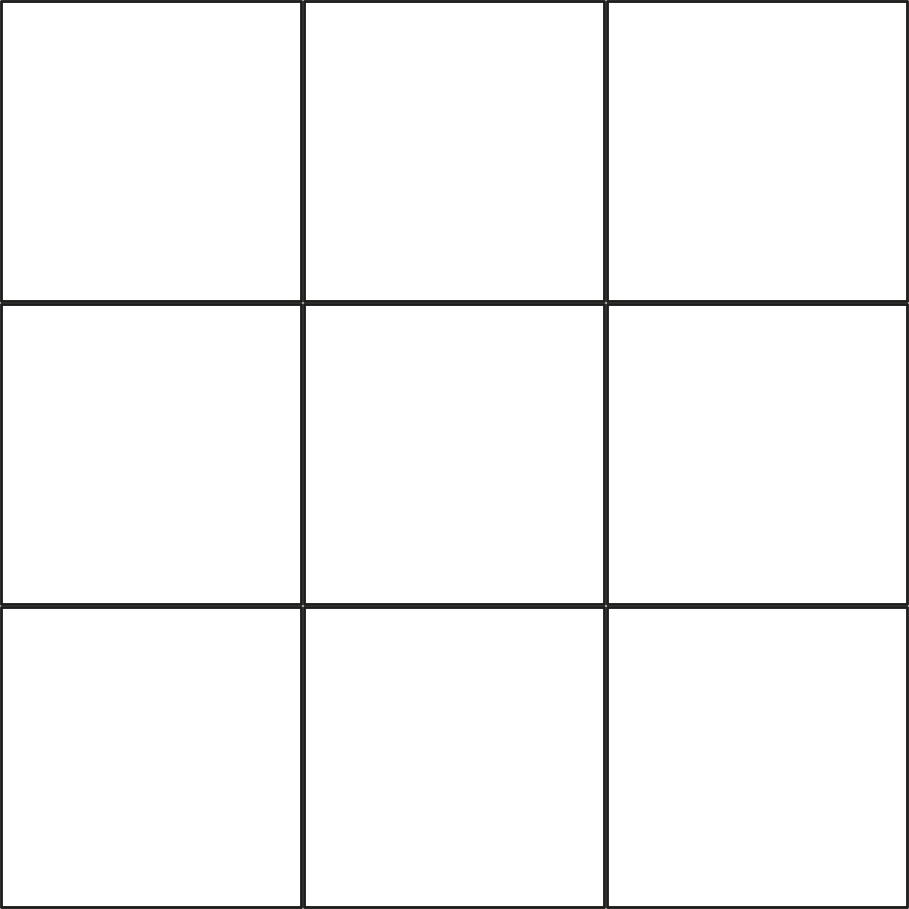 Stack bond tile 300 × 300 mm
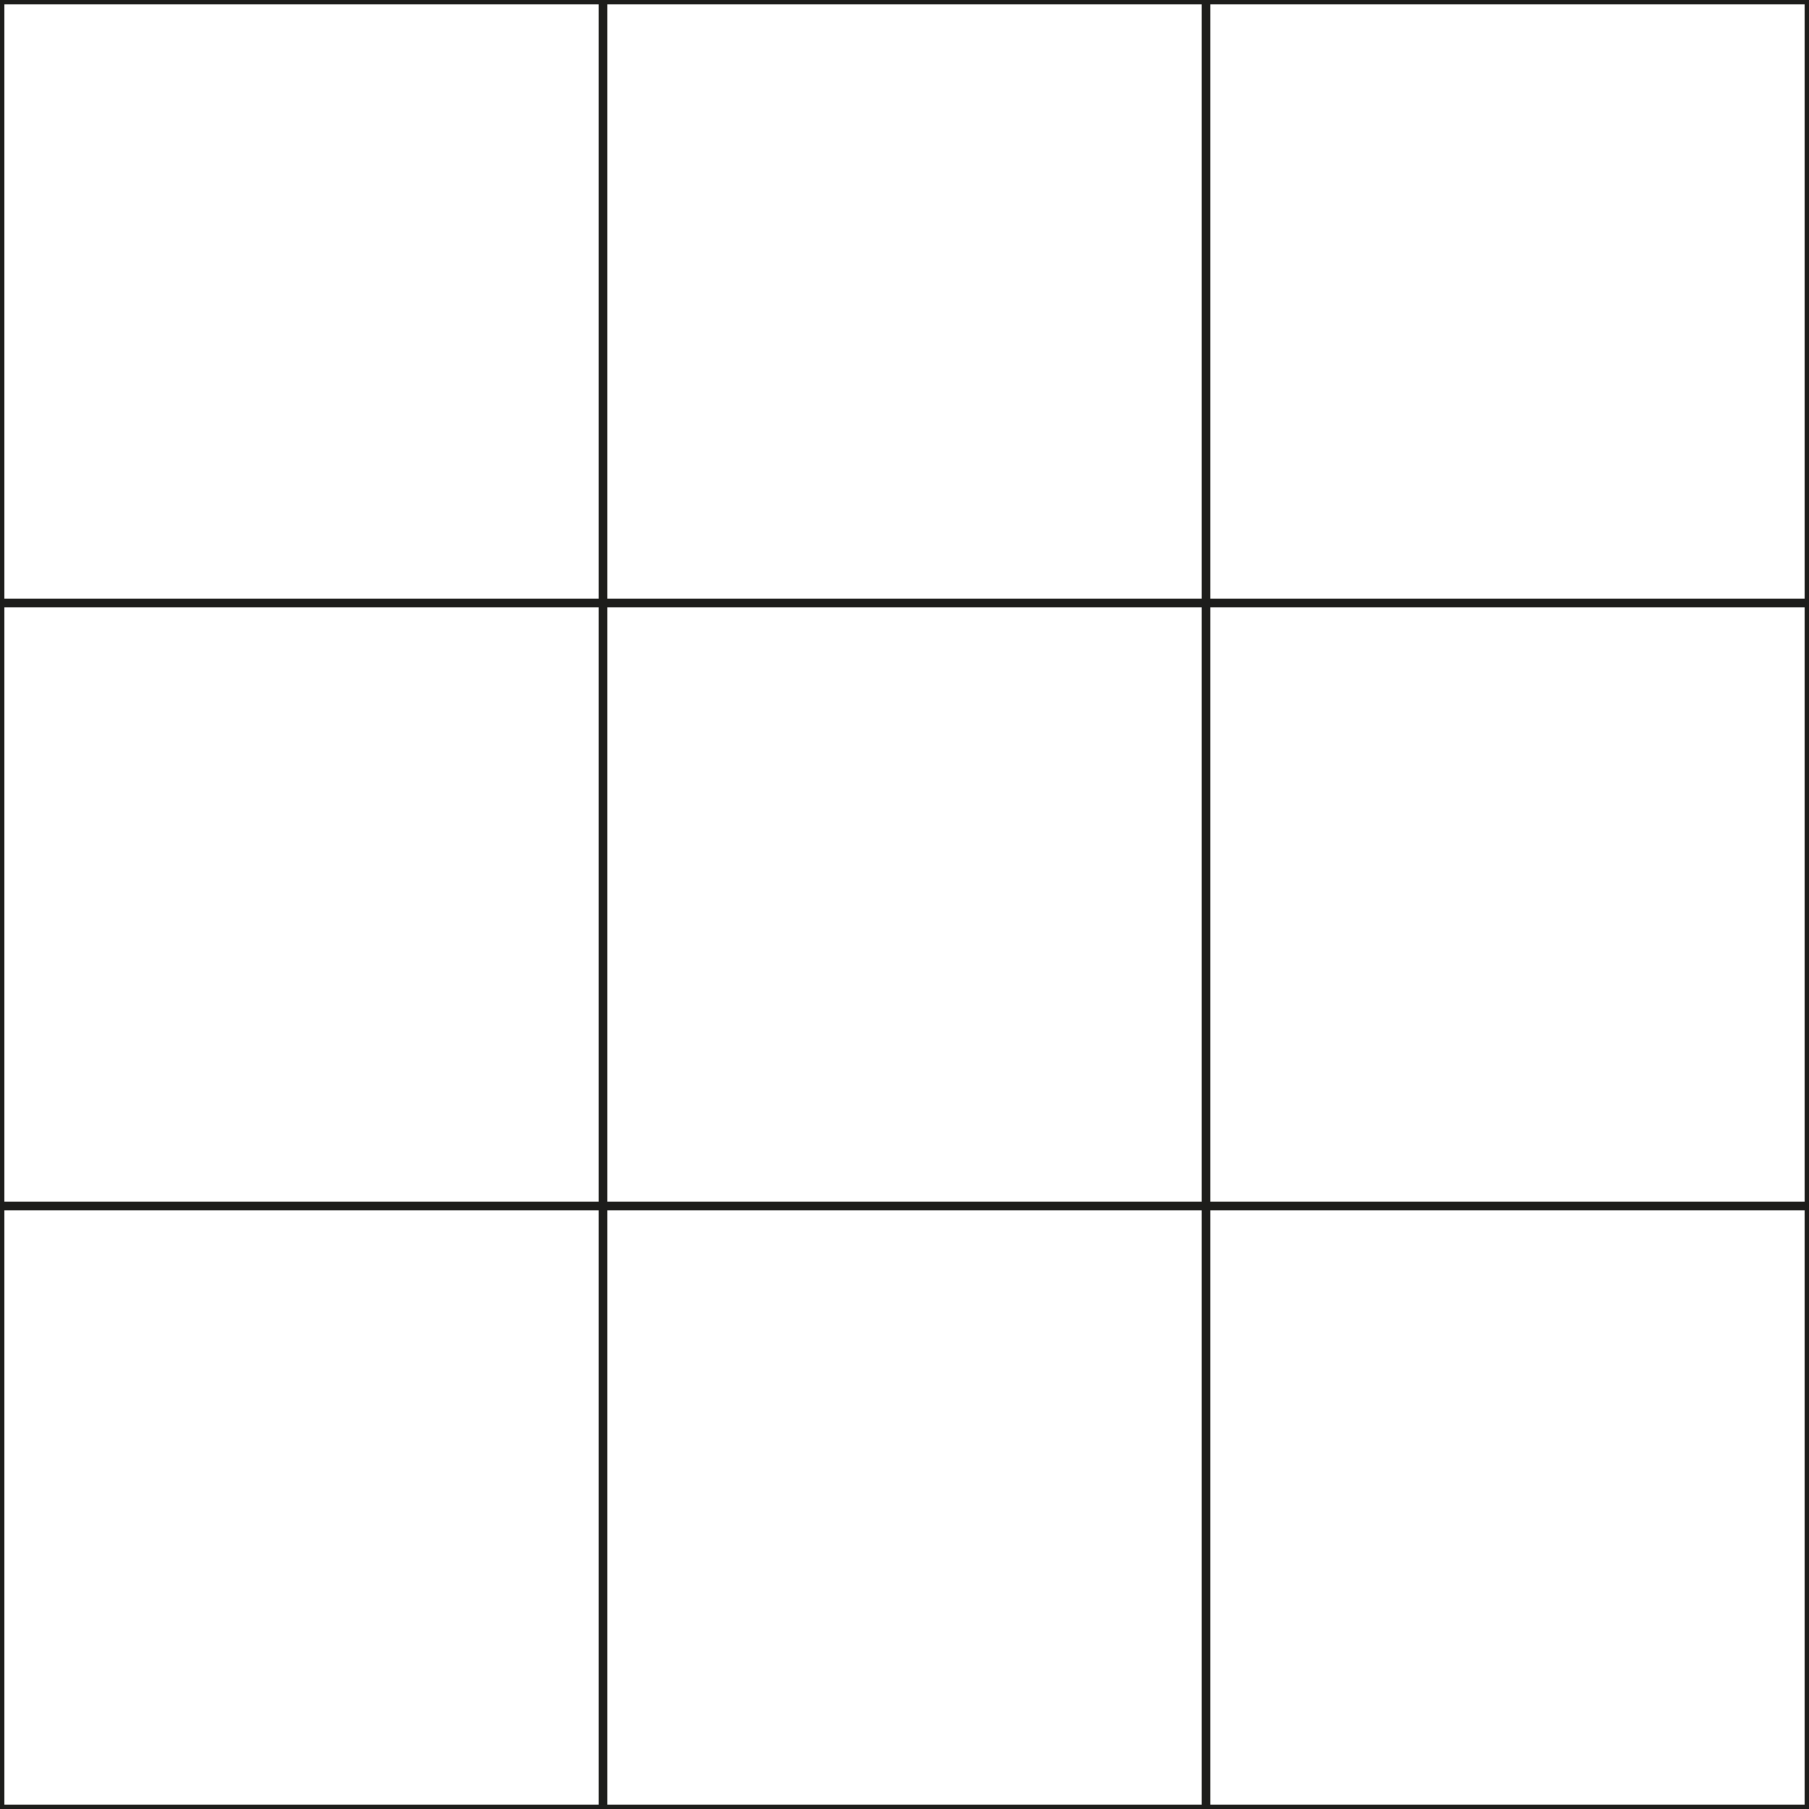 Stack bond tile 600 × 600 mm
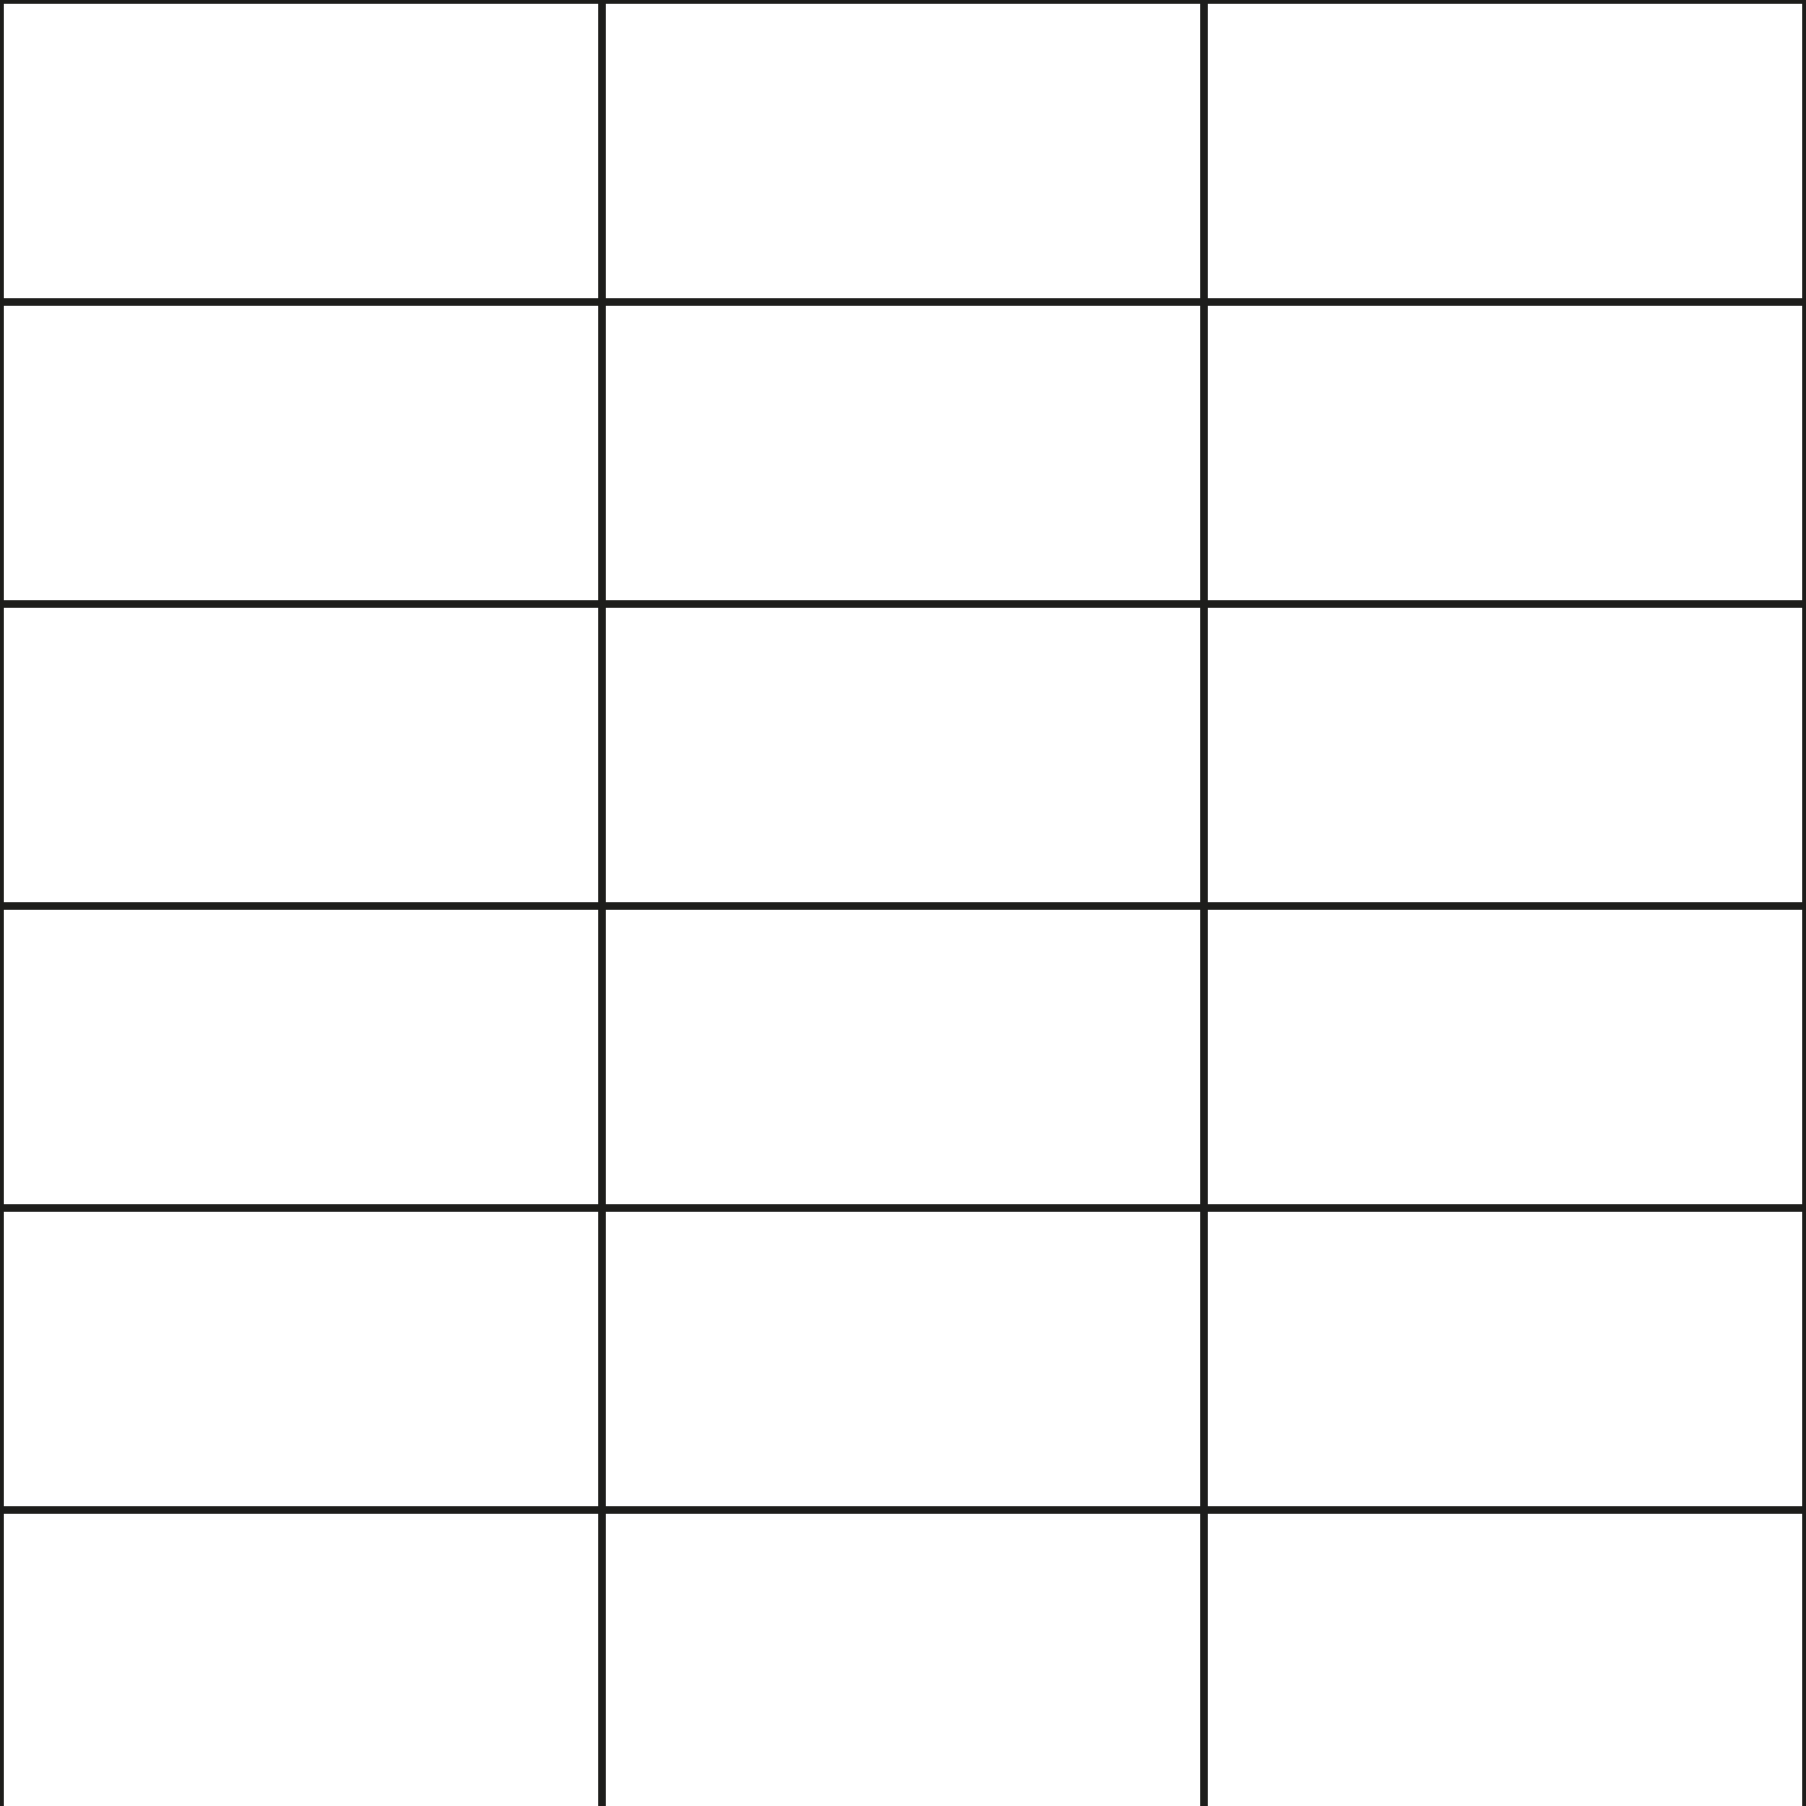 Stack bond tile 600 × 300 mm
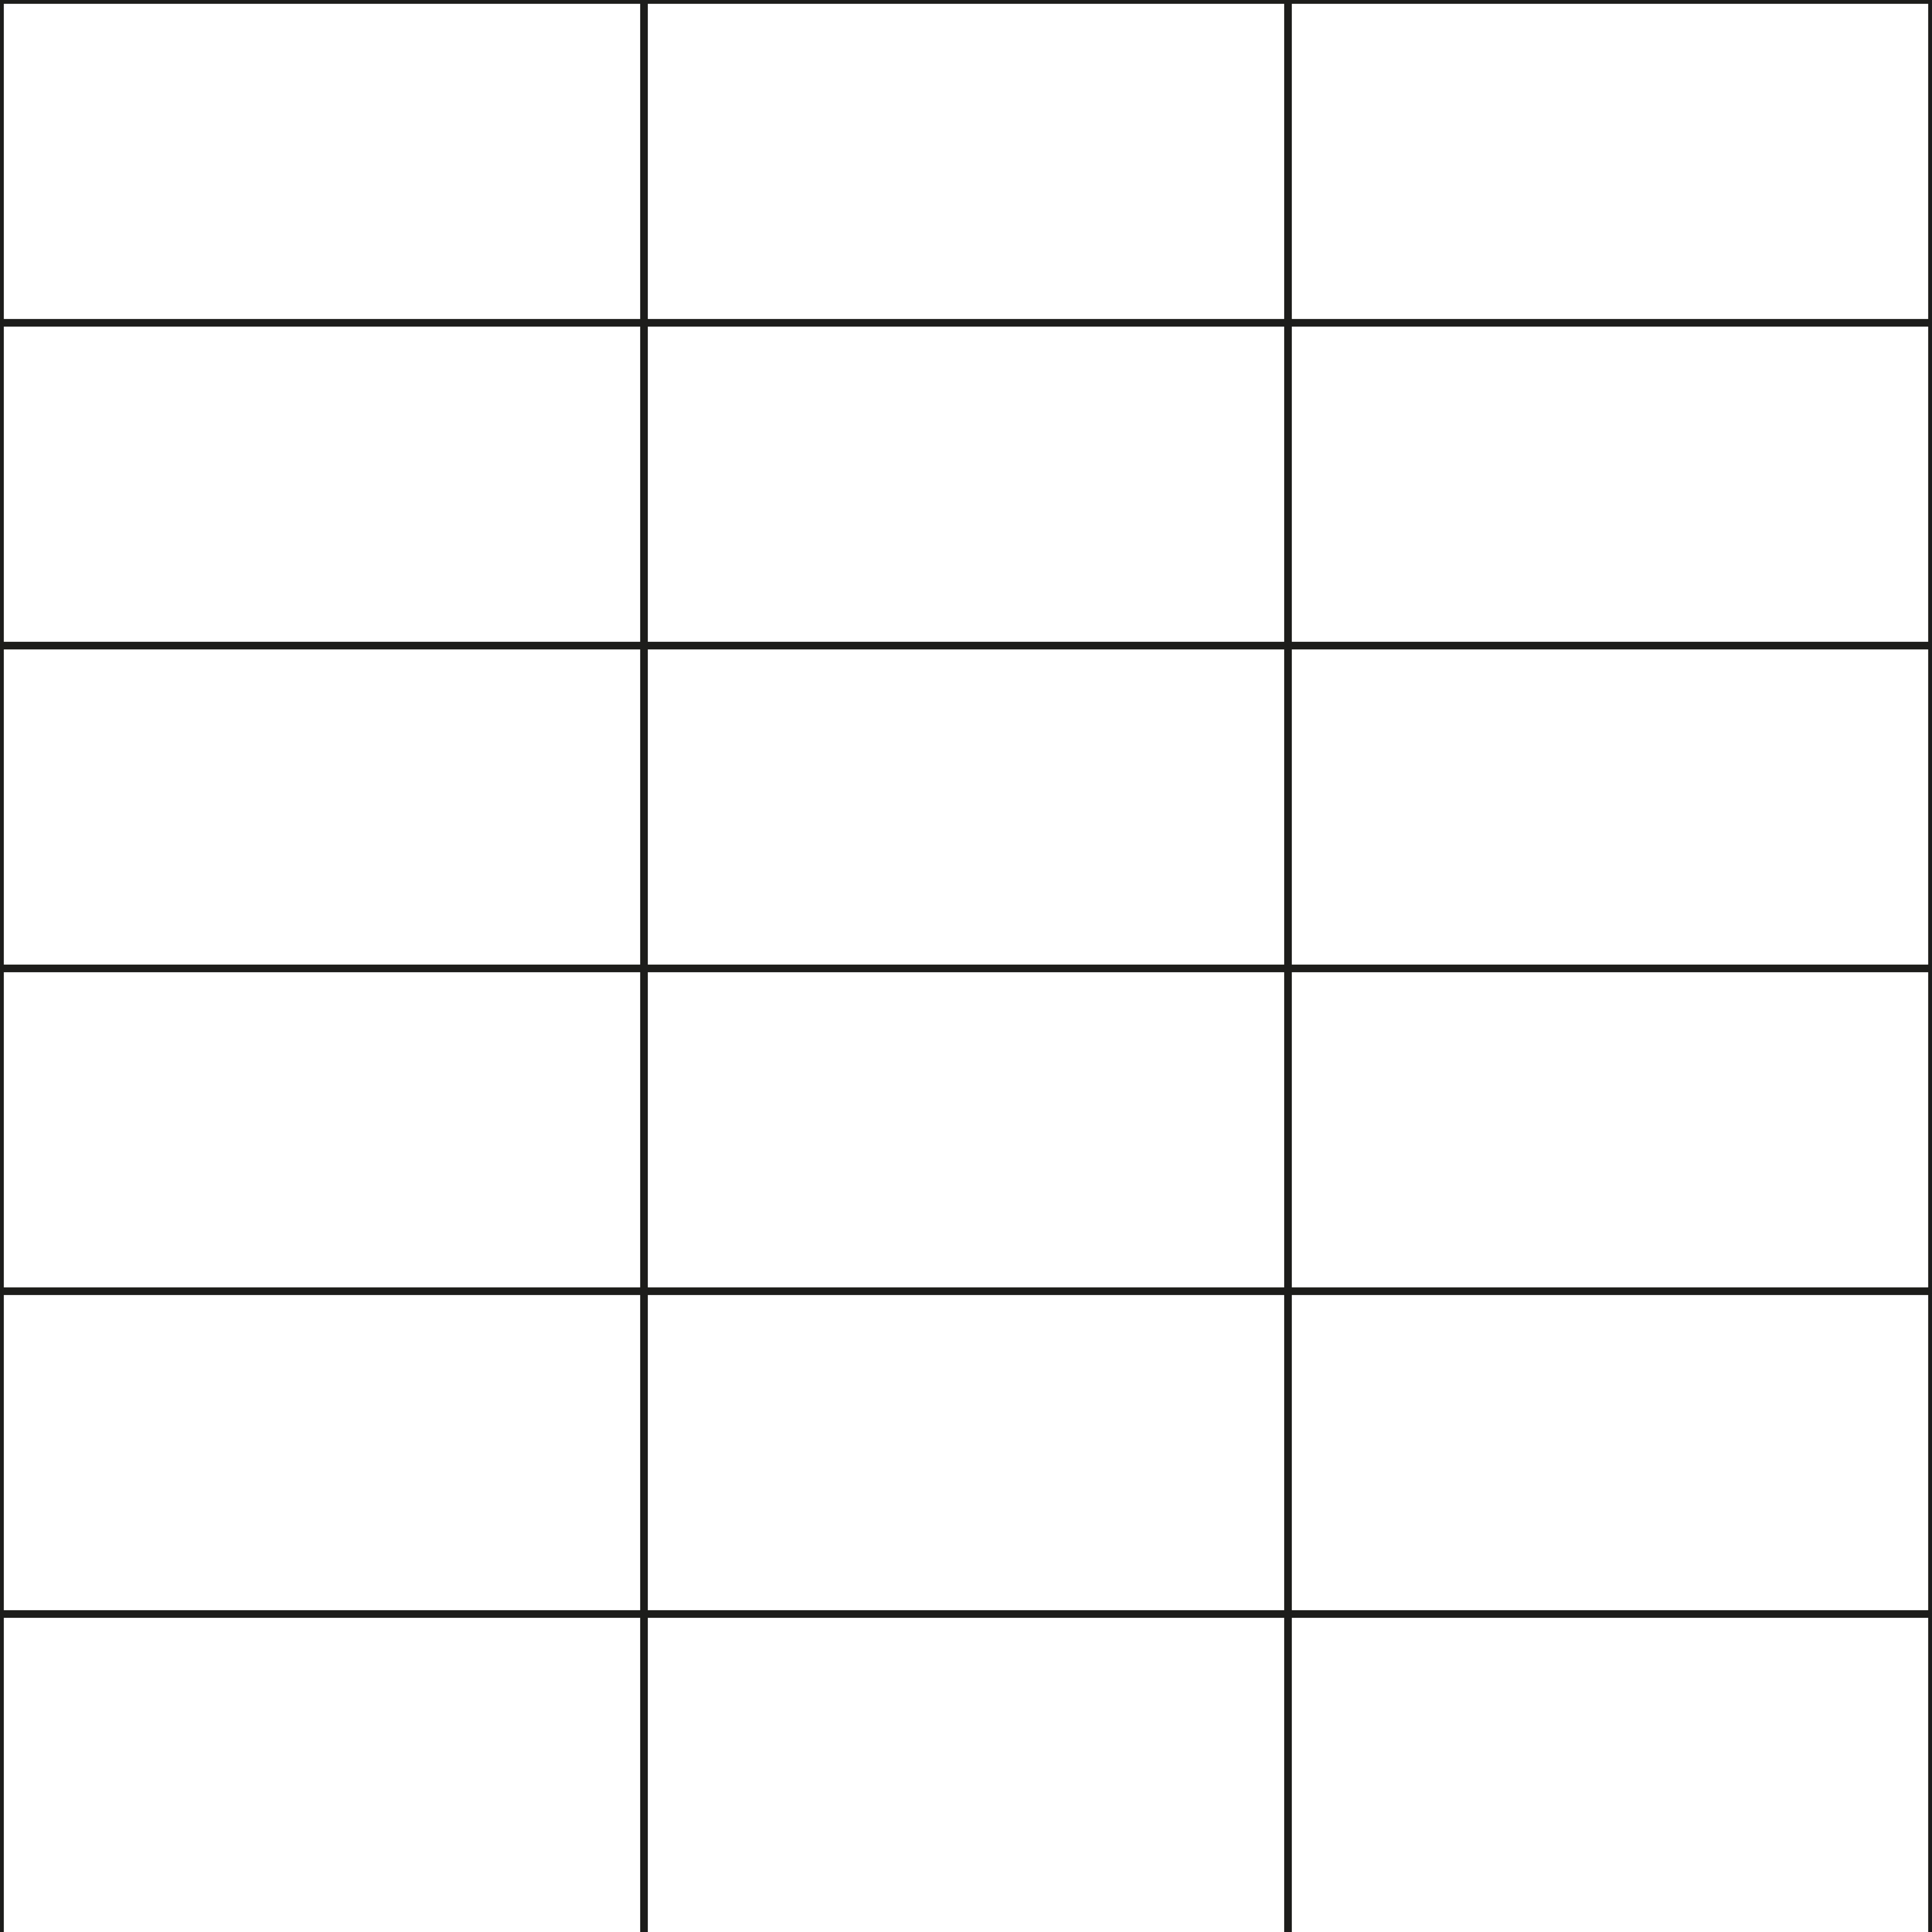 Stack bond tile 1200 × 600 mm
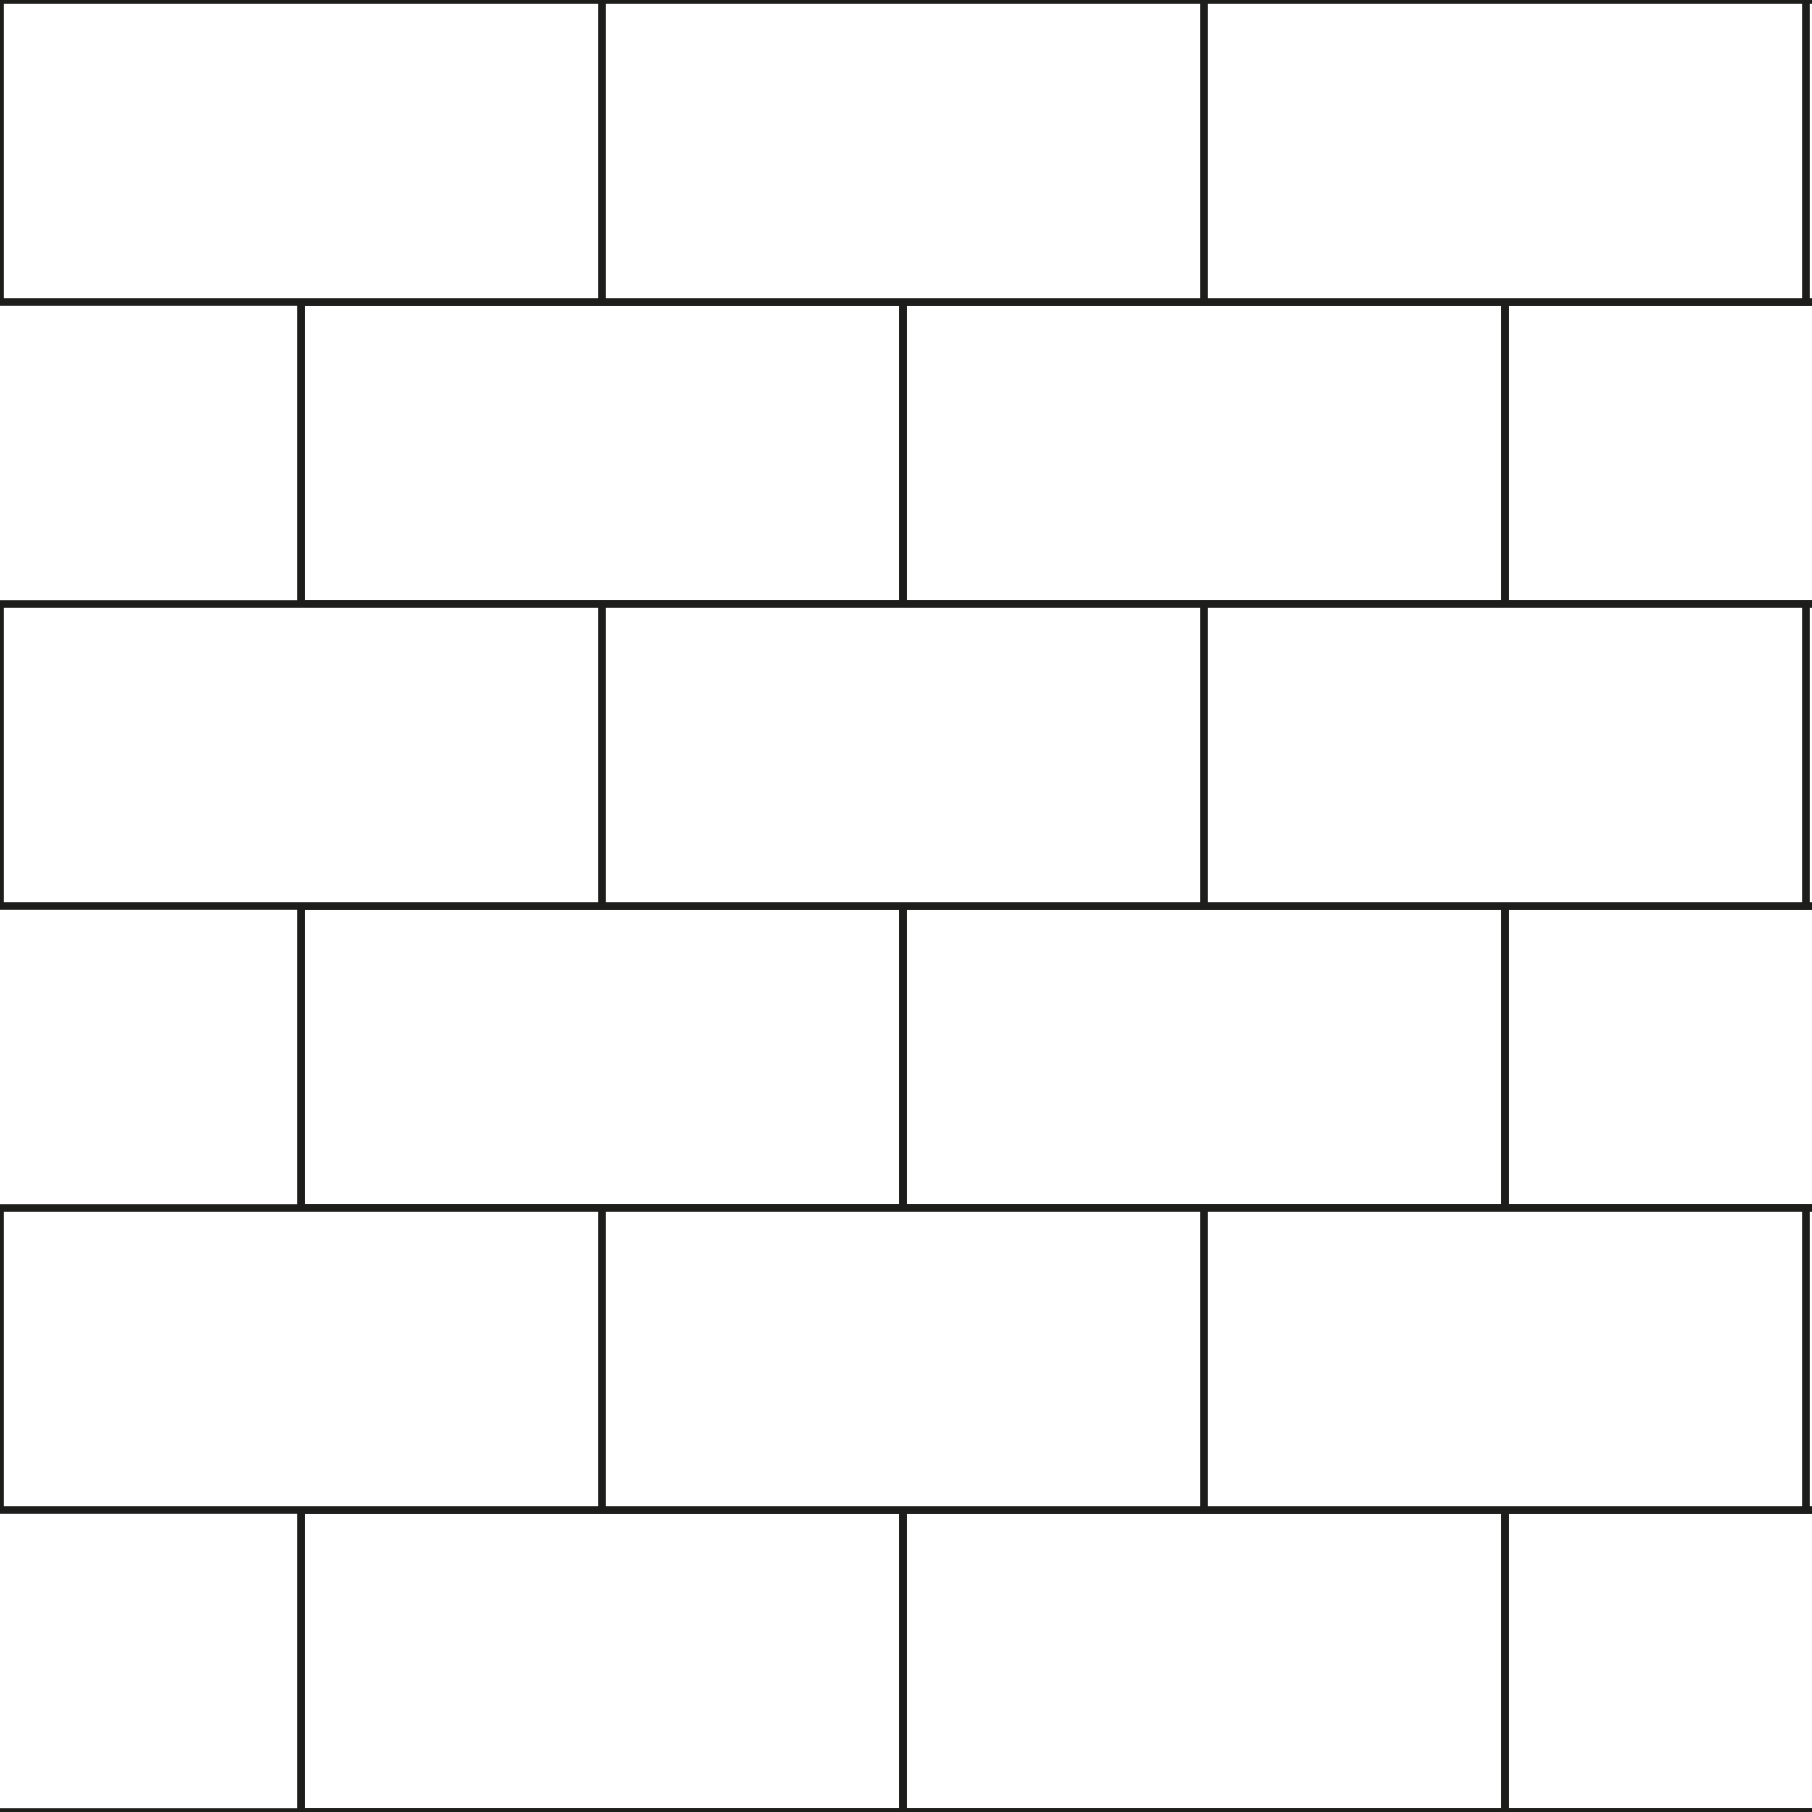 Running bond tile 600 × 300 mm
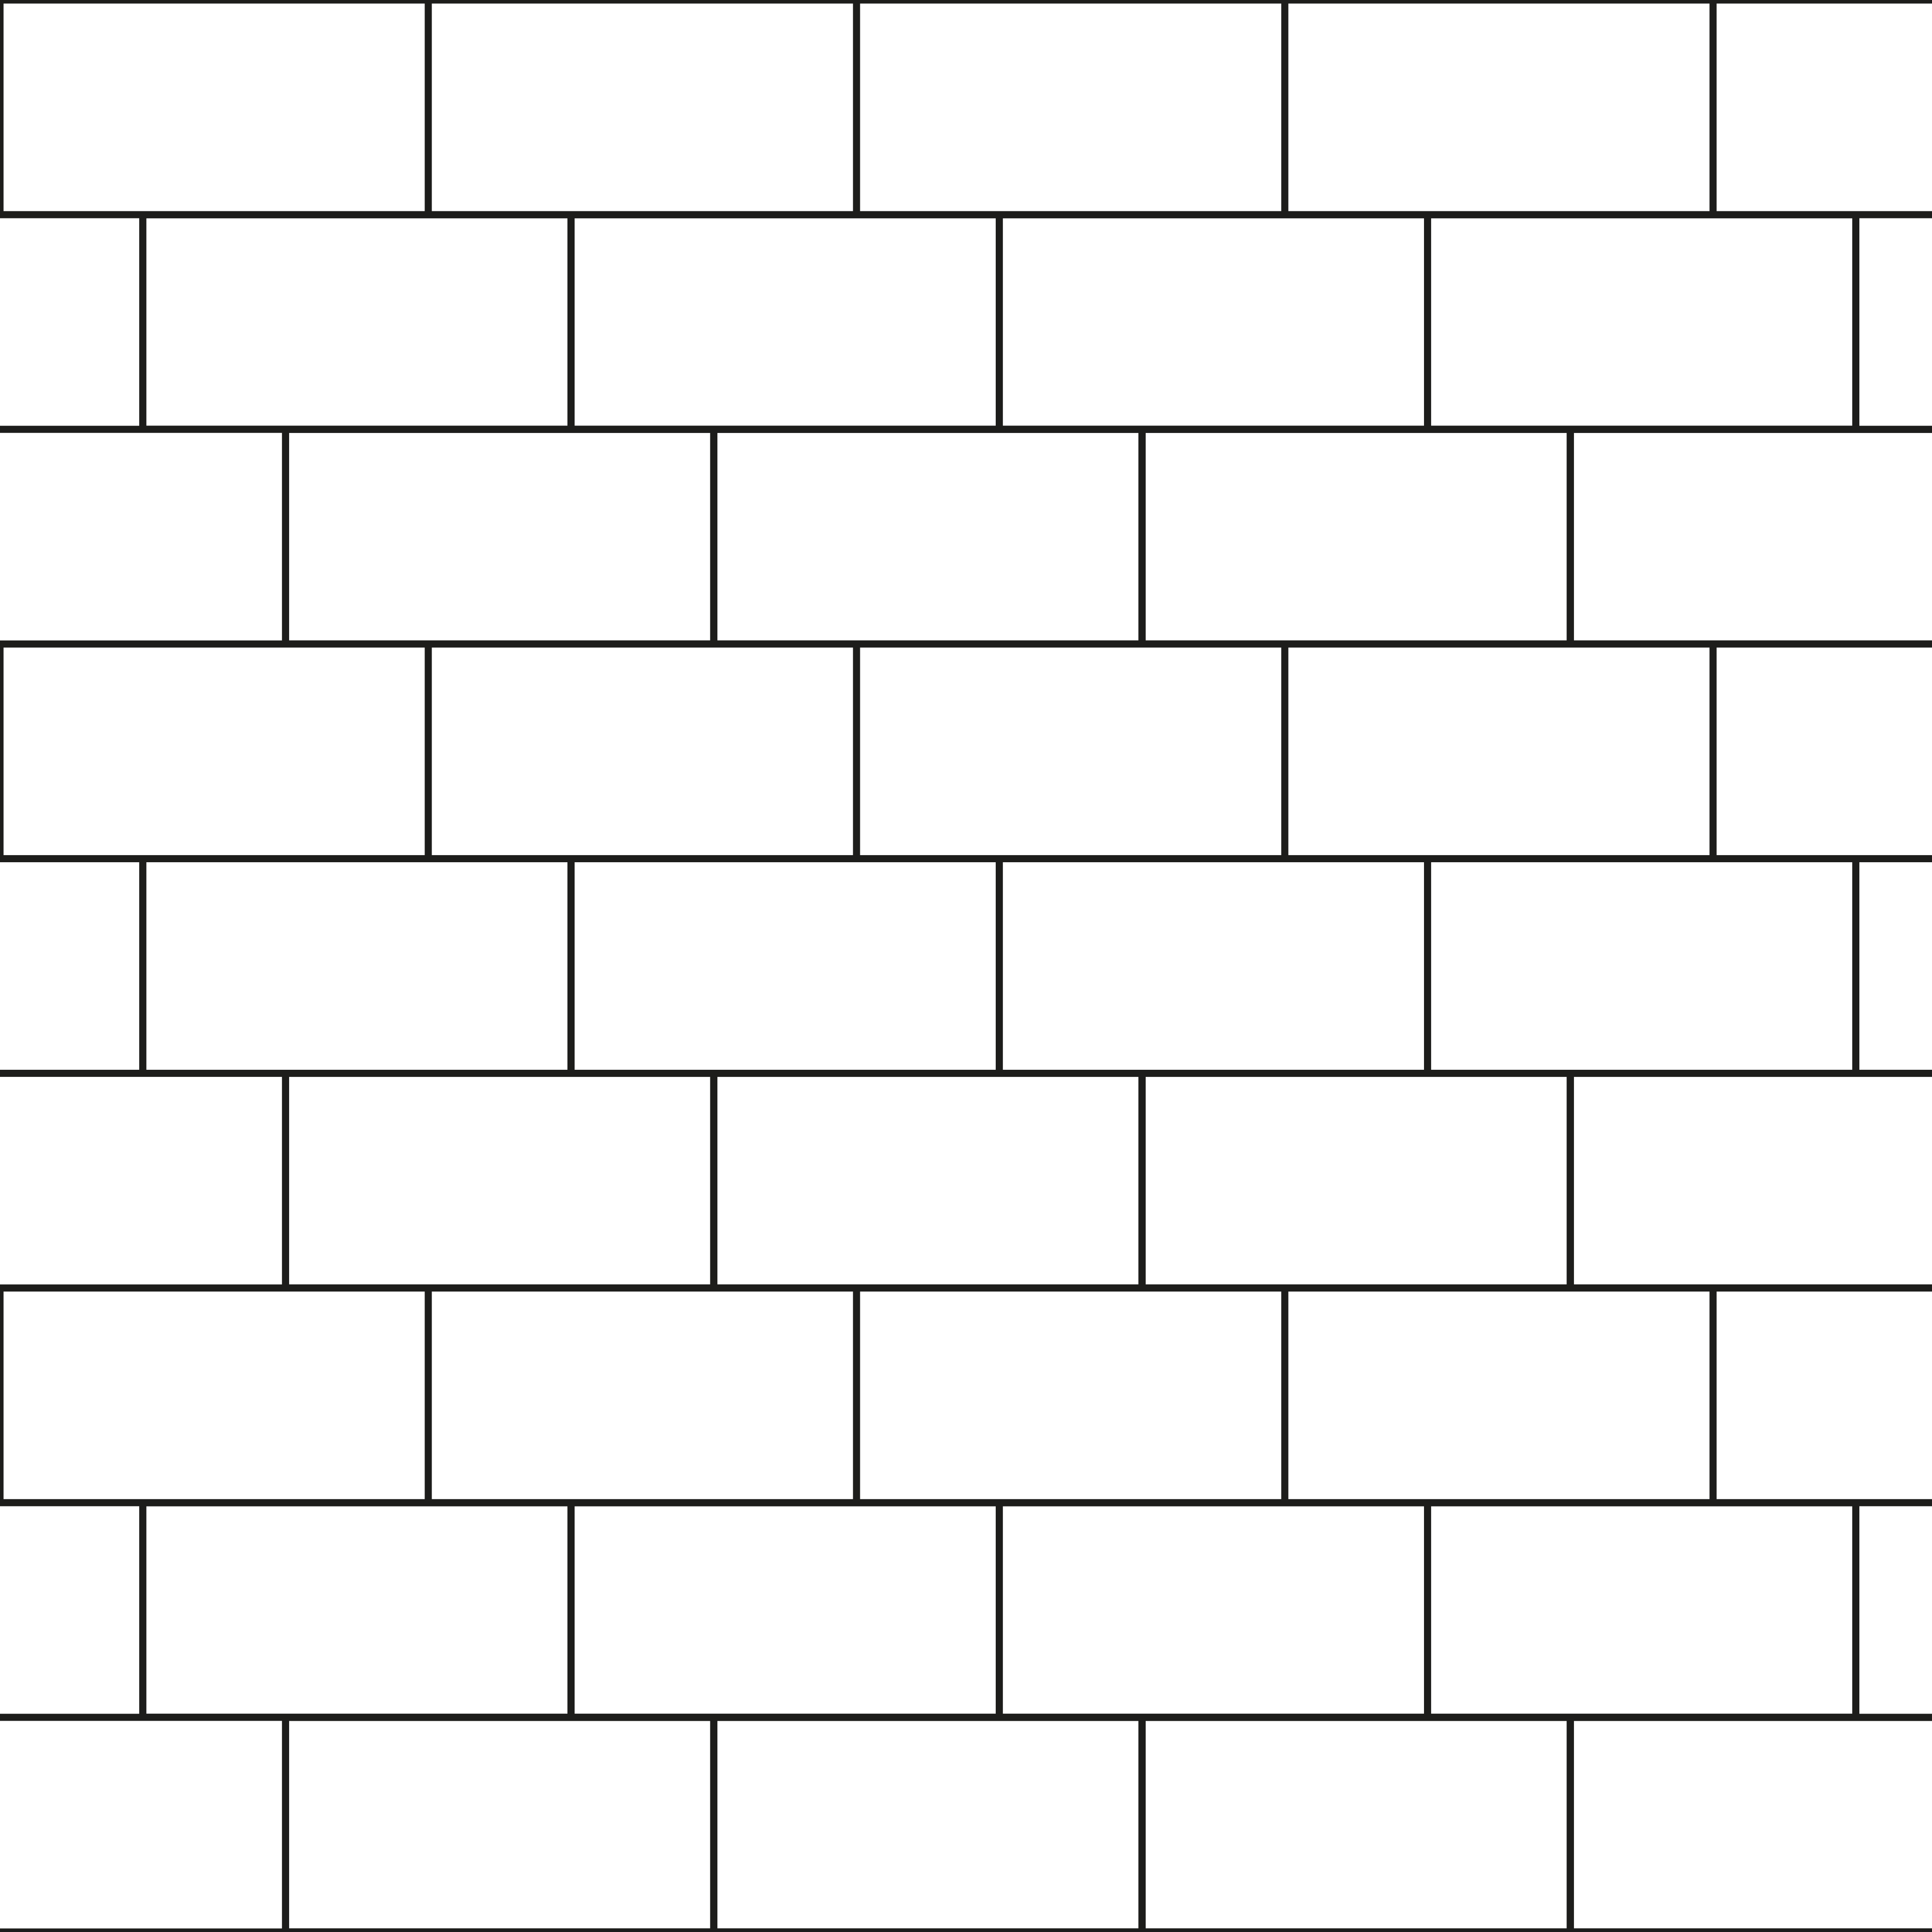 ⅓ offset tile 1200 × 600 mm
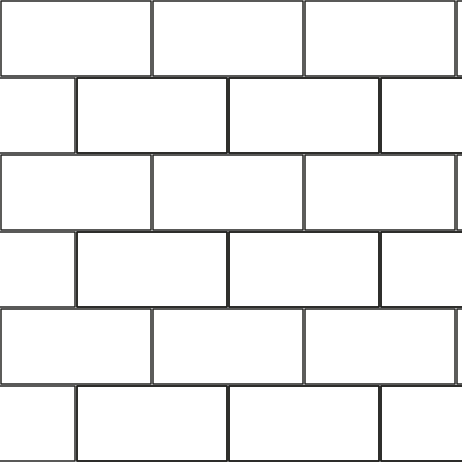 Running bond tile 150 × 75 mm (subway)
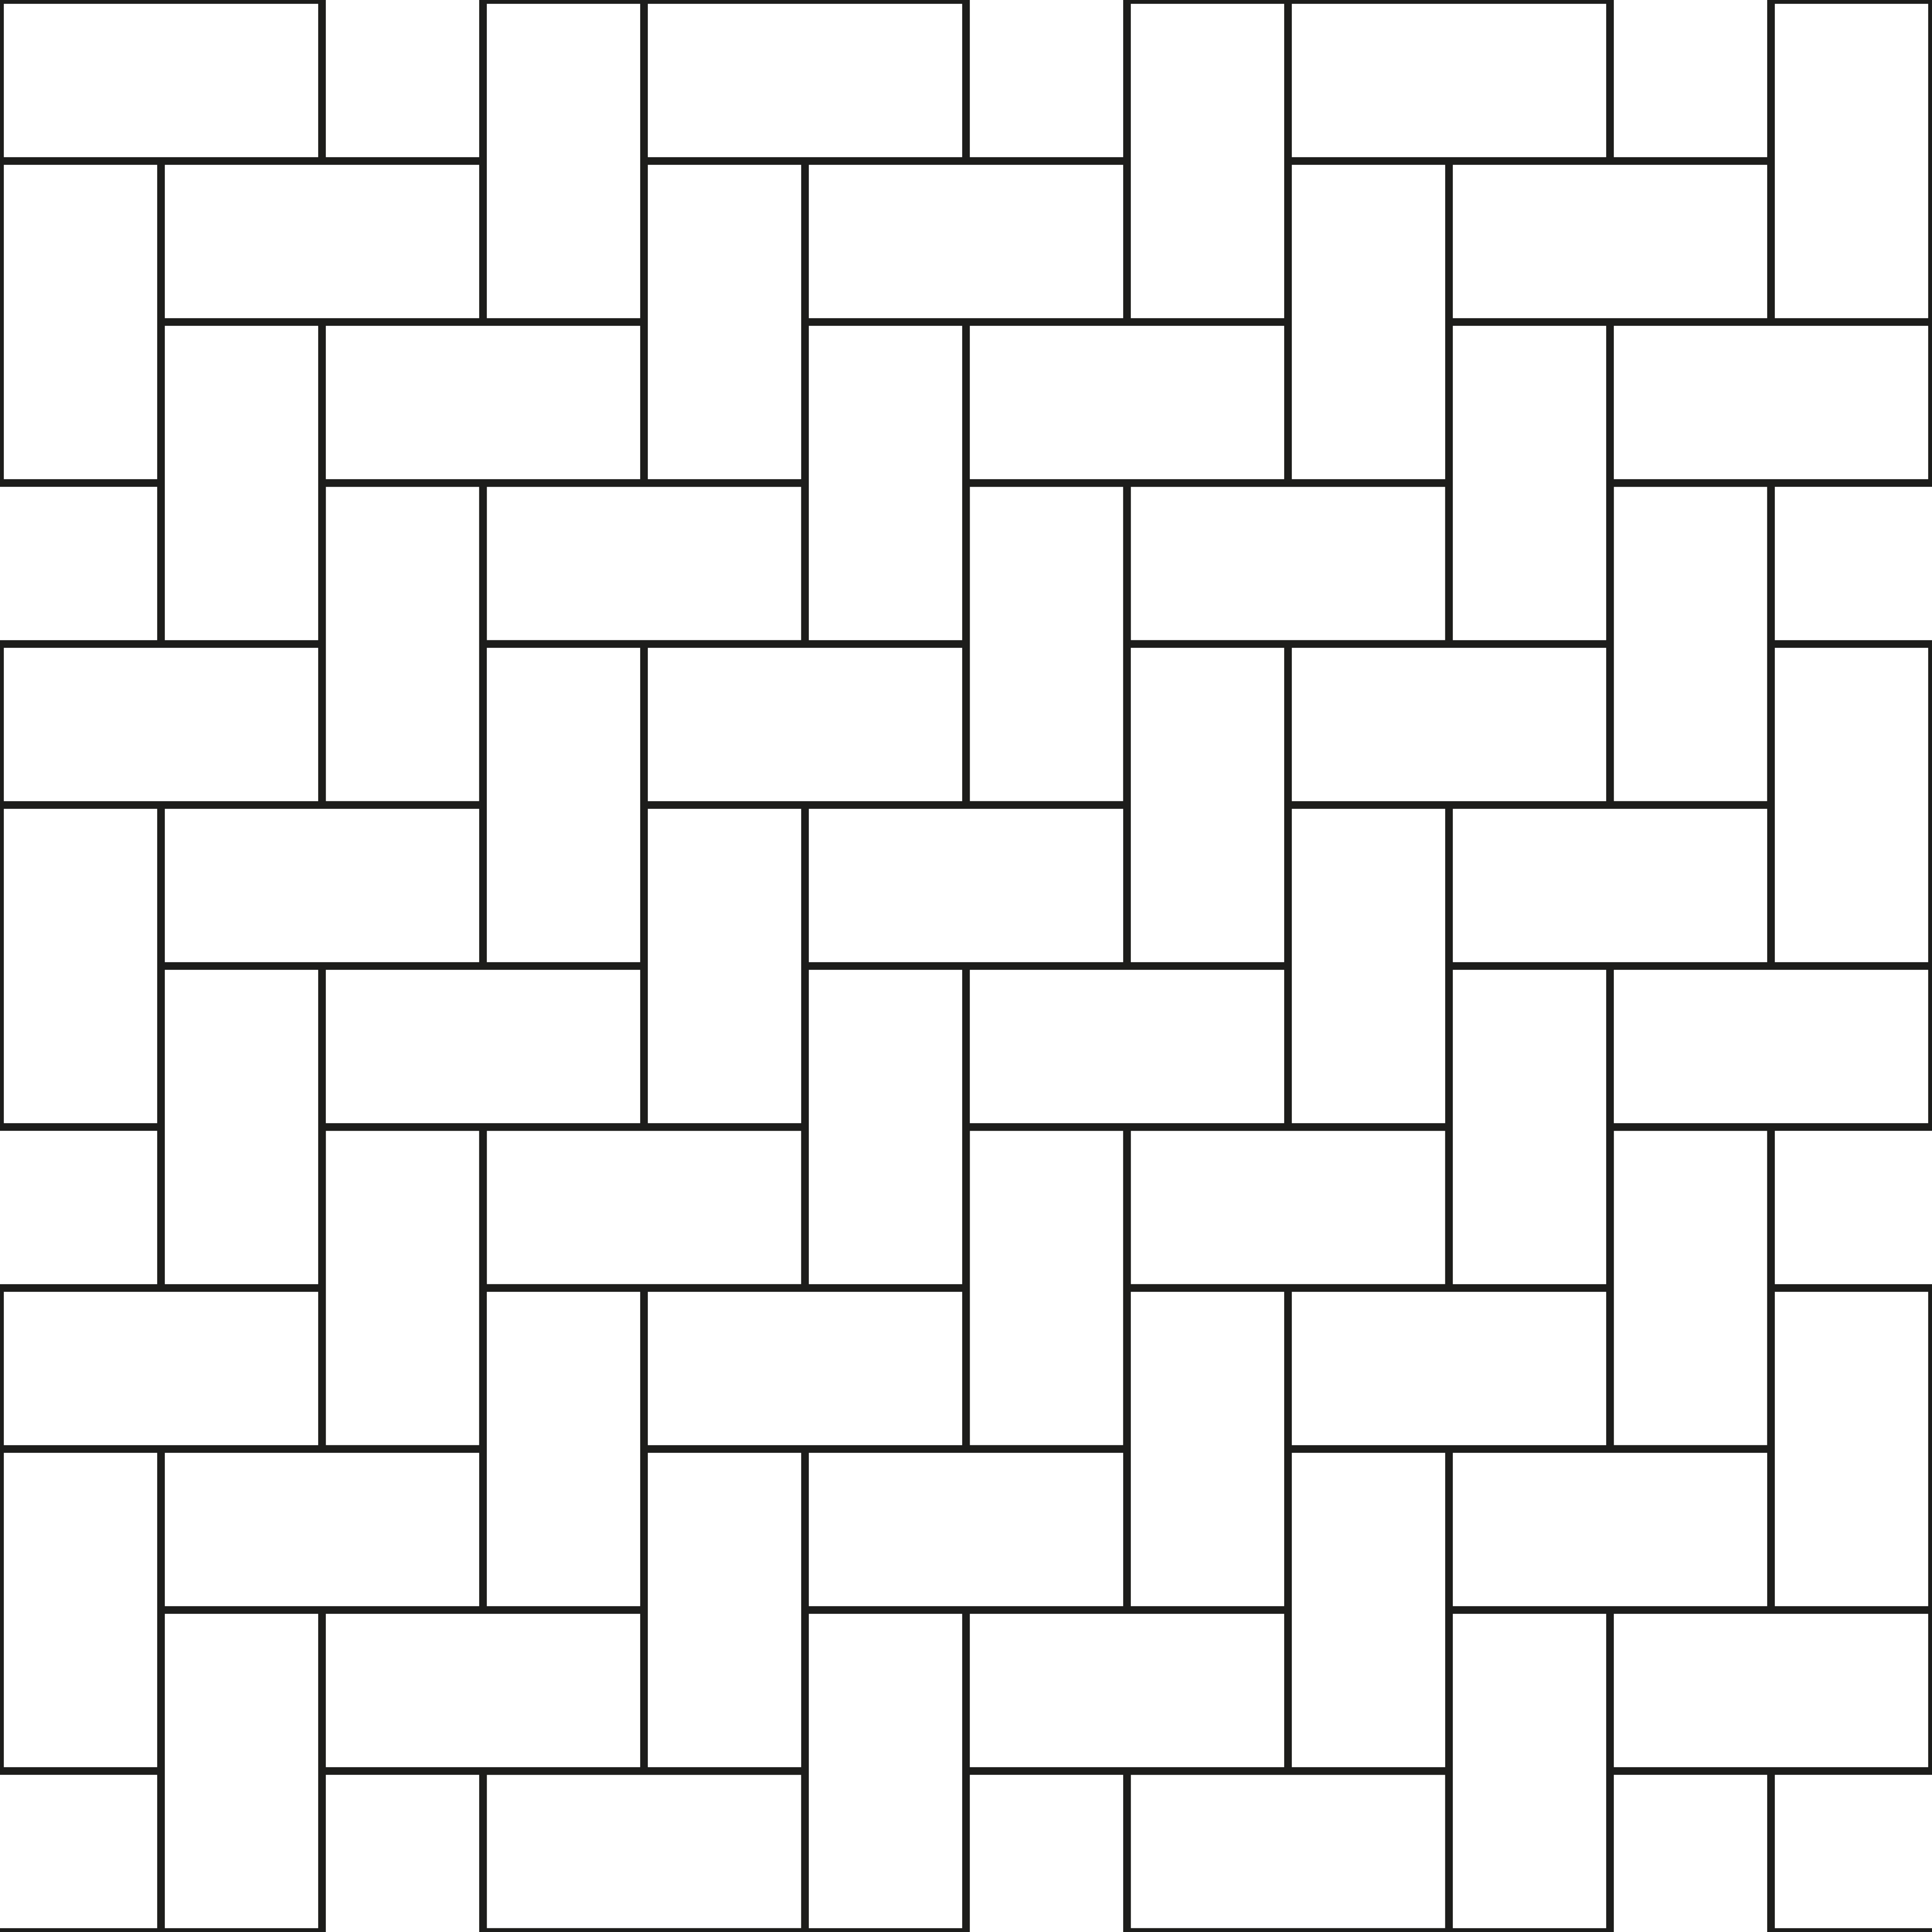 Herringbone tile 600 × 300 mm
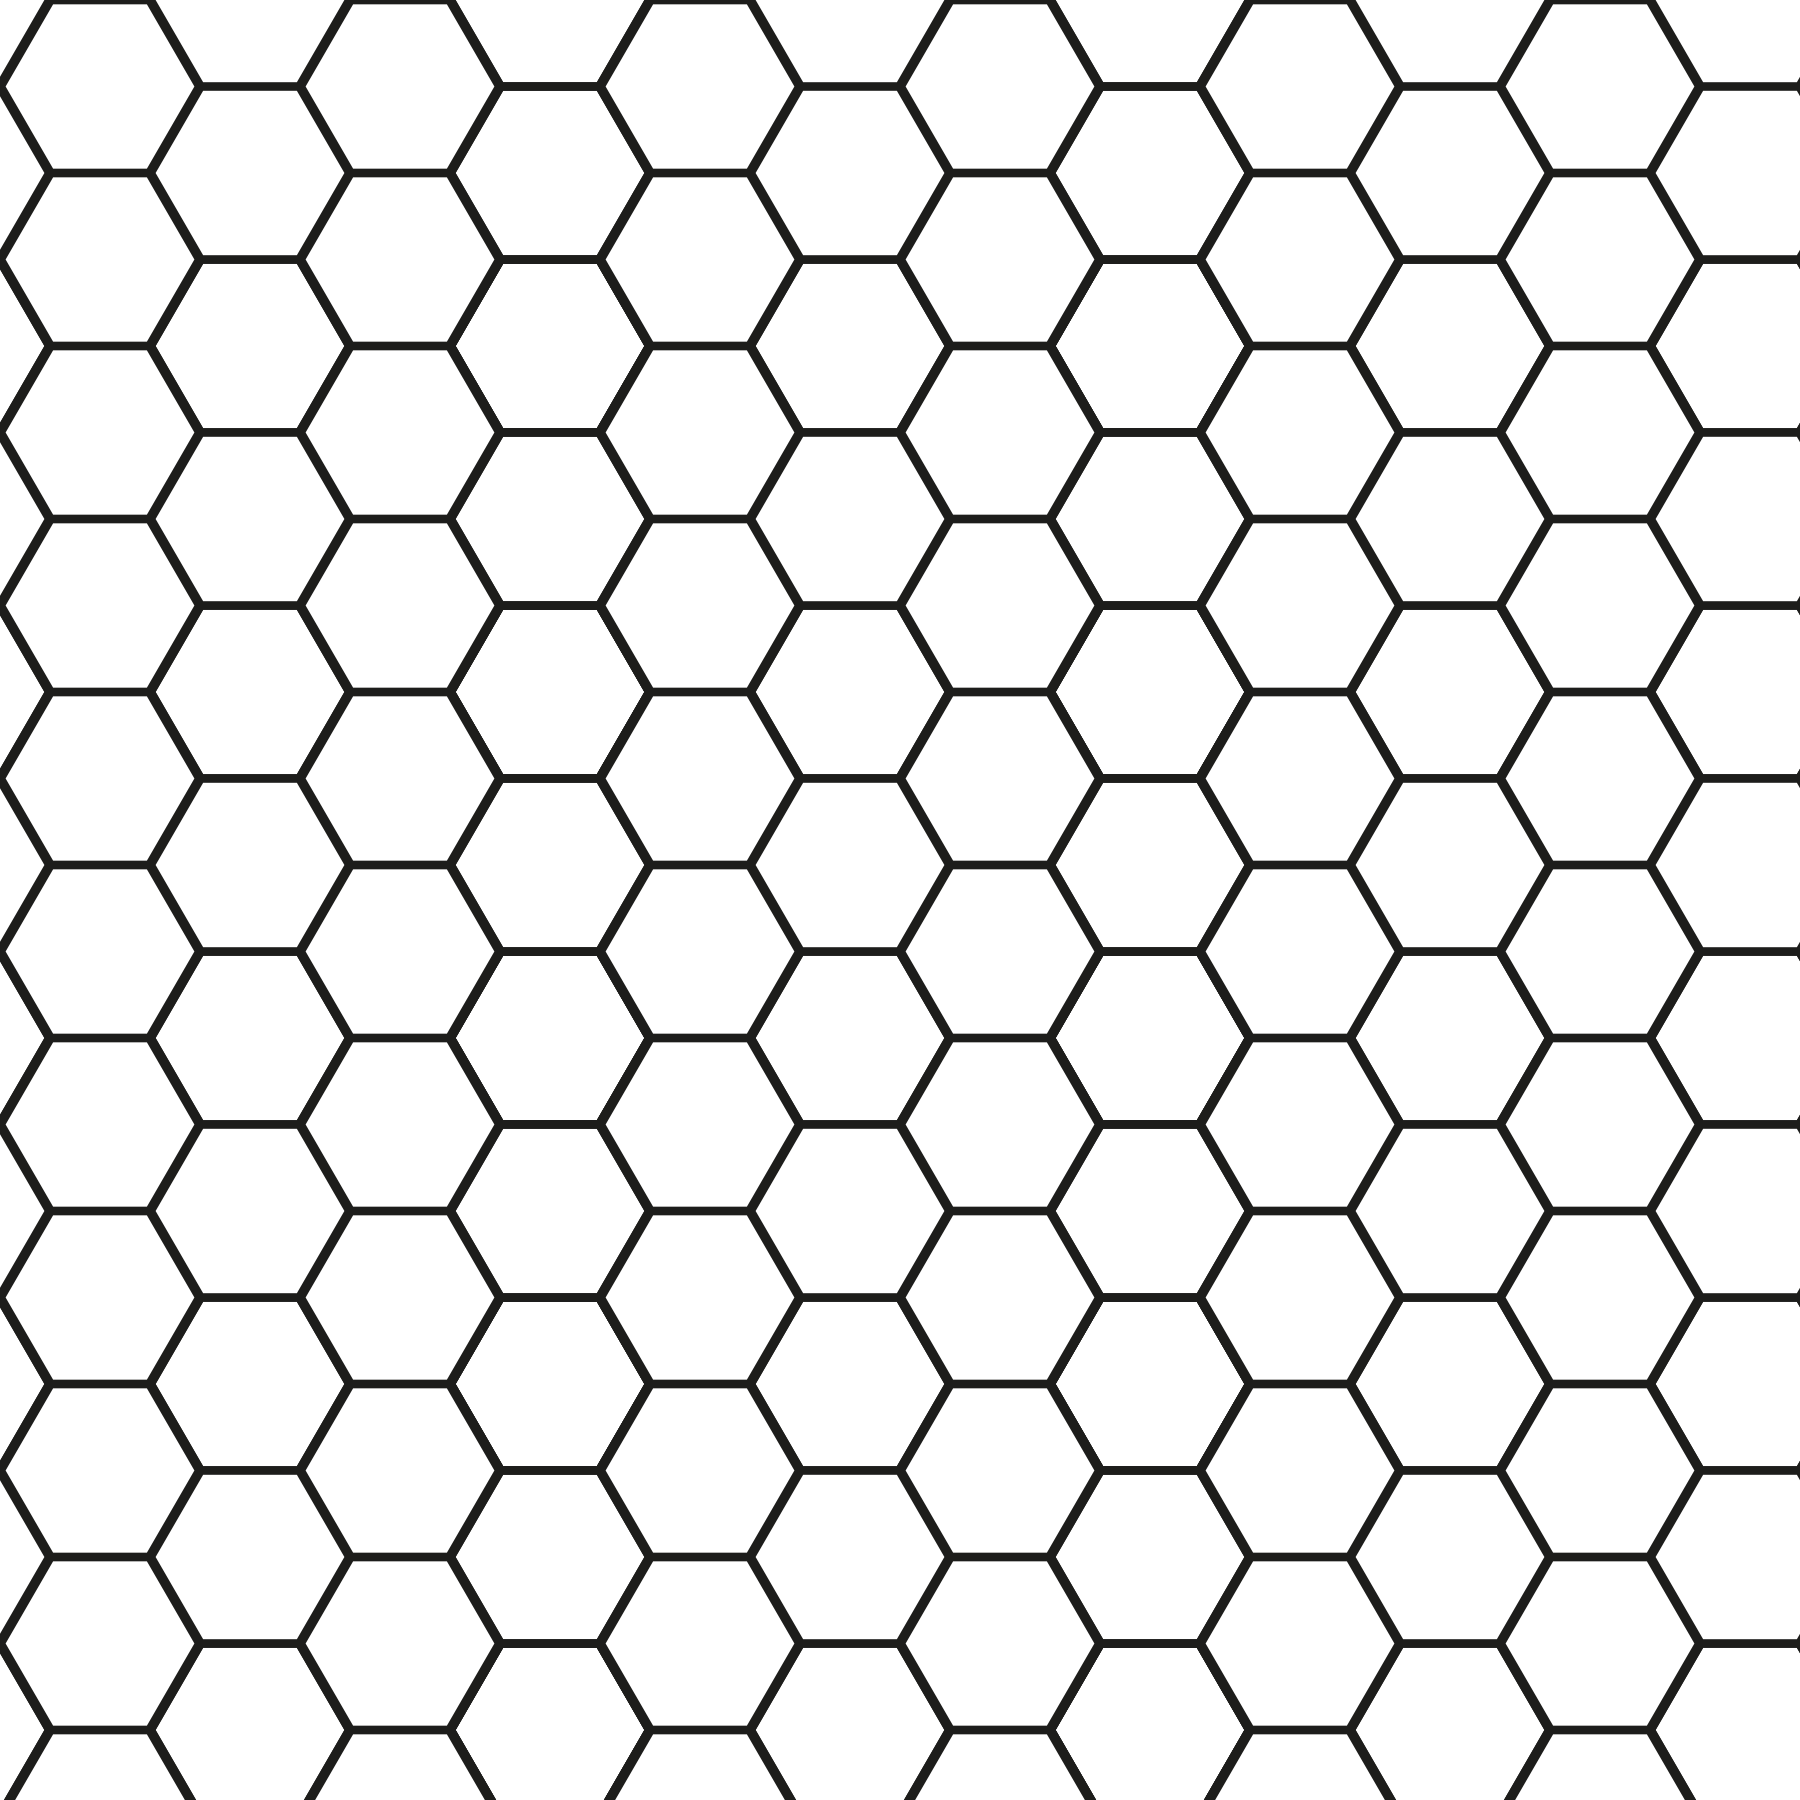 Hexagon tile 200 × 173 mm
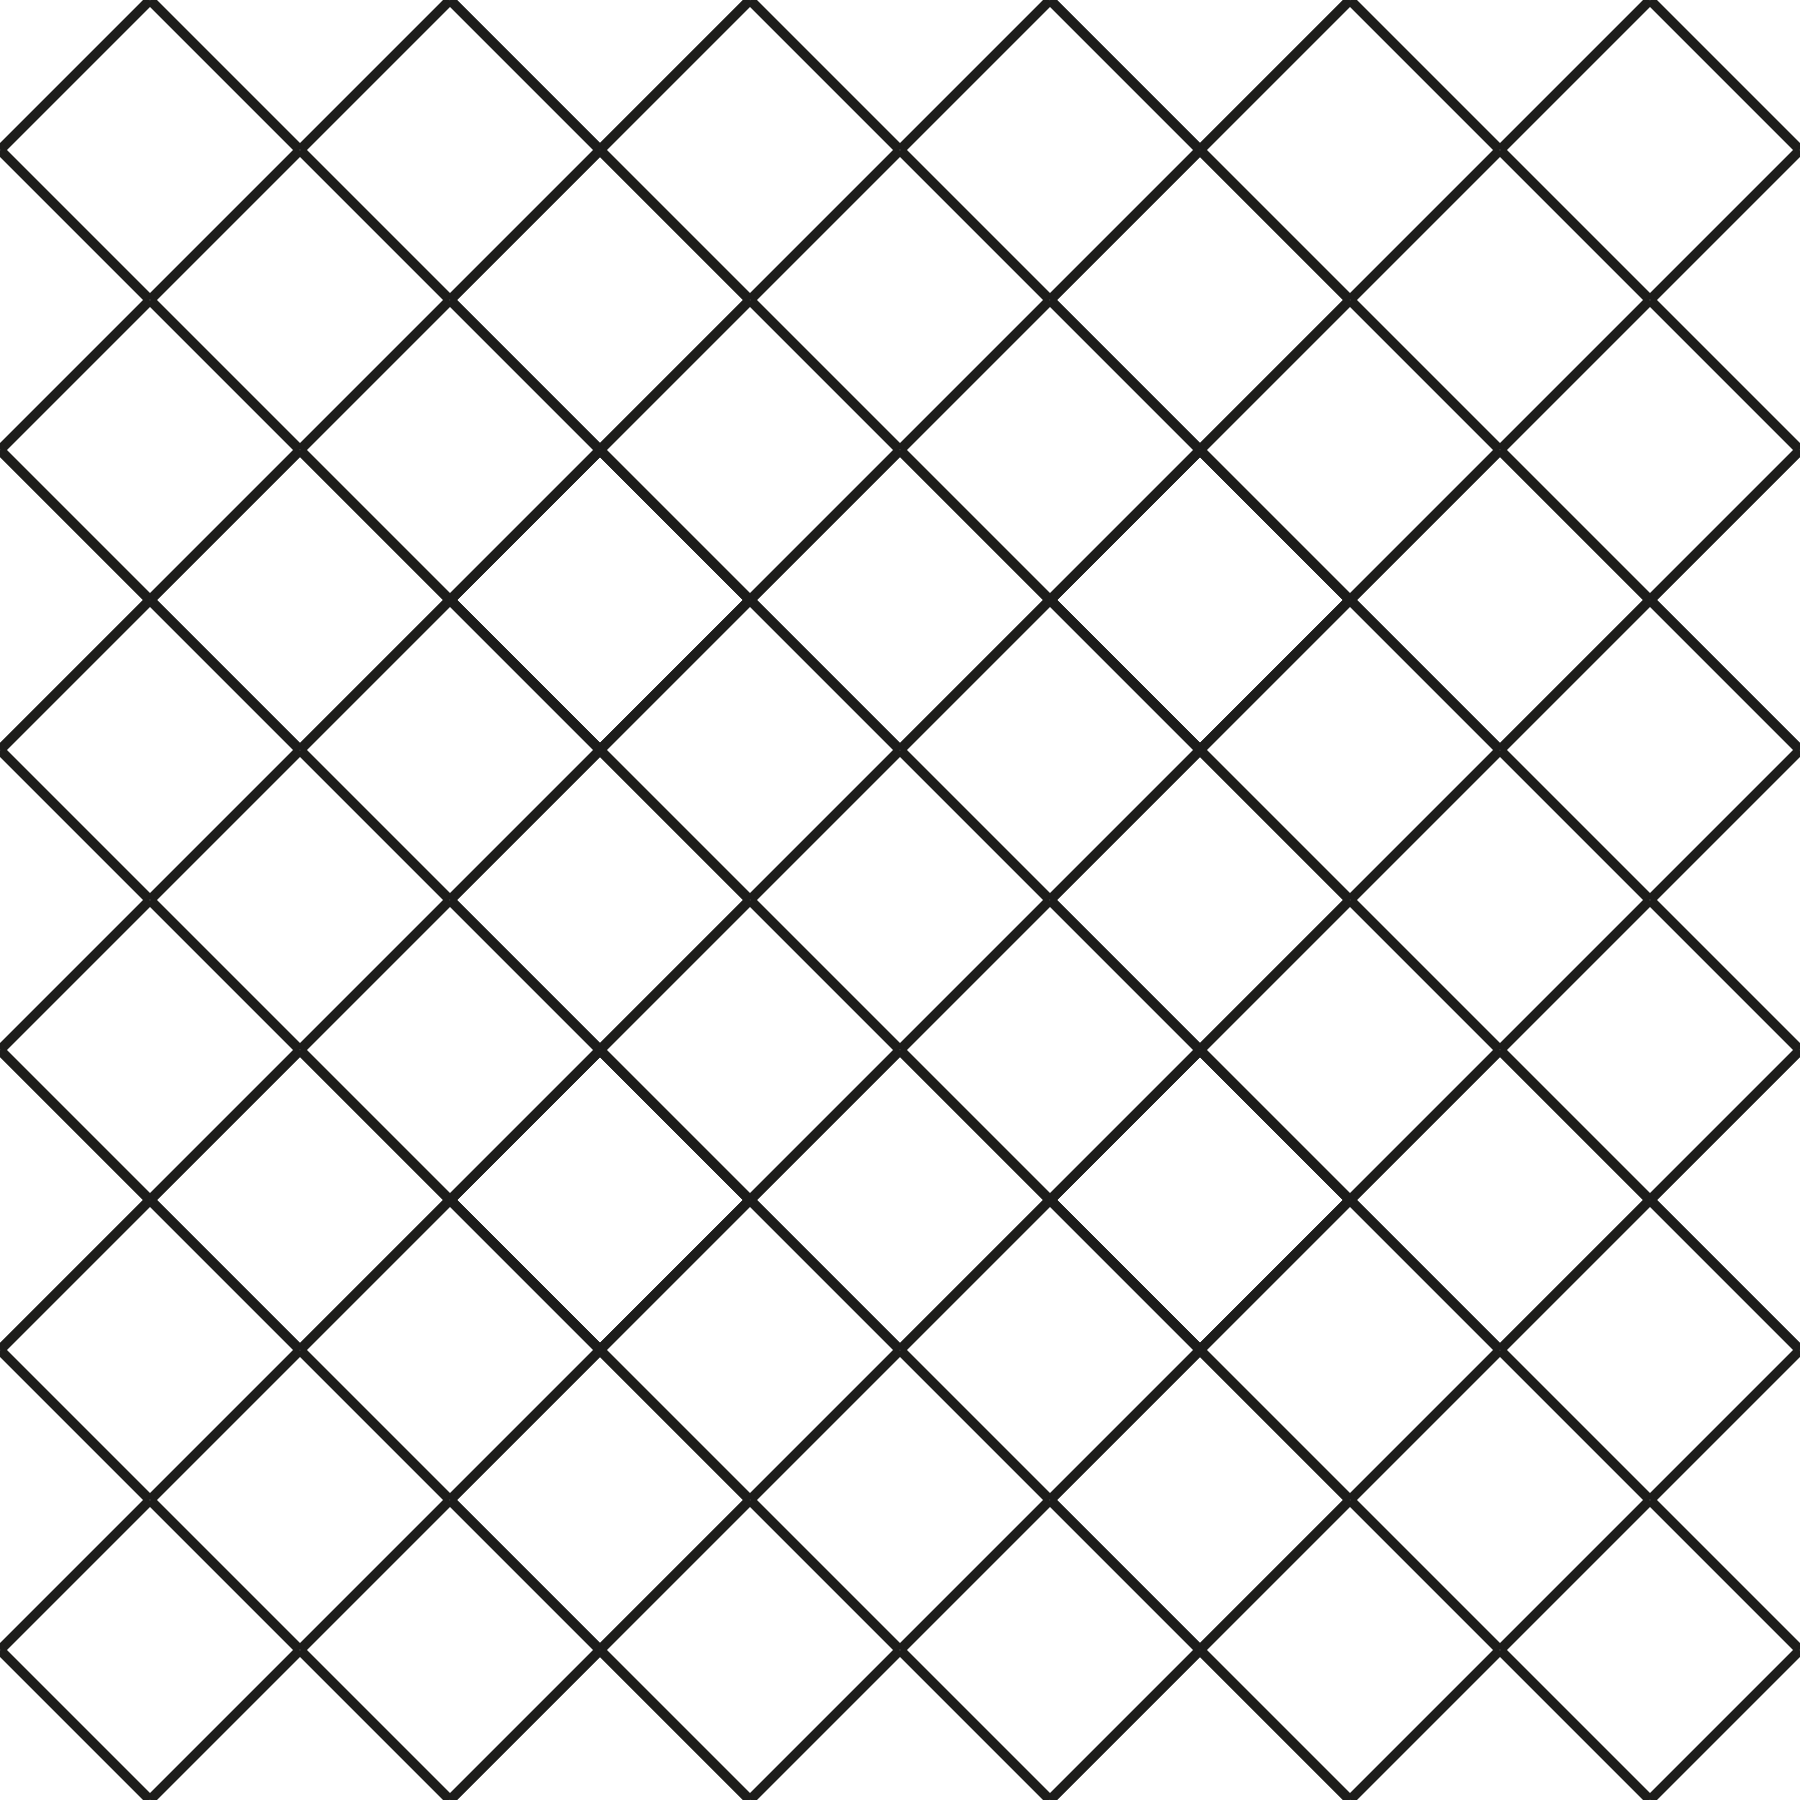 Diamond tile 300 × 300 mm
 Stack bond tile 100 × 100 mm
 Stack bond tile 200 × 200 mm
 Stack bond tile 750 × 750 mm
 Stack bond tile 800 × 800 mm
 Stack bond tile 1200 × 1200 mm
 Stack bond tile 152 × 152 mm (6 × 6 in)
 Stack bond tile 305 × 305 mm (12 × 12 in)
 Stack bond tile 610 × 610 mm (24 × 24 in)
 Running bond tile 610 × 305 mm (24 × 12 in)
 ⅓ offset tile 610 × 305 mm (24 × 12 in)
 ⅓ offset tile 600 × 300 mm
 Running bond tile 1200 × 600 mm
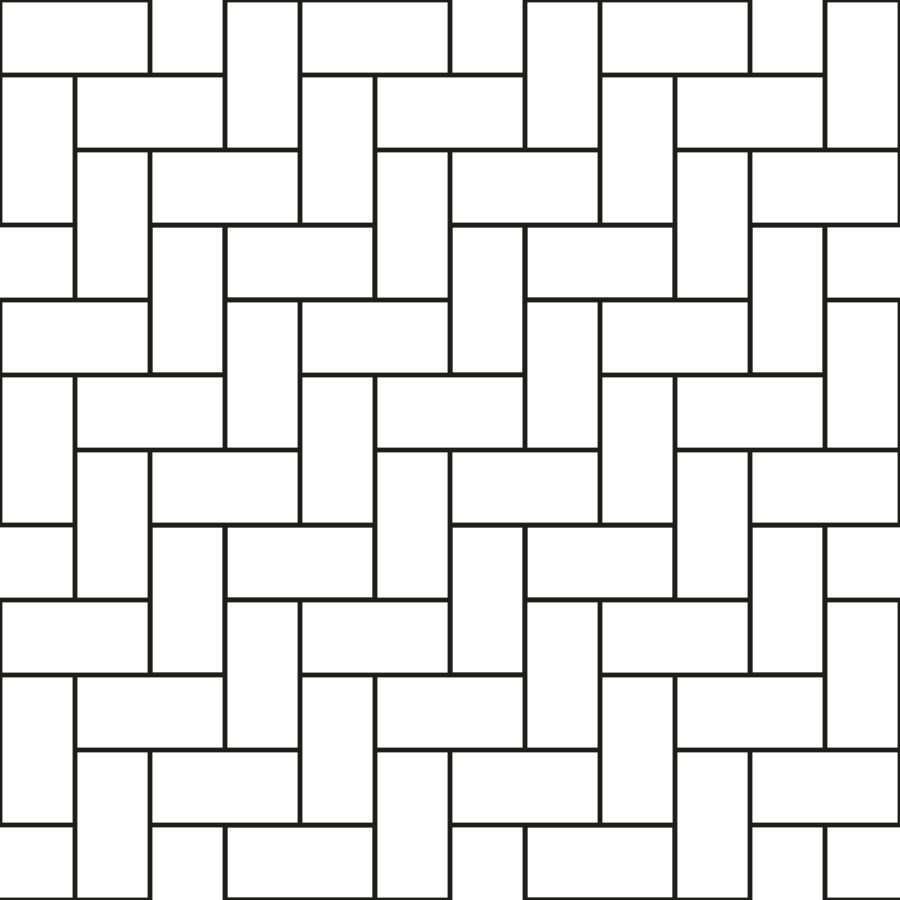 Herringbone tile 150 × 75 mm (subway)
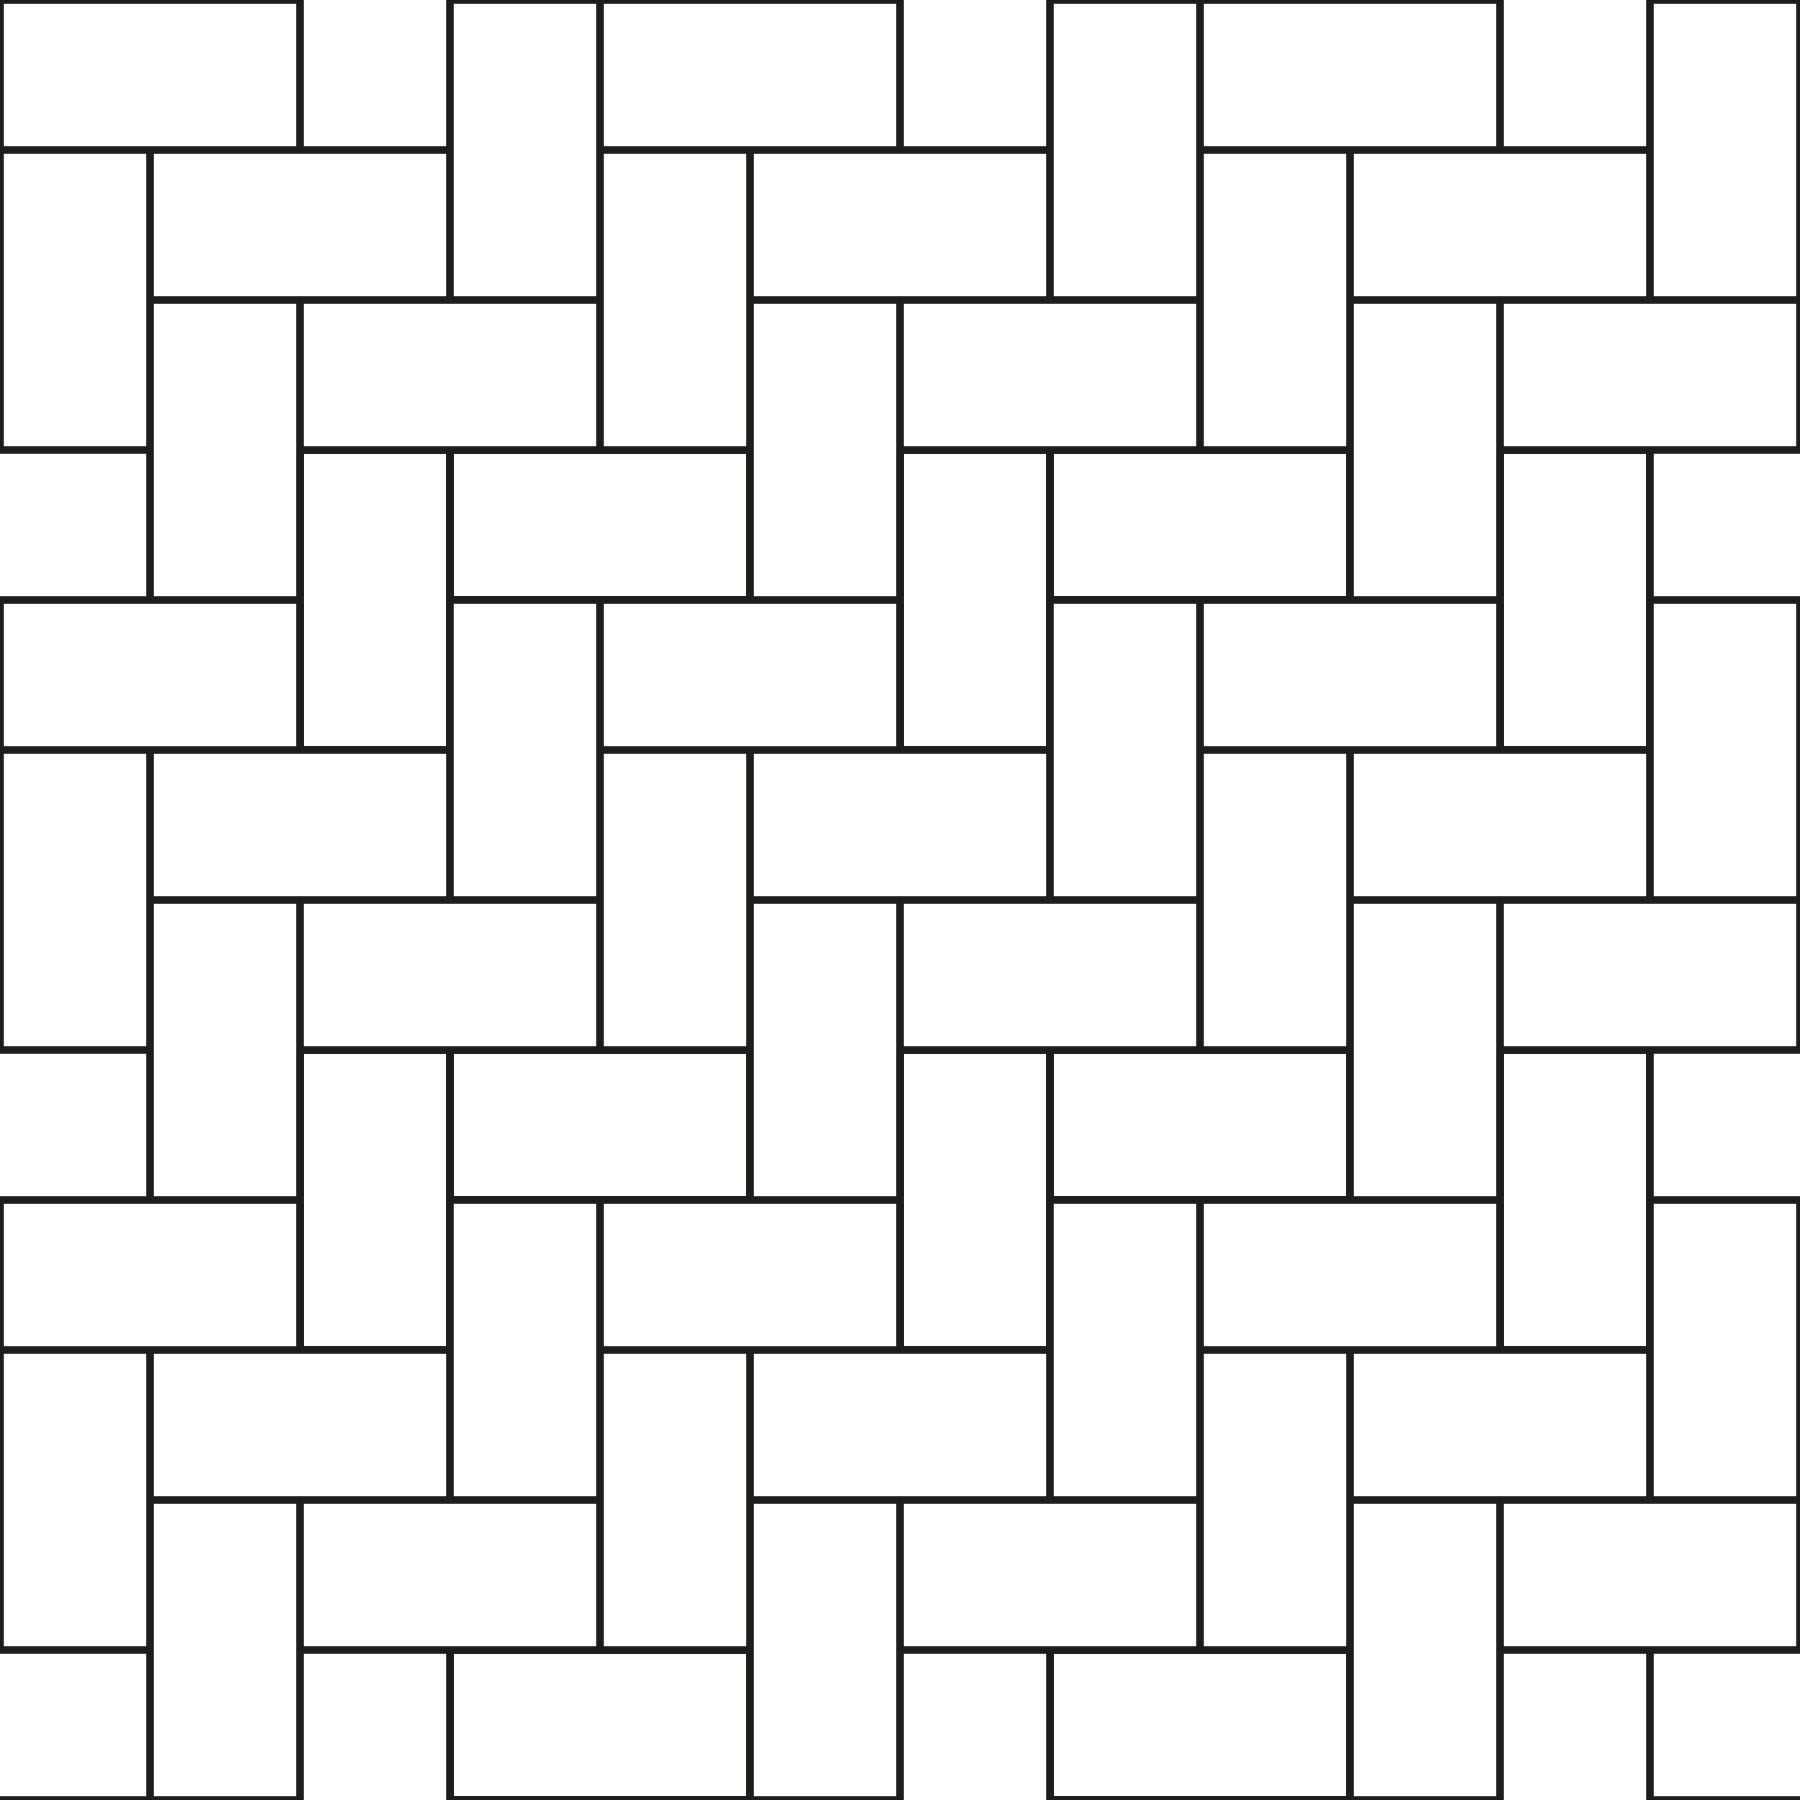 Herringbone tile 300 × 150 mm
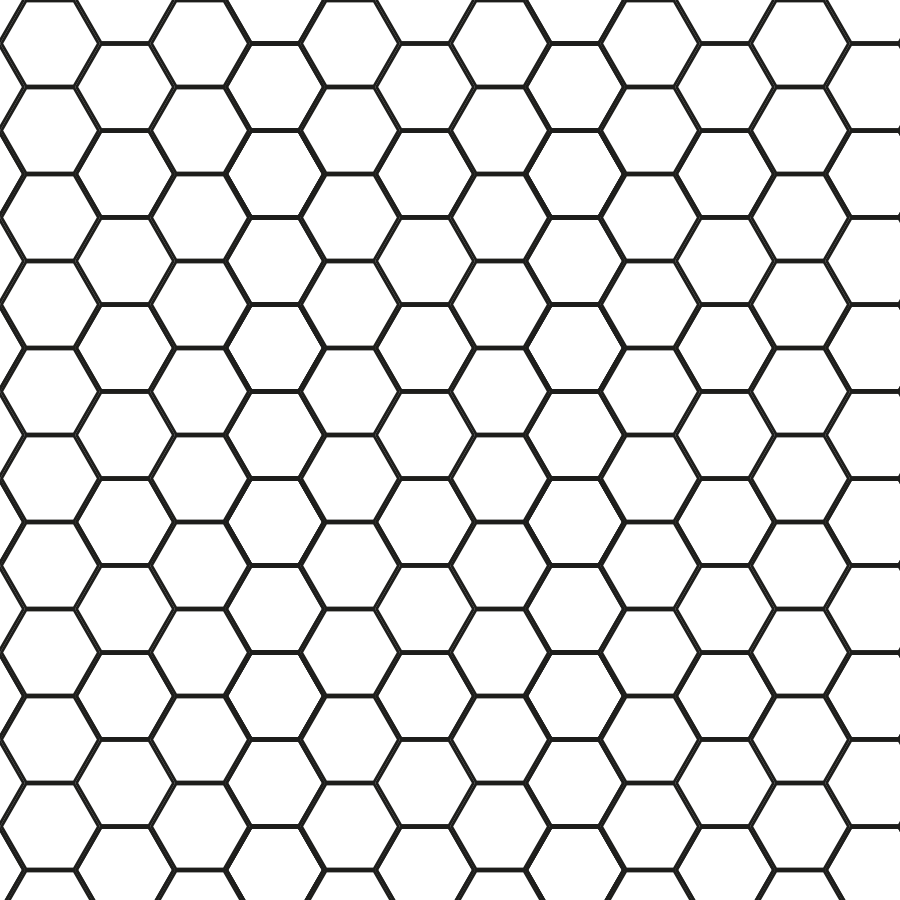 Hexagon tile 100 × 87 mm
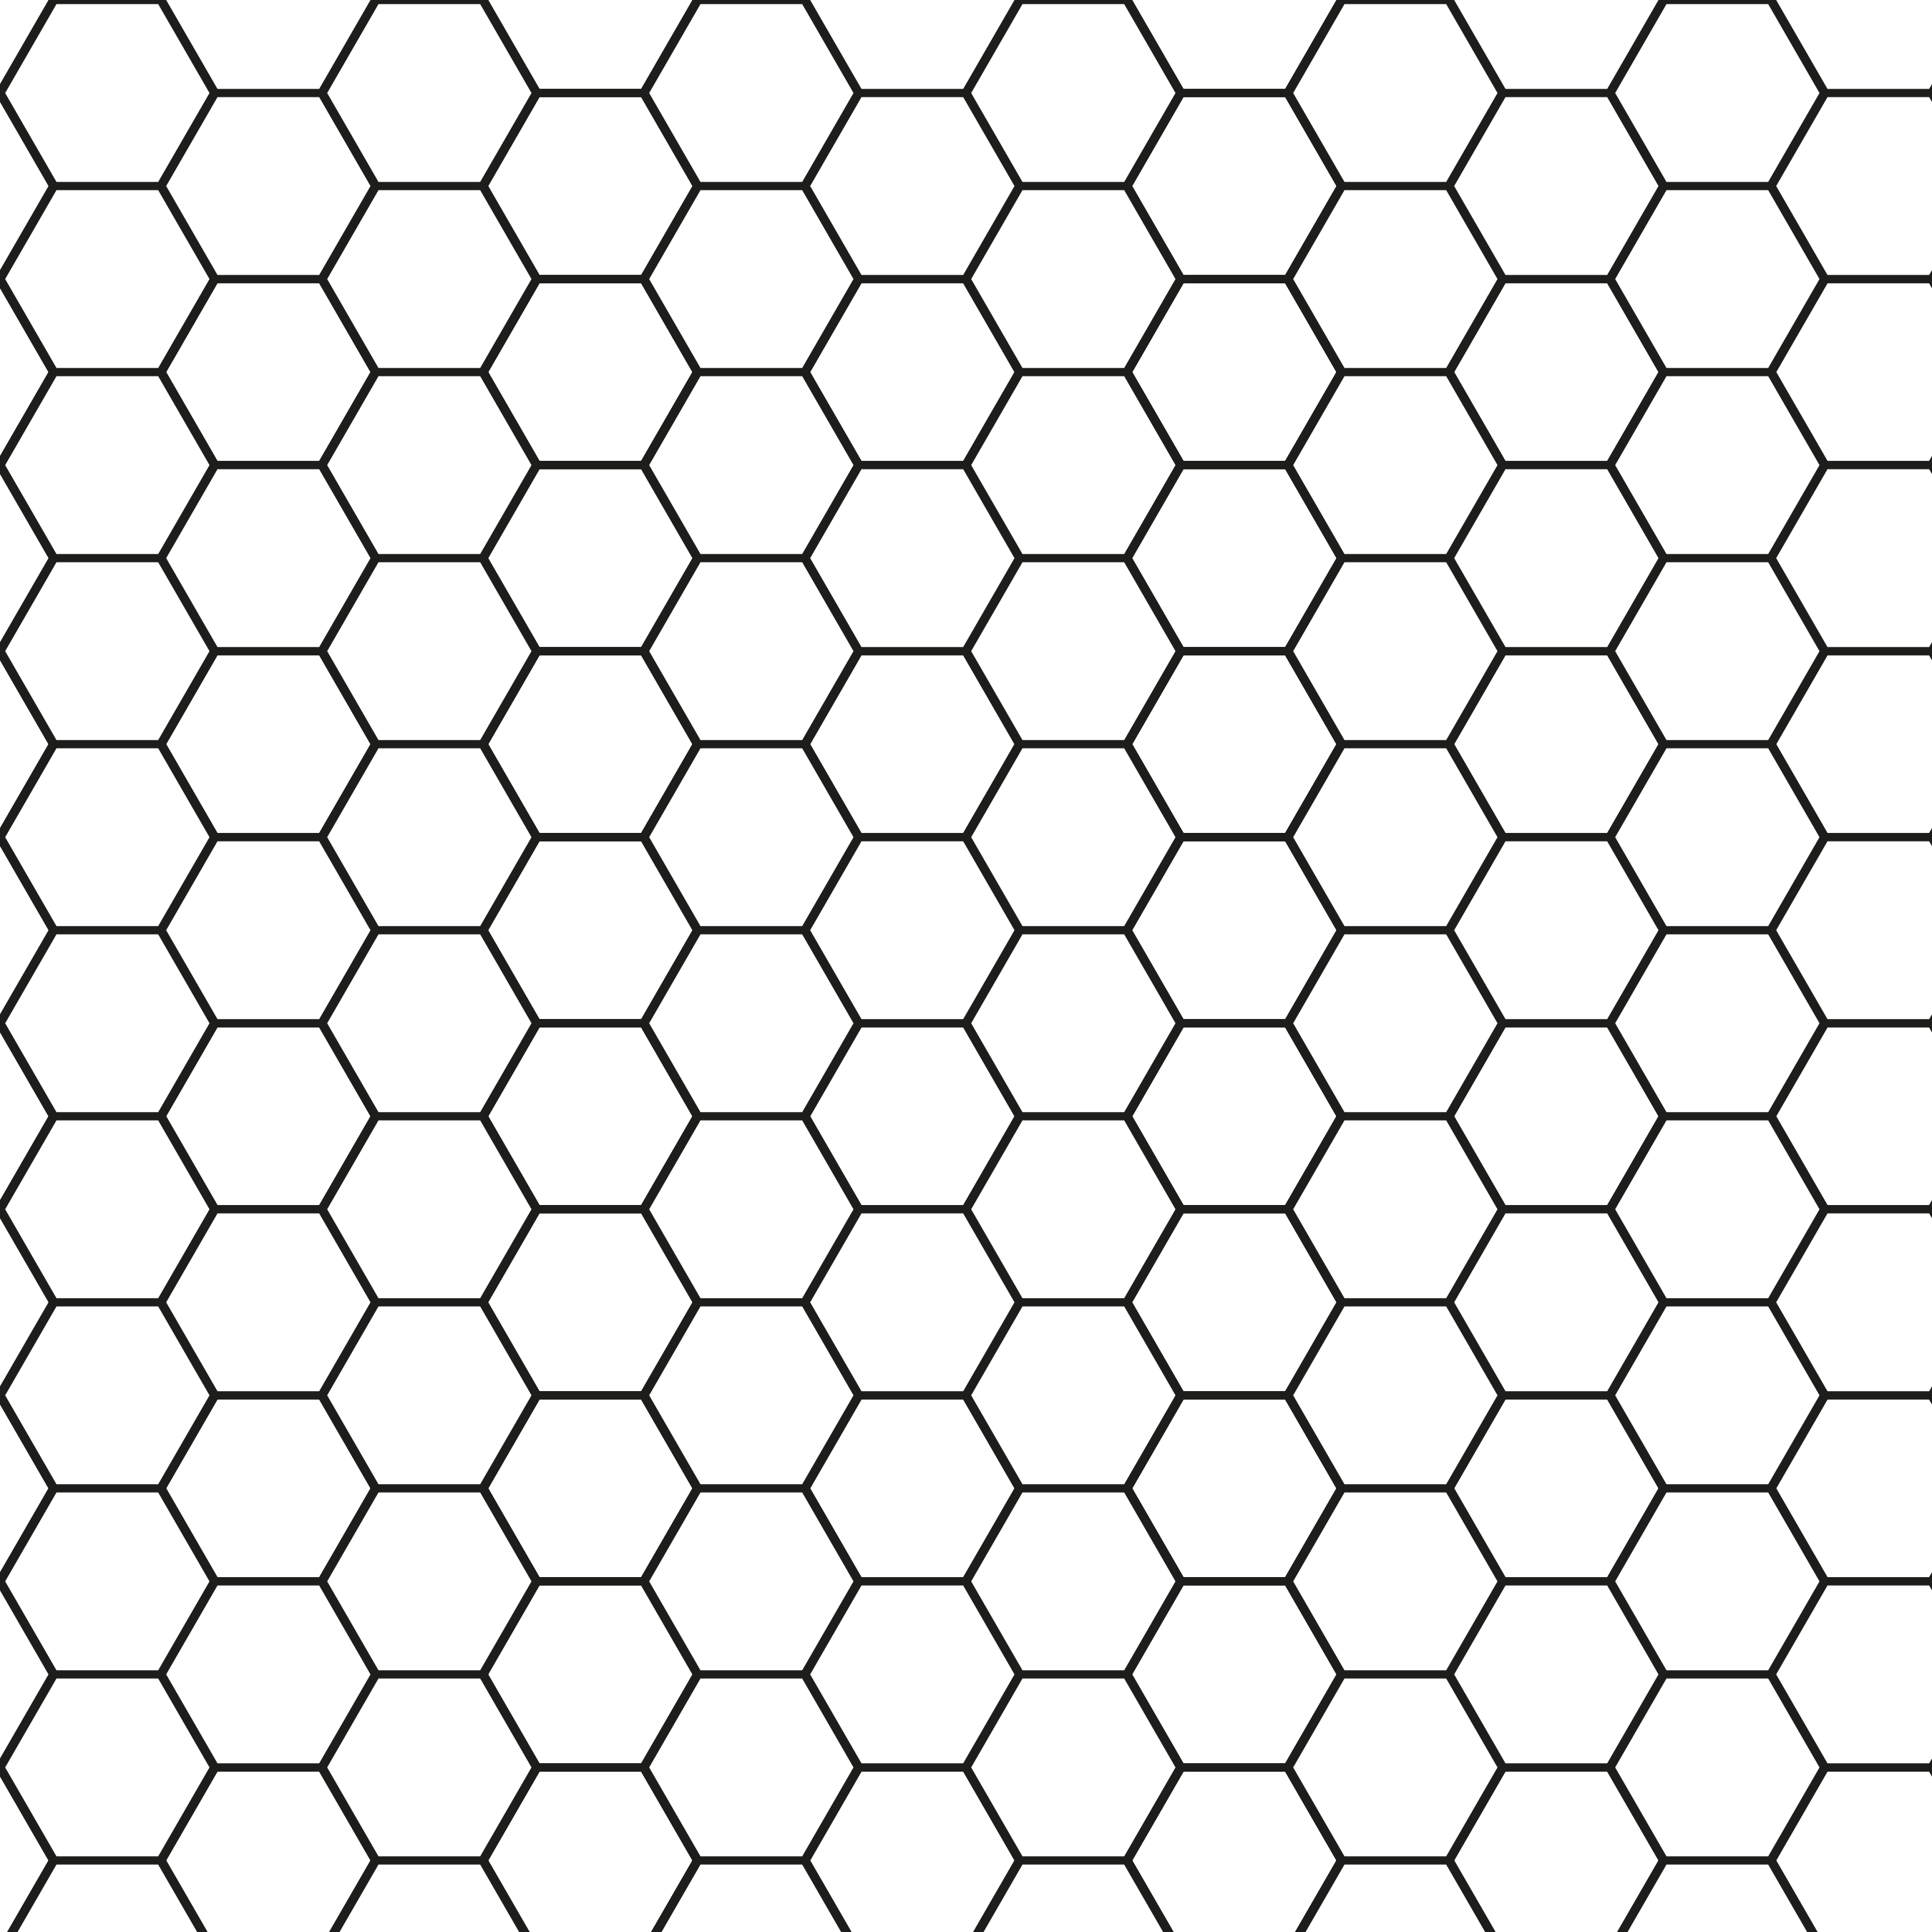 Hexagon tile 300 × 260 mm